Posts Tagged ‘cleaning’

Homegrown Collective March 2015 review

laelene Posted in reviews, subscriptions,Tags: , , , , , , ,
0

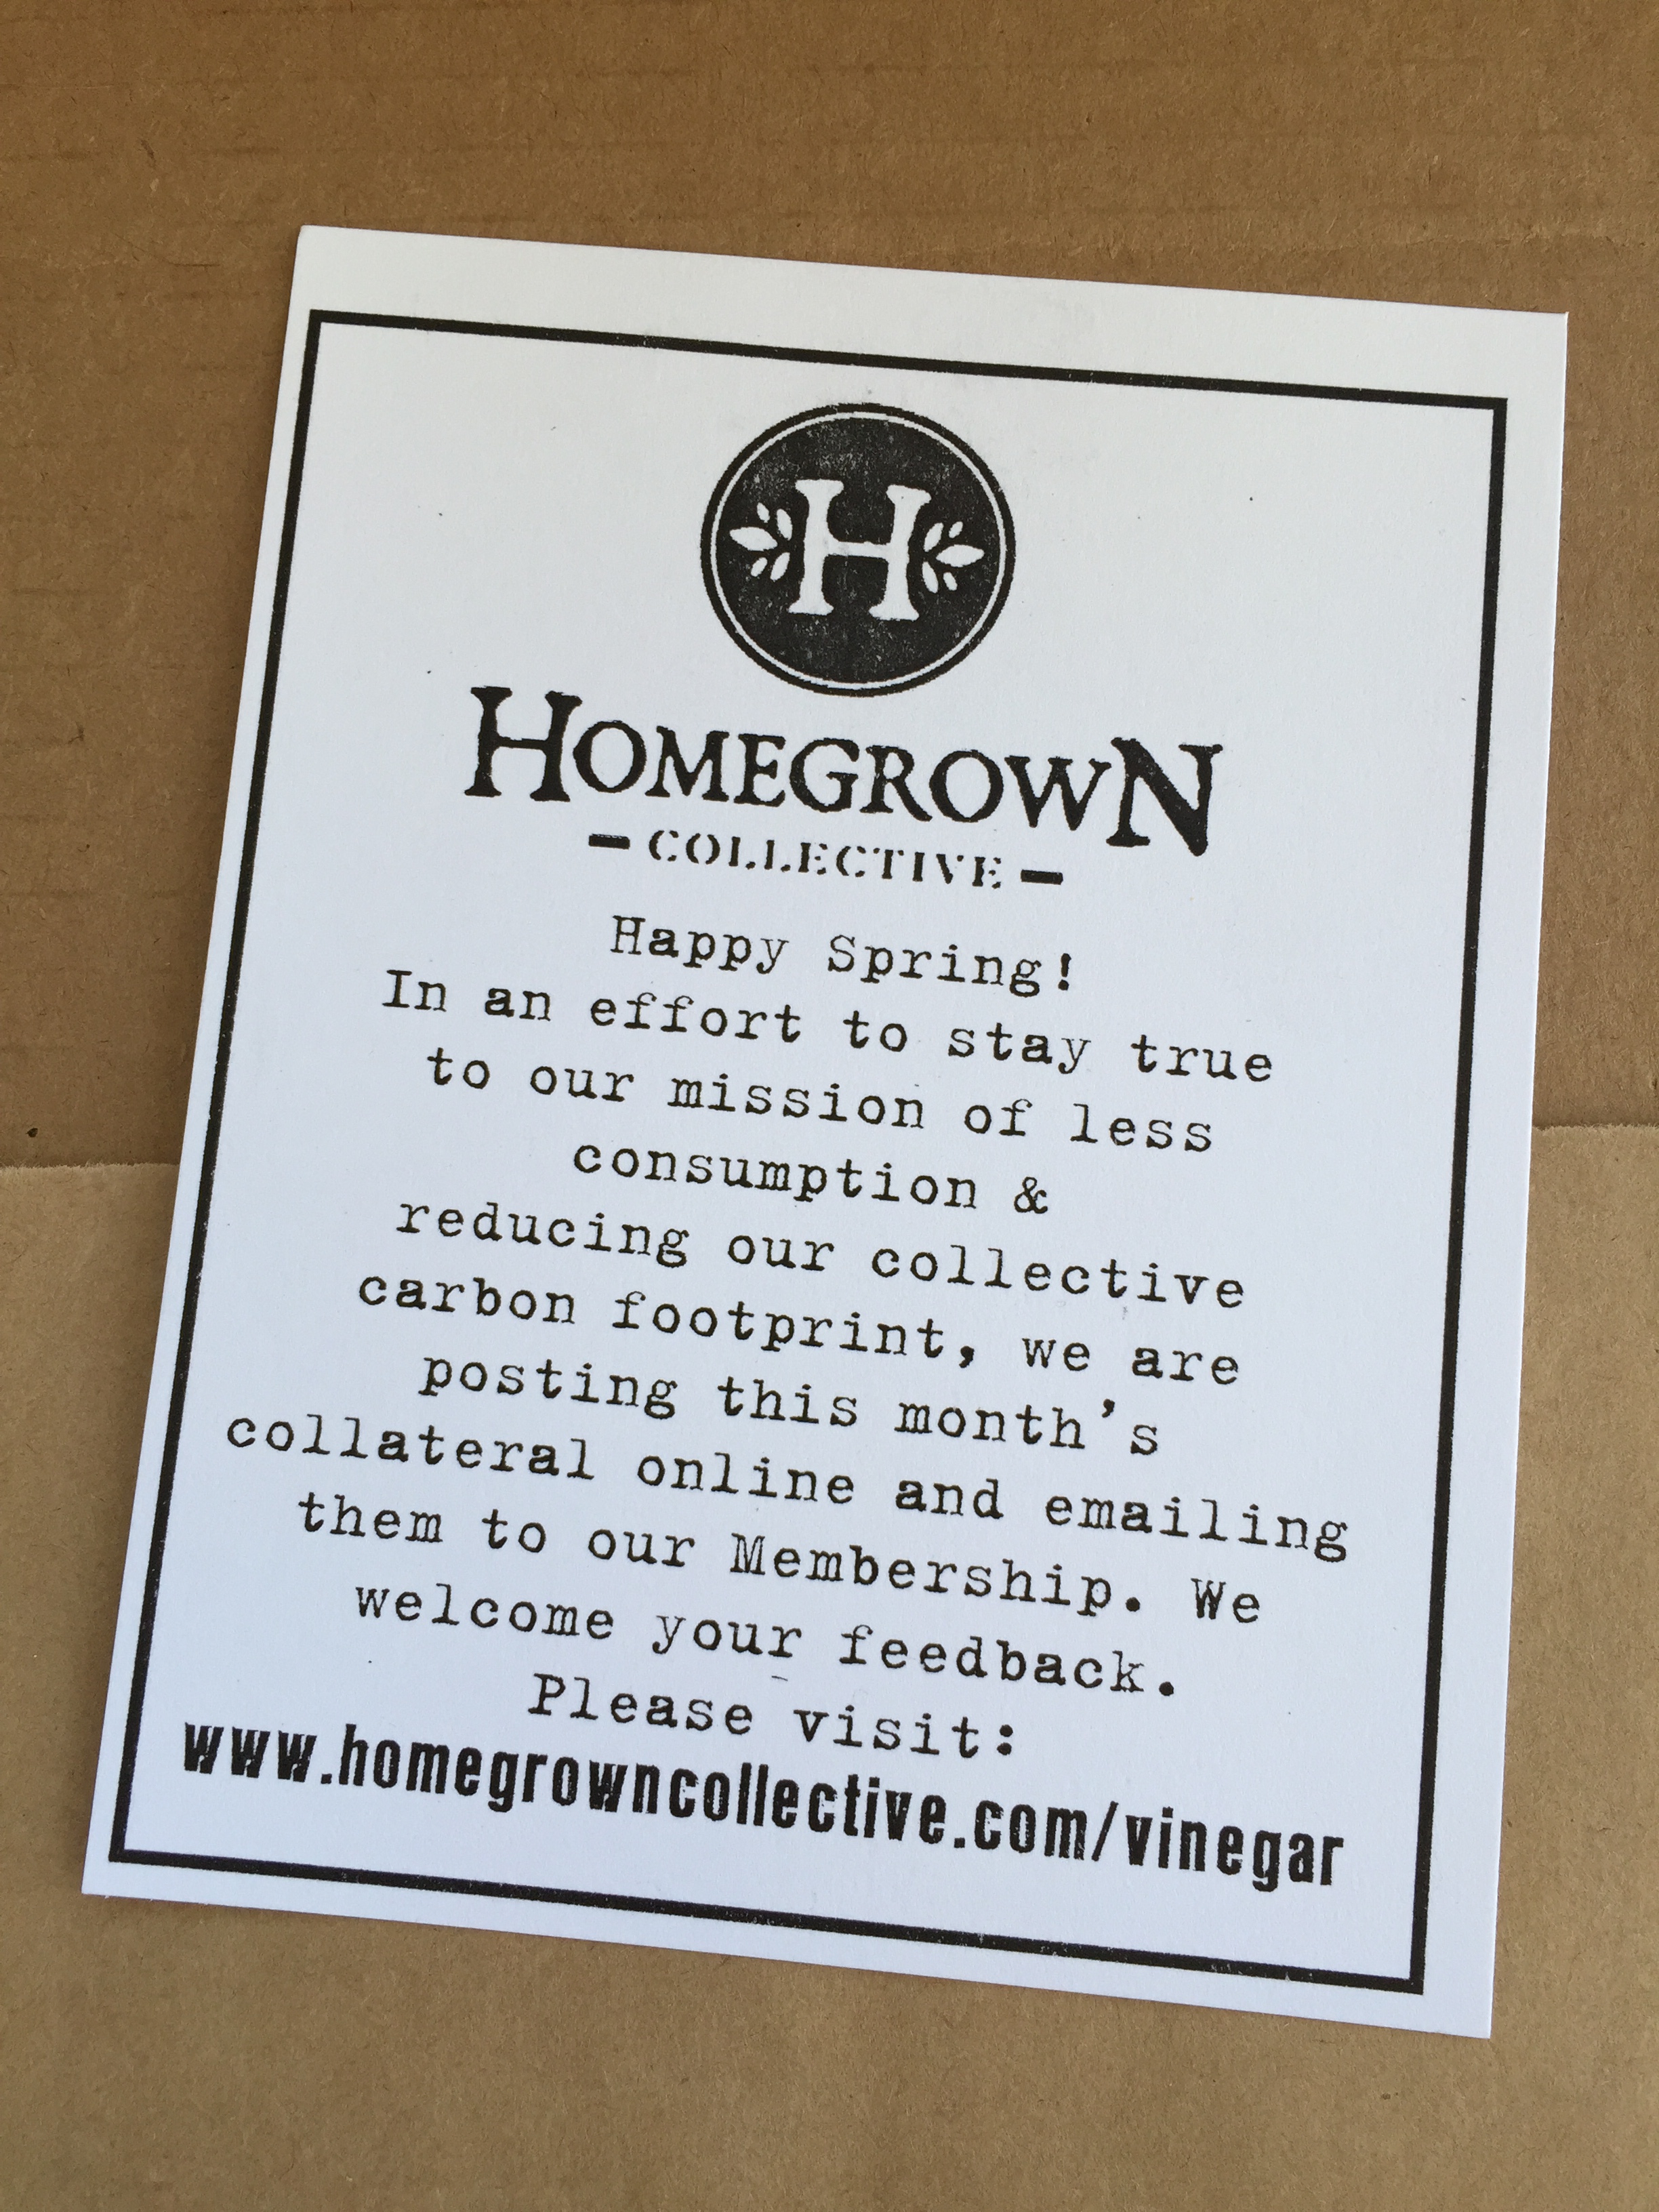
Homegrown Collective is trying something new and instead of printing out inserts with the projects for the box, they’re posting all the info on their site! I think that’s a great idea and it certainly offered them a chance to share a ton of information. This month’s theme is “Vim & Vinegar!” and they showcase three types of vinegar, all with amazing uses. This is great timing since Panda and I were planning on some spring cleaning this weekend.

The Homegrown Collective GREENBOX is $39 per box + $9 shipping (or as discounted as $429 for an entire year, with options in between) and comes with fun and easy projects to live a more sustainable lifestyle. Boxes are sent monthly with no option to skip. They offer a referral program you can apply to join.

contents of the homegrown collective march 2015 box with vim & vinegar theme note in the homegrown collective box indicating no more paper inserts

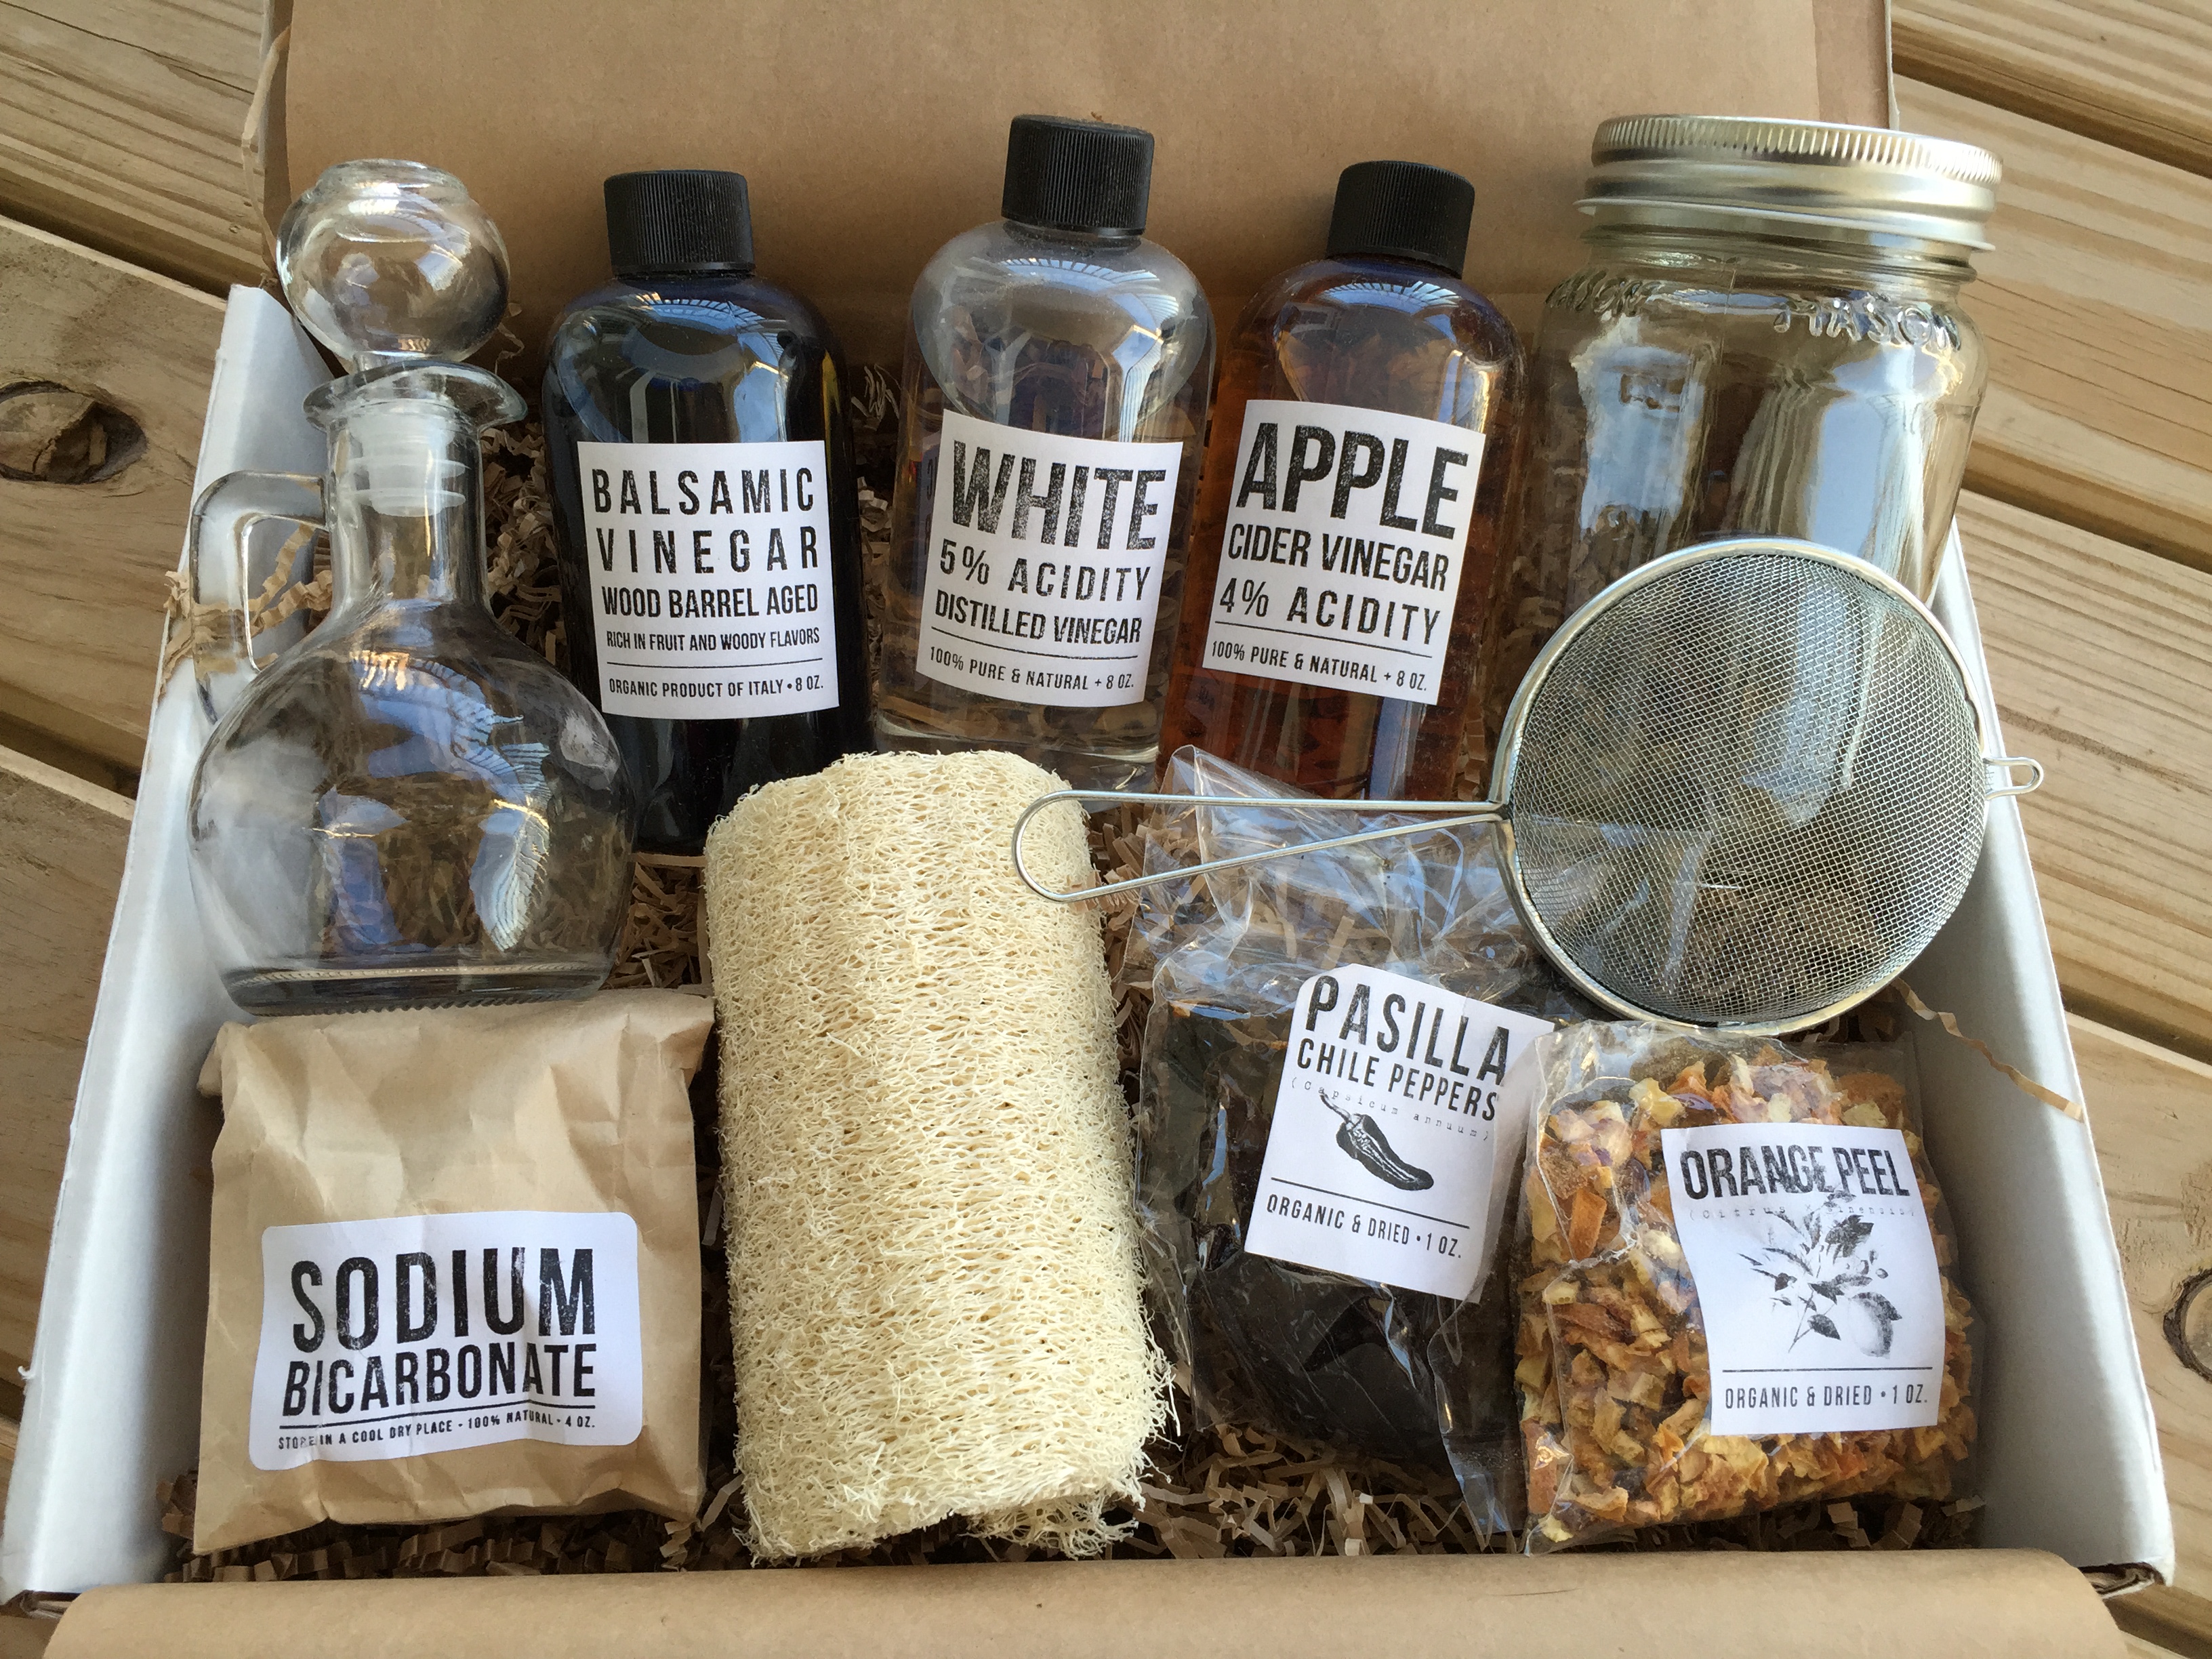
Project #1, orange peel white vinegar: I can’t believe I never considered infusing vinegar with other scents to help with the odor. I’m pretty sensitive to the scent, so cleaning with vinegar has been something I avoided. This is perfect and I can’t wait to see how the orange peel helps with the vinegar smell! I won’t have to hold my breath when using white vinegar to clean. 🙂 They also laid out over a dozen ways to use it, from removing scents to conditioning hair and of course plenty of cleaning remedies. A spray bottle of this stuff is going to be a total life saver around the house.

Project #2, baking soda & white vinegar cleanser: Combine two power cleaning products and the effects have got to be amazing! I’ve heard of all the things baking soda can do, so it totally makes sense for both of these to be key ingredients to cleaning just about anything. Surprisingly, I haven’t tried using them for removing stains before. I really need to try that on the ones the cats have created.

Project #3, apple cider vinegar: Wow, they wrote up another extensive list of ways to use this kind of vinegar. I’m totally adding this to my daily drinking habit (I go through a good 10 mugs of water and/or tea on weekdays). I never knew it could be good for digestion! Maybe it will help with my stomachaches. Other uses that jumped out at me were skincare related, including using it for a facial toner, applying it to work against acne, and rubbing it in to help with cellulite. The hair care benefits reminded me of what I learned from the January box.

Project #4, pasillo pepper spicy vinegar: The final use is about infusing vinegar, which takes advantage of the balsamic vinegar. I did a cold infusion before, so this hot style will be new and should provide a strong flavor. I’ve never tried pasillo peppers and I hope they aren’t too spicy or I’ll have to give this to someone else to actually consume.

What an assortment of vinegars and their respective uses! This will certainly keep me busy for awhile, trying out all the ways vinegar (and baking soda) can power my cleaning needs. I love the simplicity of these natural items that are so easy to buy.

Subscribe to the Homegrown Collective today and start living a greener lifestyle!

[This post contains affiliate links. Signing up through them helps support my subscription and I’d be ever so grateful. 🙂 All opinions are my own and I received no compensation for this review. I just purchased this box and wanted to share what I got!]

Cleaning ears

laelene Posted in lifestyle glimpses,Tags: , , , , , , , , ,
0

How do you clean your ears? (Or do you?)

The way I understand it, the Western style is to use Q-tips. This probably happens after a shower when the interior of the ears have been nice and moist for awhile, softening any sort of earwax you might have built up. Some rubbing around catches that stuff and whisks it out. Or something like that… I can’t actually vouch for it since I don’t clean my ears that way. What I’m used to is the Eastern way, which I’m sure Eastern Asians in particular are familiar with, if not our more southern counterparts too.

tools used to clean ears including flashlight, ear scooper, tweezers, and q-tip

Tools of the trade.

Cleaning your ears becomes a bonding event since it requires the assistance of someone else. They take an ear scooper – sometimes metal, sometimes bamboo – and gently make their way down your ear canal as you lay on your side and they shine a light in your ear. Your earlobe gets pulled this way and that to help straighten out your ear canal for easier viewing. When a bit of earwax is targeted, the cleaner gently lowers the ear scooper in, using the little spoon-like curve to try to scoop out the piece. This may take a little gentle scratching around the area to loosen the earwax if you have the dry kind, or quite a few scoops to get the sticky wet kind. Either way, it’s a practice in patience, determination, and trust. Both sides have to remain relatively steady and slowly maneuver to get the earwax. I’ll even incorporate tweezers when a piece can be pinched away from the wall of the ear. It’s a delicate procedure that requires quite a bit of care. After all, you don’t want to cause any bleeding or pain in the dainty skin of the ear canal. You could very well create hearing impairment!

I quite enjoy having my ears cleaned and sometimes I ask for them to get a little bit of scratching even if there’s nothing to clear. Sometimes my ear canals just itch for a little bit of attention. It must be something born of the habit of cleaning my ears that way. It’s a part of the Chinese culture that definitely stayed with me.

365great Day 200: loofahs

laelene Posted in 365great,Tags: , , , , , , , , , , ,
0

365great challenge day 200: loofahsI love loofahs. If you don’t decide to eat them you can just let them dry out and boom, you’ve got yourself a wonderful exfoliating sponge. Not only can you wash your skin with it, it makes for a perfect sponge to clean dishes with. So take your pick on how you choose to use it and then when you’re done just bury it in the ground! A beautifully natural tool for bath and kitchen that will compost away and create no waste when it’s time to get a new one. You can even save the seeds from them to plant yourself for a never-ending supply. Now that’s a great thing.

How to: not waste soap

laelene Posted in how to guides,Tags: , , , , , , ,
0

Don’t you hate when you get those little pieces of a soap bar that you can’t quite use but don’t want to waste? Well, hopefully you do or else you’re probably losing out on a lot of soap uses! So here I’ve compiled some ways that you can make the most of those broken pieces:

collage of various solutions to using up small broken pieces of soap

1. Put in cloth or bag

Fold it into a small facial cloth or cloth baggie, get the cloth/bag wet and then rub! Suds are able to make their way through the porous material and you might even get a better lather than usual. This way you also get some exfoliation out of it and the pieces don’t go down the drain.

2. Insert into loofah

Similar to the cloth, loofahs are great for exfoliation and improving lather, so if you’re into suds, stick those pieces in the center of your loofah and scrub away! It’s ideal if you can actually stuff them into a compartment where they won’t fall out, otherwise you might still struggle with small pieces falling through.

3. Stick to a cap

One of the greatest challenges I find with small pieces of soap is how thin and flimsy it is. I feel like I have nothing to grip on to, so by sticking it onto the cap of something, it gives you something to hold easily. Then just treat it like a tube of lip balm and rub around on your skin. It’s pretty similar to when you used the brand new bar, but of course with less material.

4. Adhere to wall

Ok, this one is probably the strangest suggestion I have, but hey it’s fun and hilarious. If you don’t have a cap to stick your soap to, just press it onto your shower tile. Then rub your hands or fingers on it when you need to use some! You’ll also help clean part of the wall that way… 😉

5. Shake in container

Finally (and probably least effective), you can throw those pieces into a plastic container, add a bit of water, and shake like crazy! You’ll get a watered down soapy mixture you can spray onto yourself if you have a nozzle or pour out to use like a super watery body wash. Alternatively, you can aim to just use the suds that you create as a foam cleanser.

So there you go! Never waste so much soap again with these 5 tips. 😛 It looks like I inadvertently ordered these in approximate from the most effective to the least effective method. Do you have anything to add?

Visitors

laelene Posted in general blog,Tags: , , , ,
0

Some relatives are coming to town, so my mom and I will be picking them up soon. We spent the last couple of days rearranging things in the house so we’ll be able to accommodate them. My mom, cousin, and I will be in the master bedroom as they take over the other three beds we have. I’ll be taking then around town the next two days before they head out again. Should be an active weekend!

One nice thing about having guests is that you really take the time to tidy up around the house in ways you might not have for awhile. It’s pretty cool that our rooms look so clean and organized now and hopefully it sticks for some time after they’re gone. I hadn’t realized the dust and water marks that had built up. Now everything is sparking and wonderful. Feels good to have such bright, gleaming surroundings.

When you have guests over do you do some spring cleaning too?

Related Posts Plugin for WordPress, Blogger...