Posts Tagged ‘home improvement’

Drywall patching

laelene Posted in lifestyle glimpses,Tags: , , , , ,
0

Our home is now over a year old and for our one year, we had our drywall patched up for the areas showing signs of popped nails. Panda and I made a list of everything we noticed so when the guy came, I was able to point them all out. It took a good portion of the morning, with a break in between for the new drywall to dry. I’m always curious about how these things are done and it was totally not what I expected! Granted, I wasn’t really sure how they’d patch things up so I guess breaking off the pieces and filling them in sort of makes sense.

Here’s the damage we observed:

set of nails popping underneath drywall causing bumps

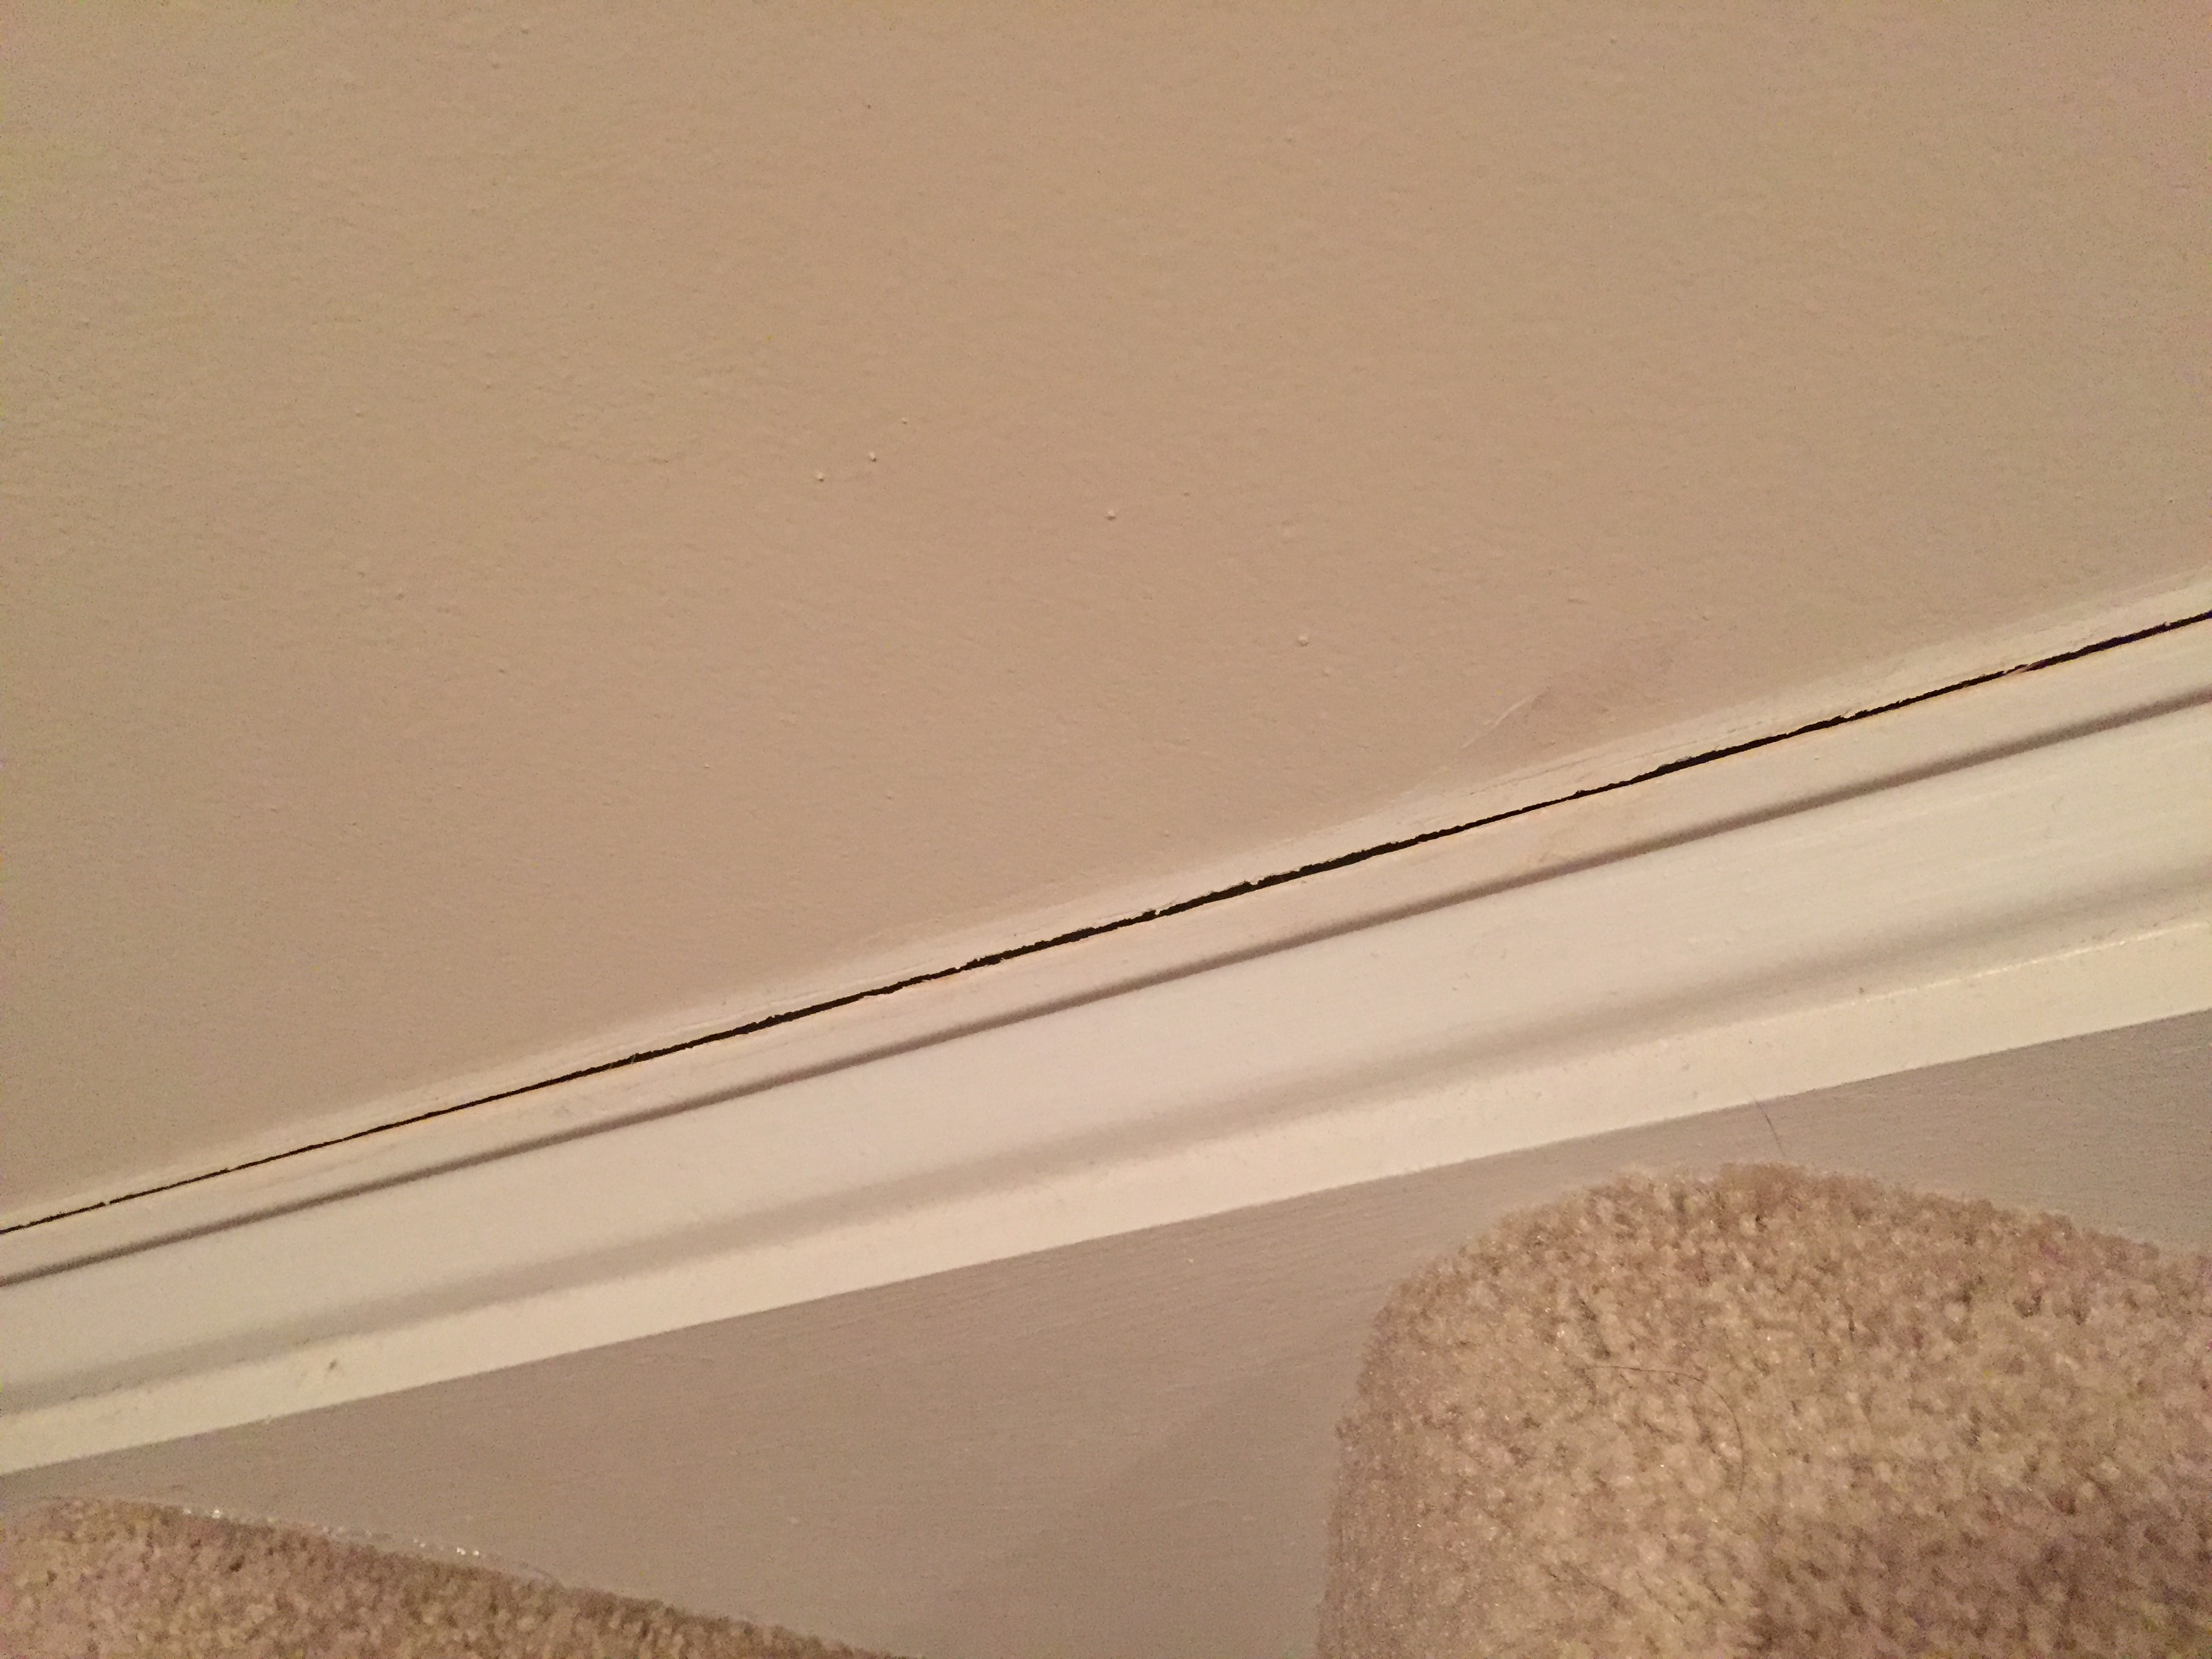
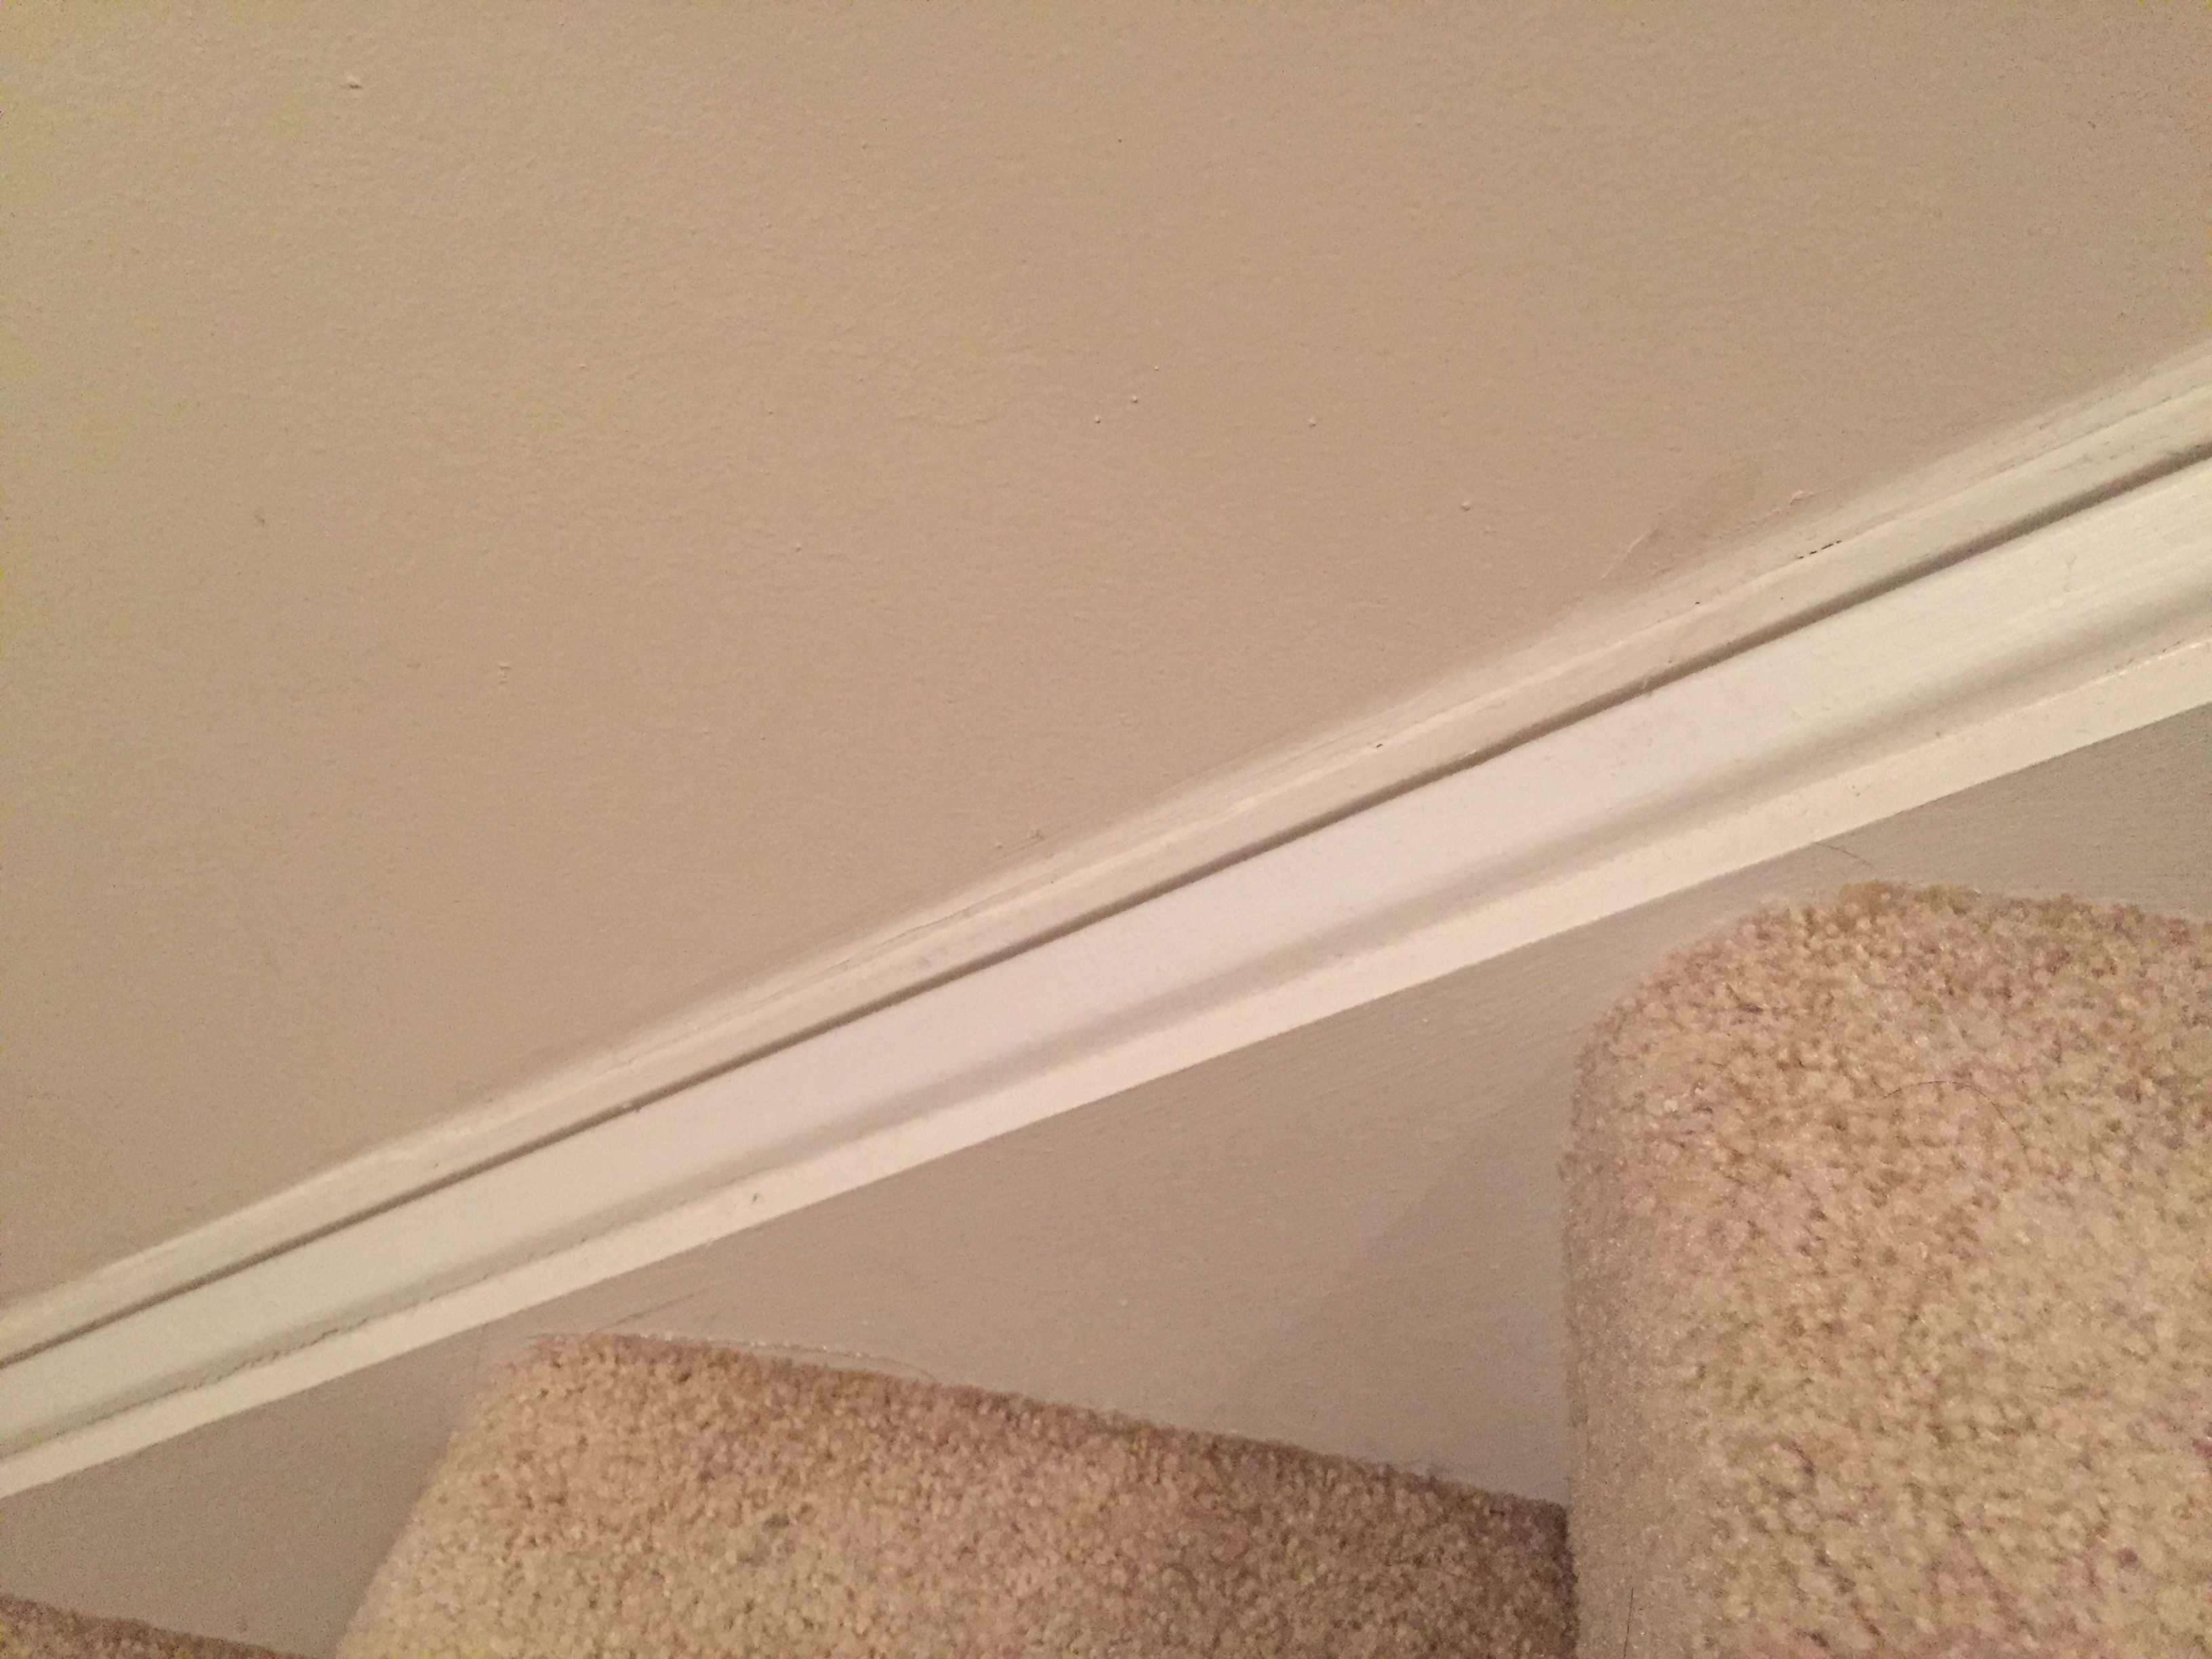
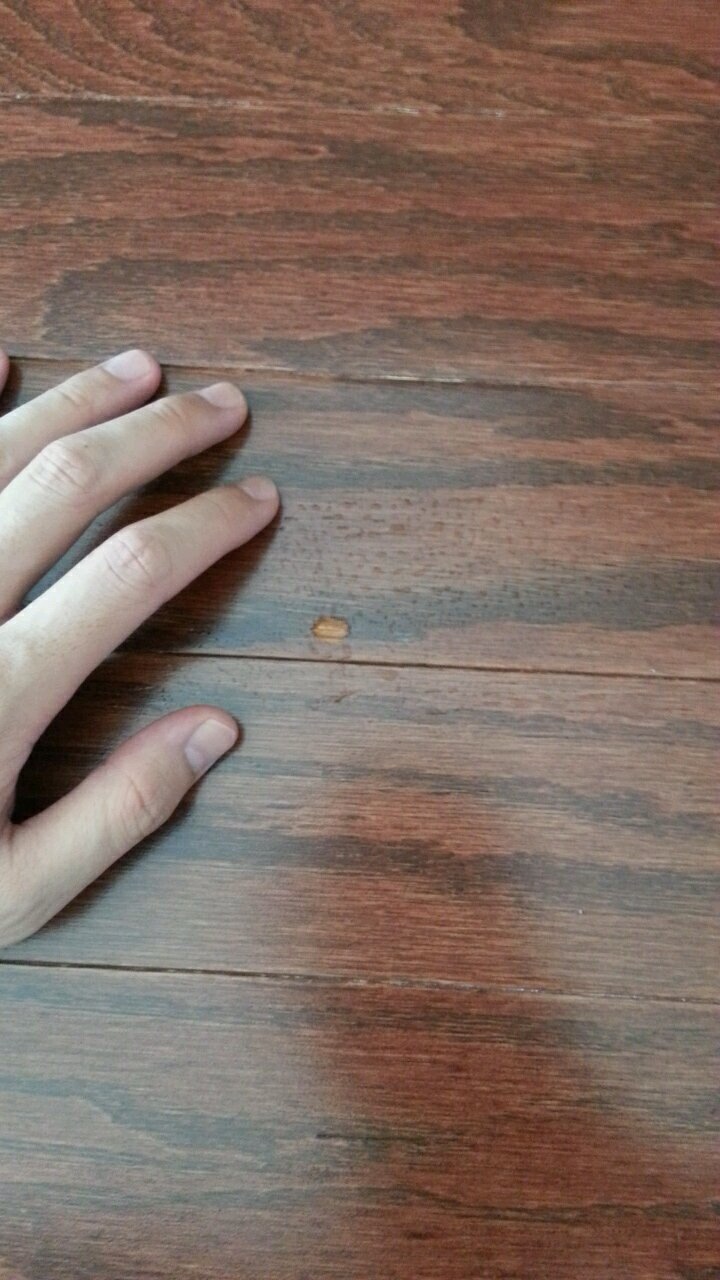
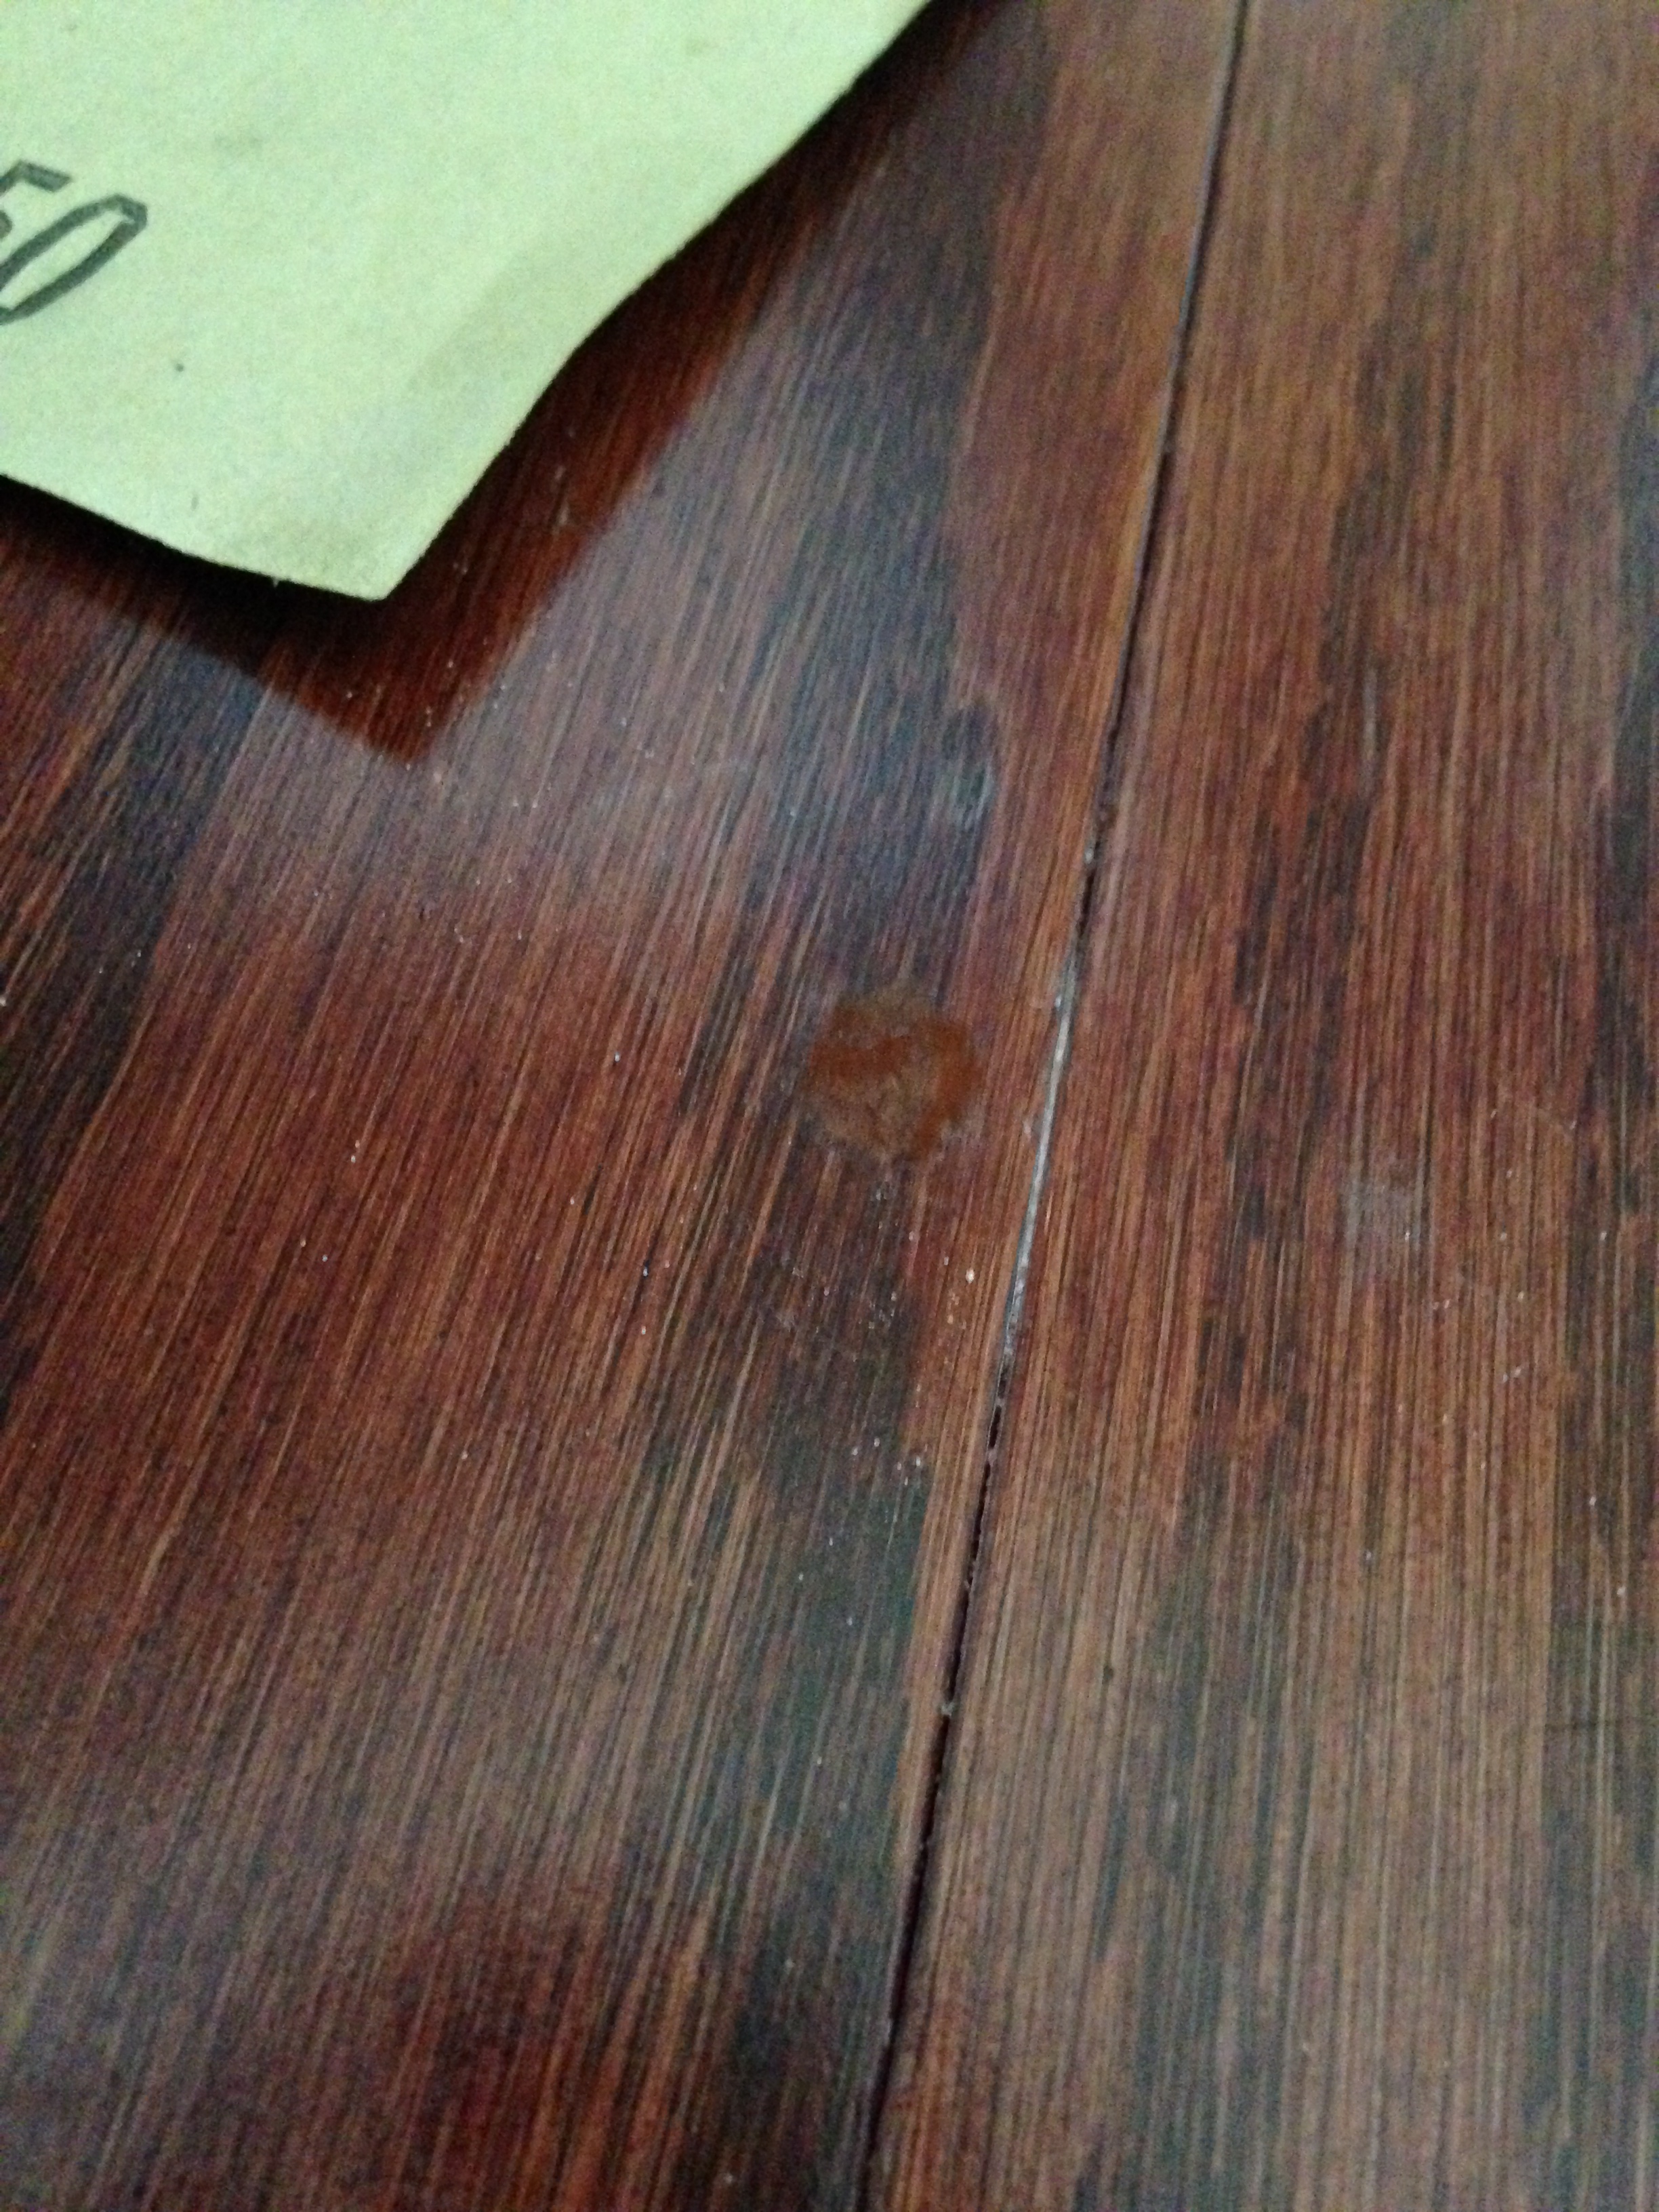
We were seeing some movement underneath.

crack in drywall from shifting walls in home

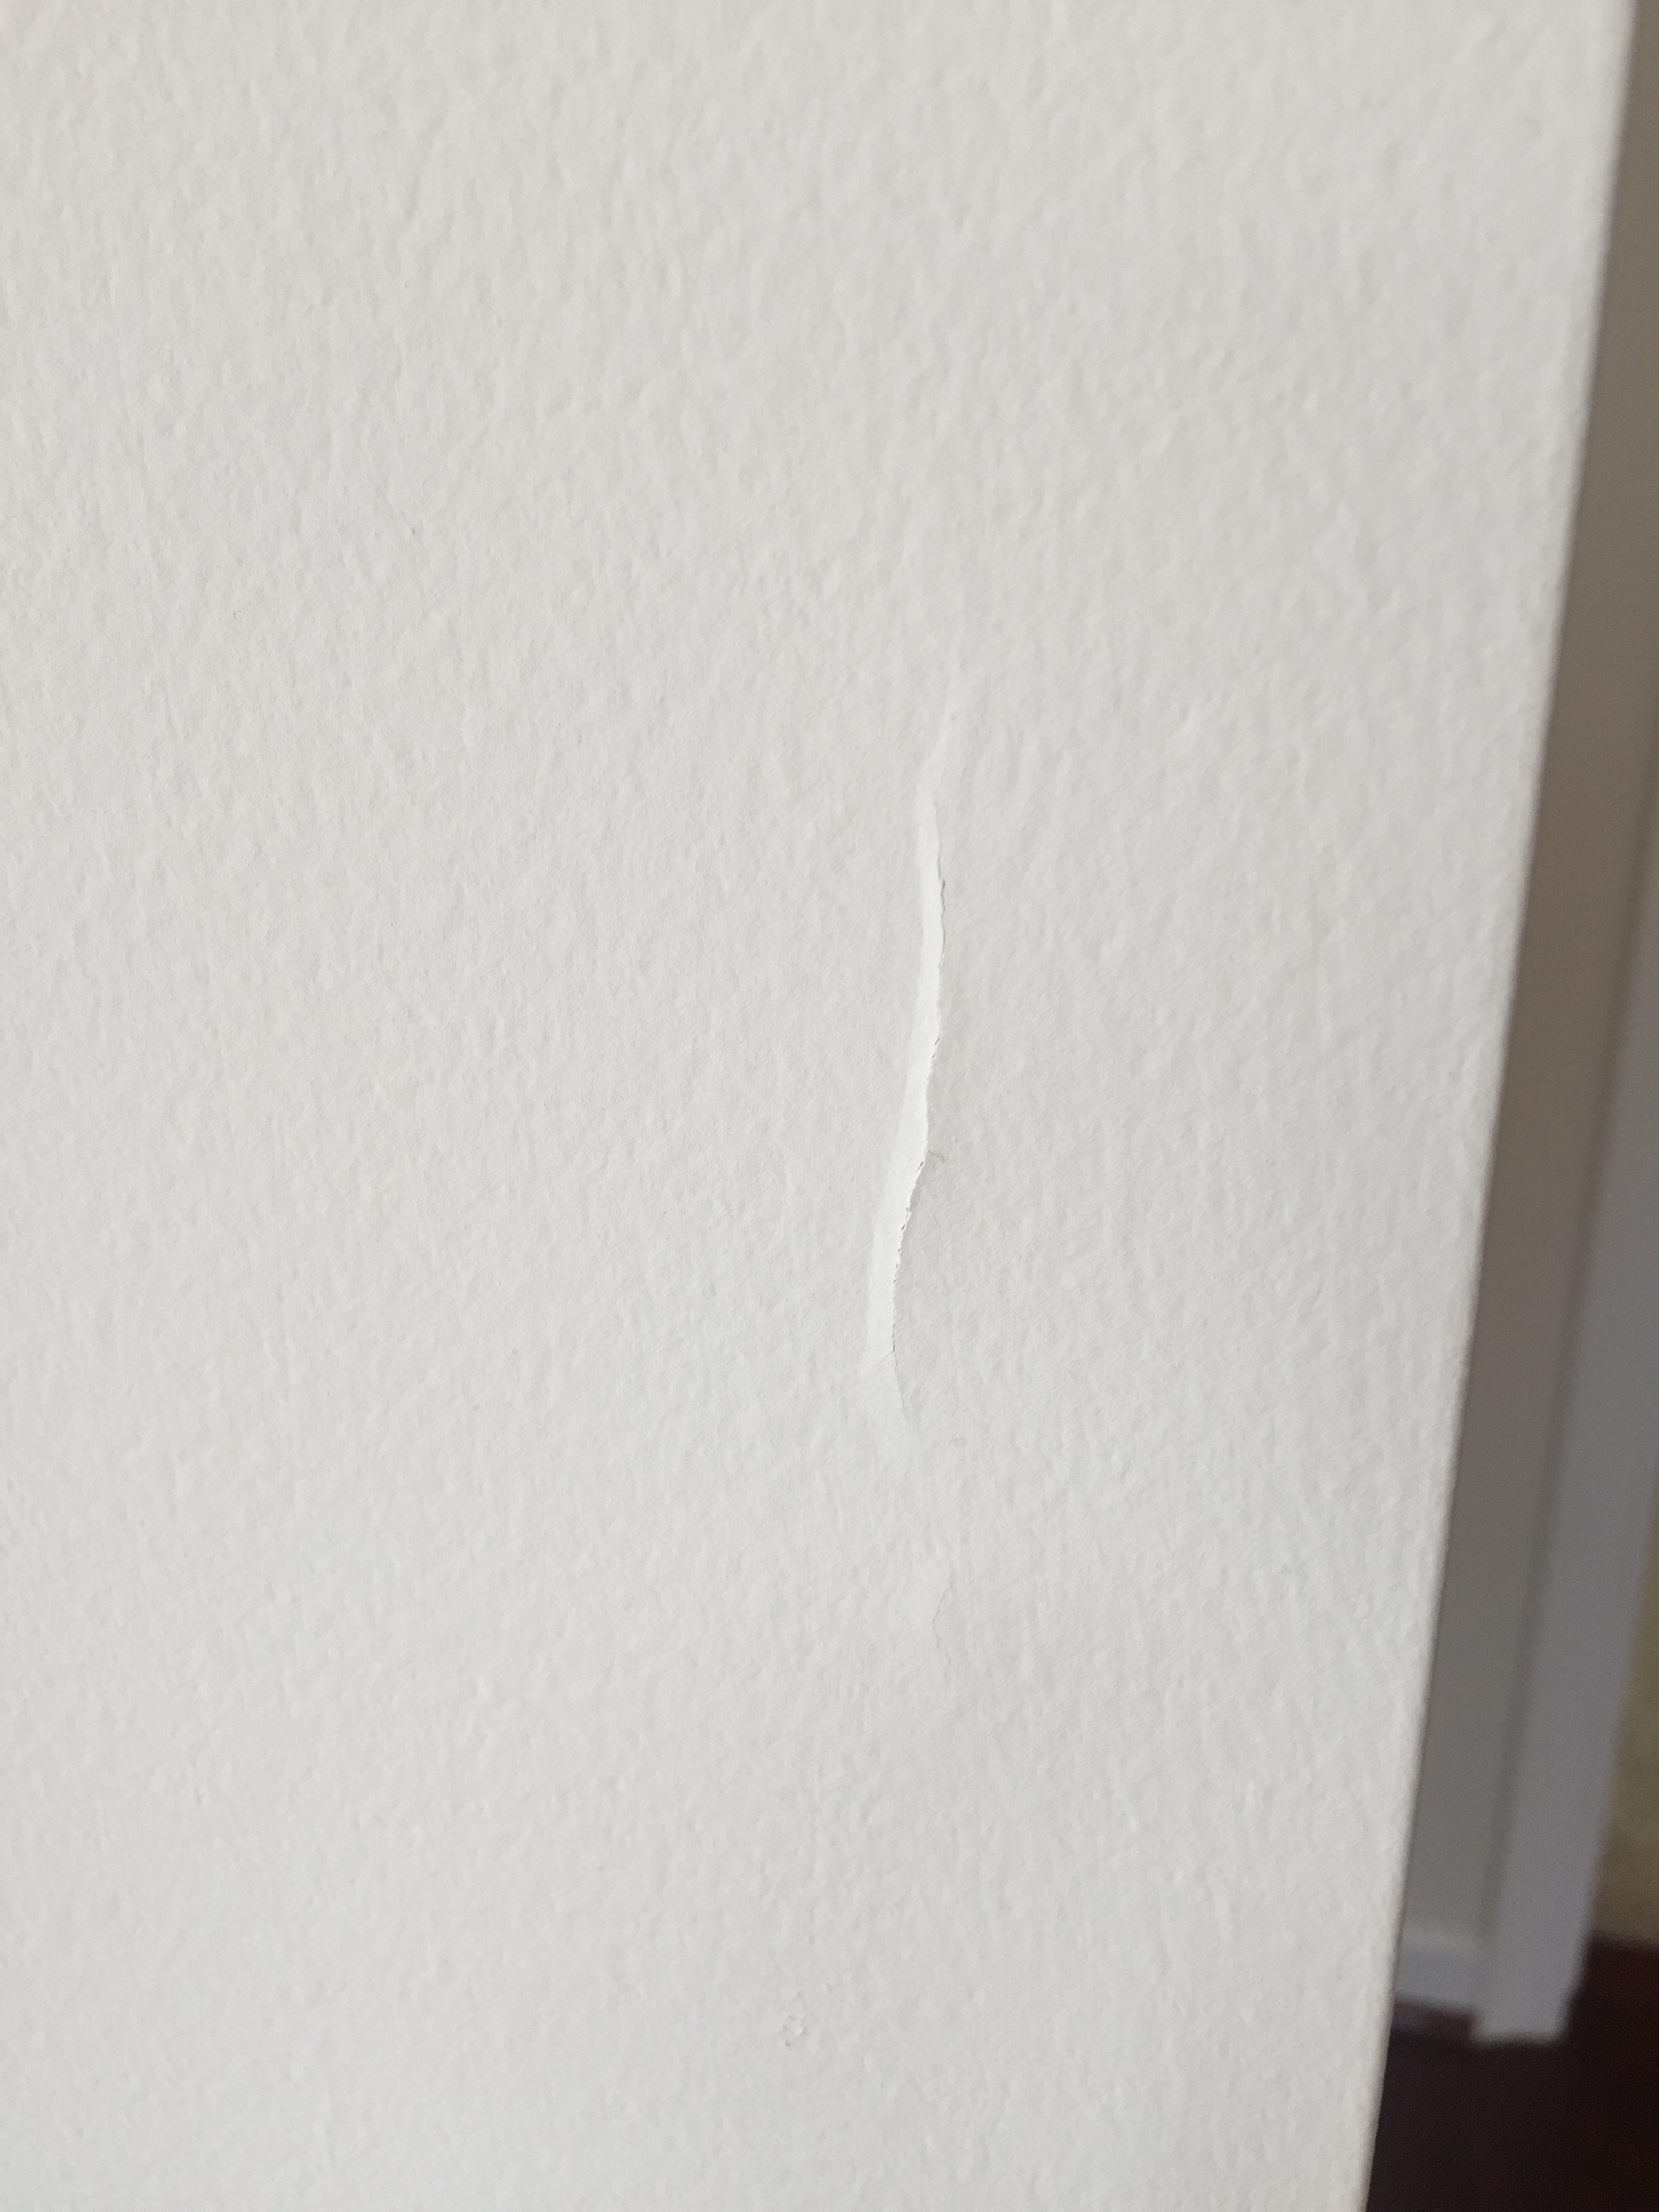
Some cracks presented themselves.

popped nail under drywall creating obvious dent

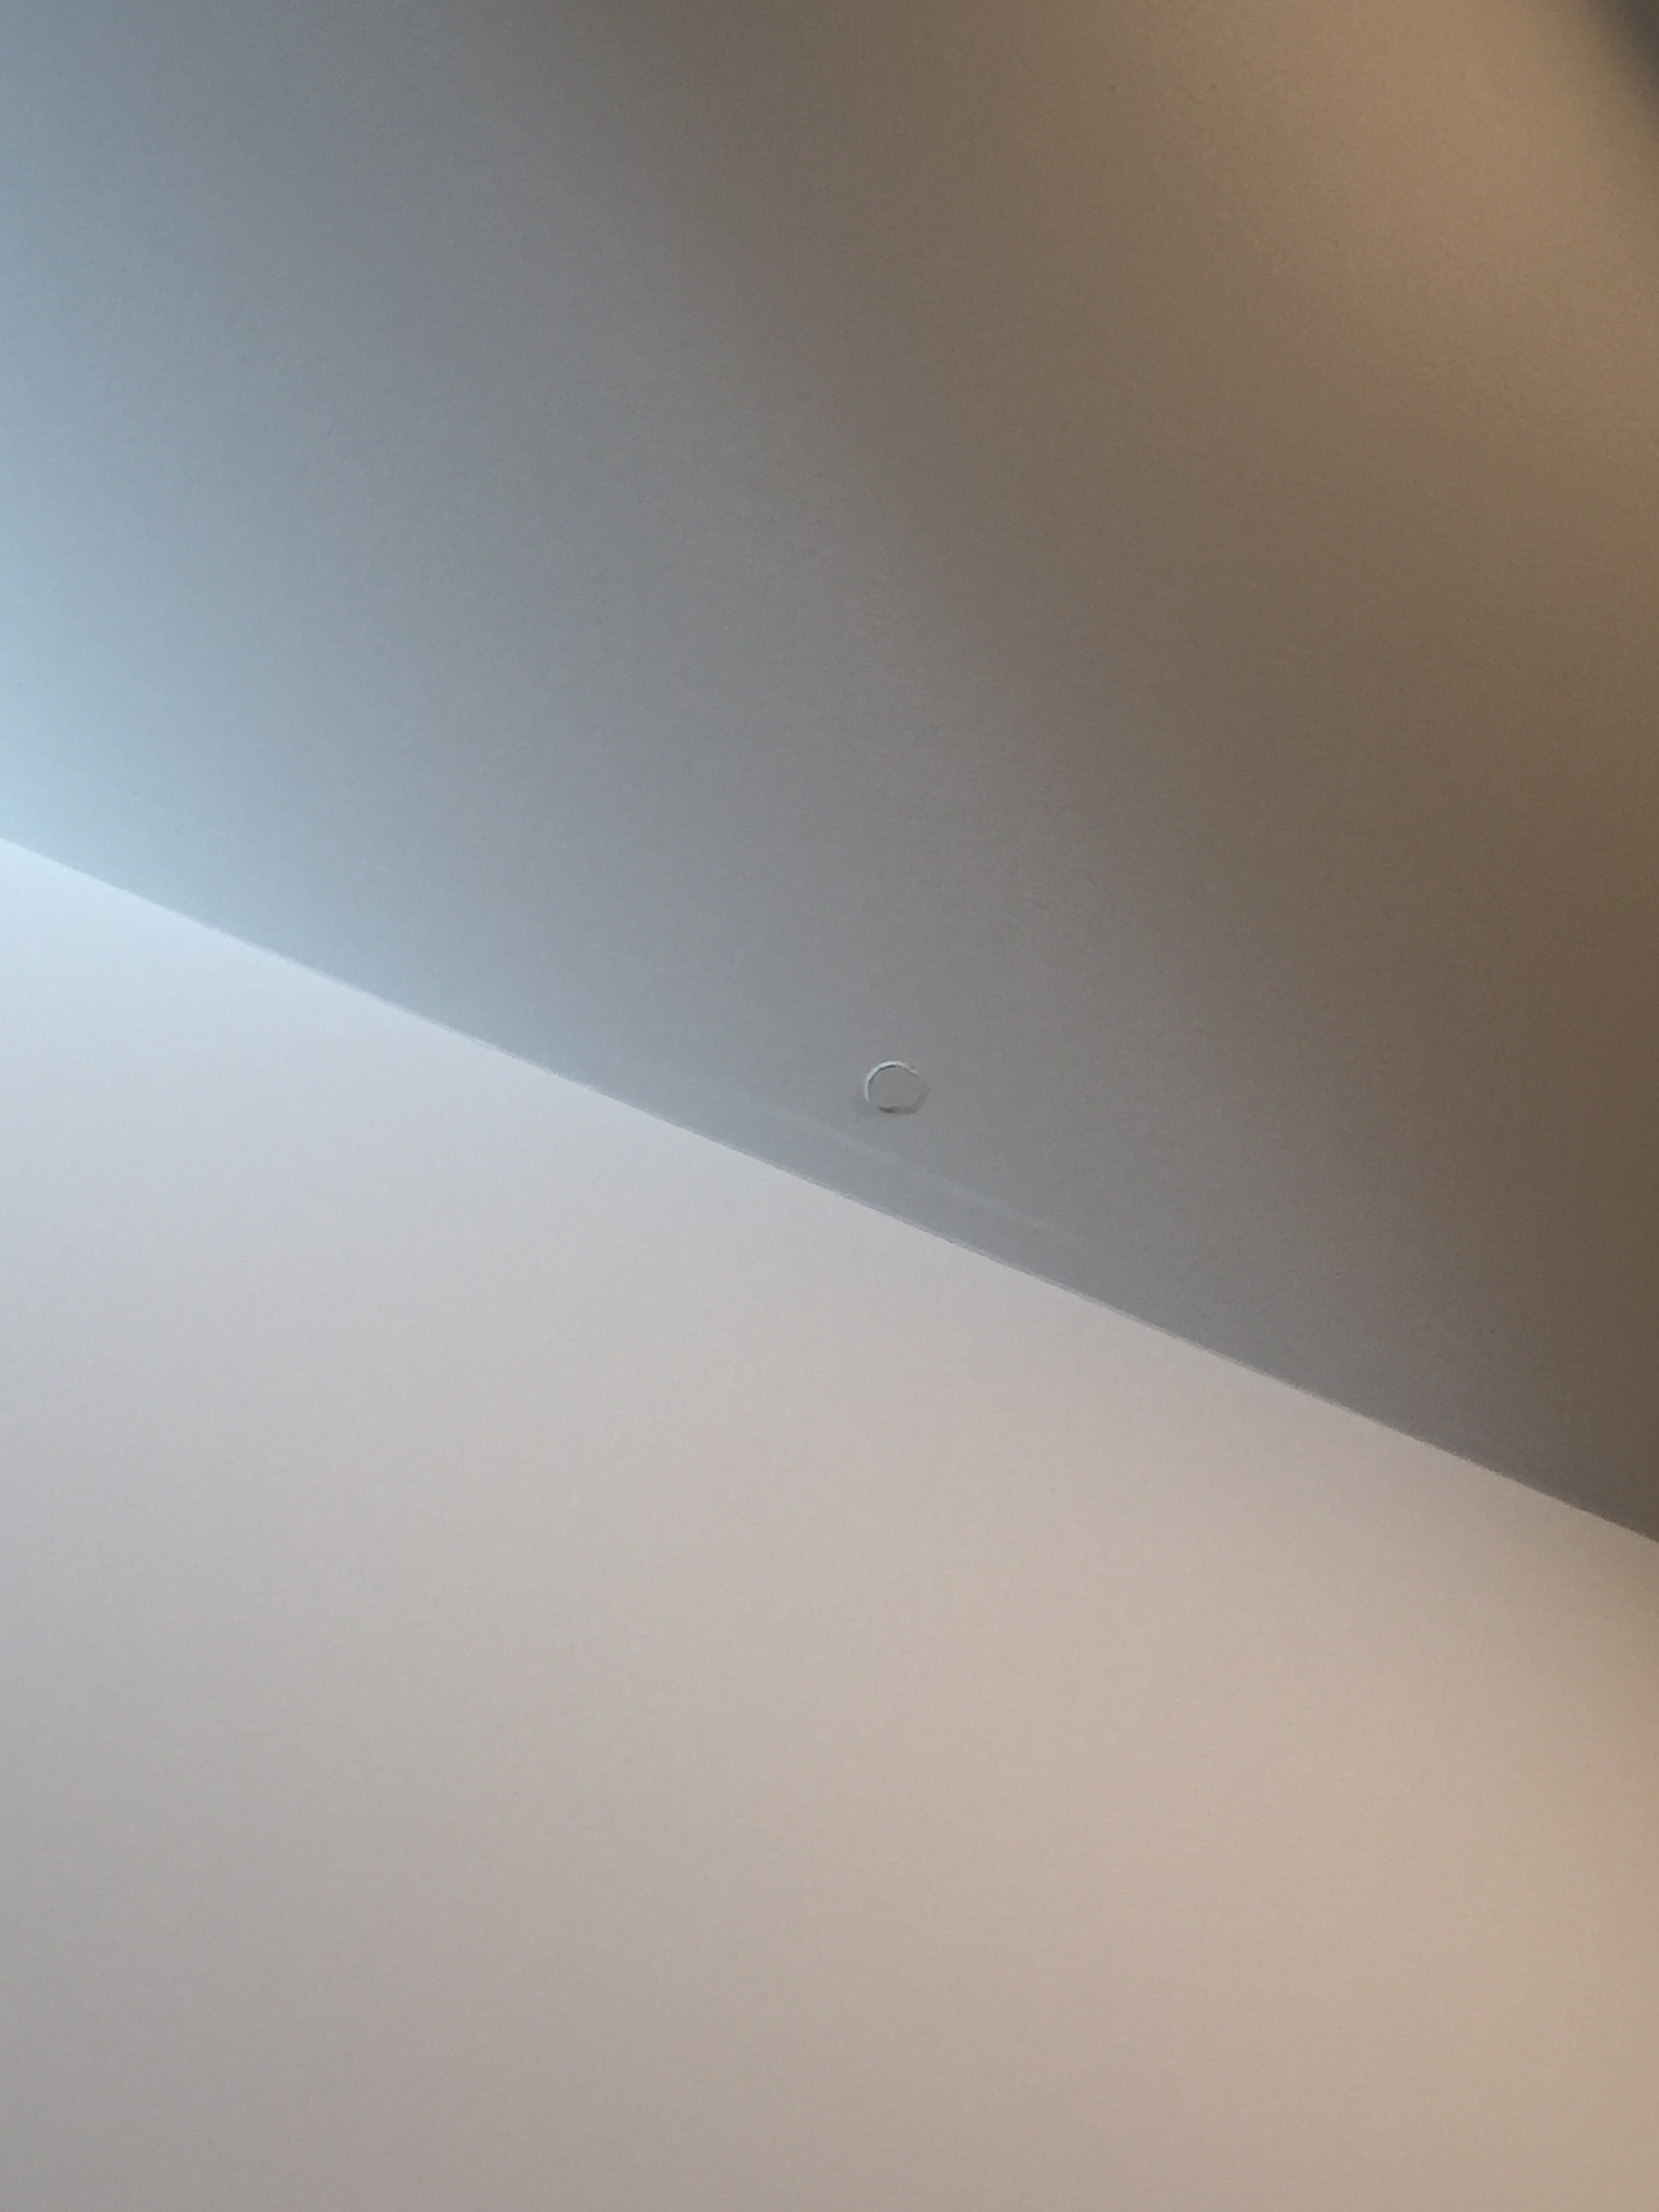
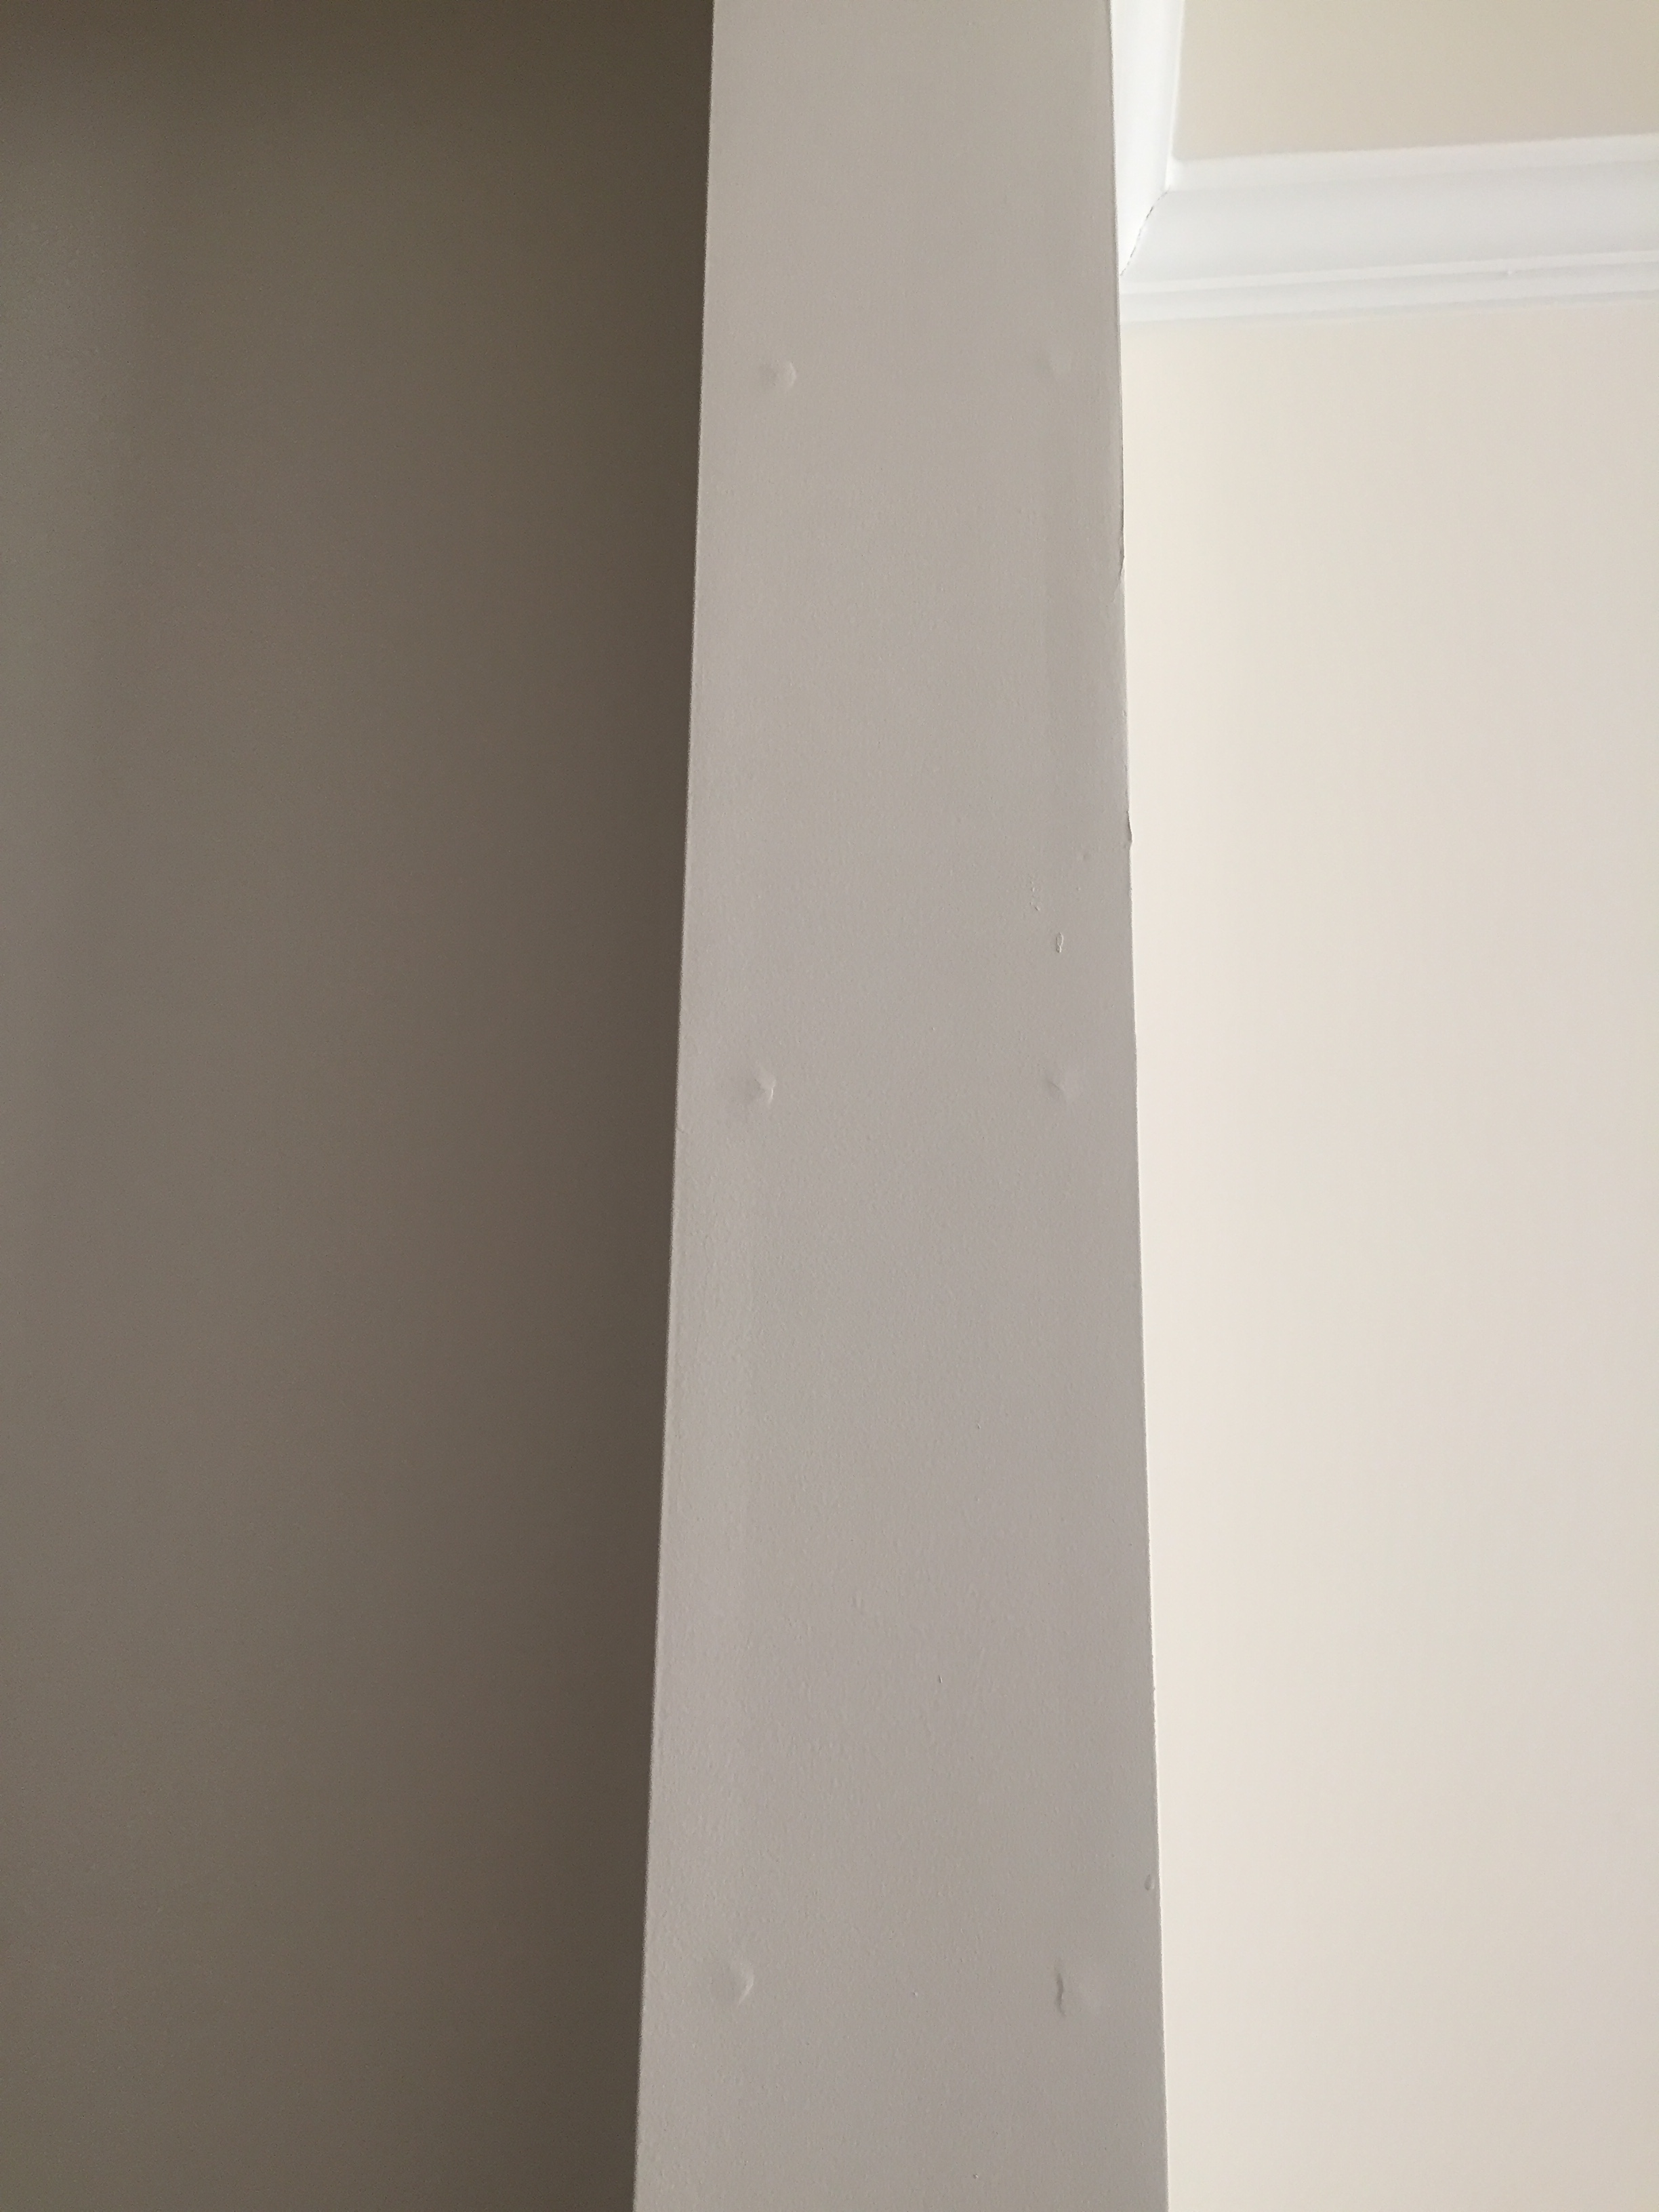
A few nails popped quite clearly.

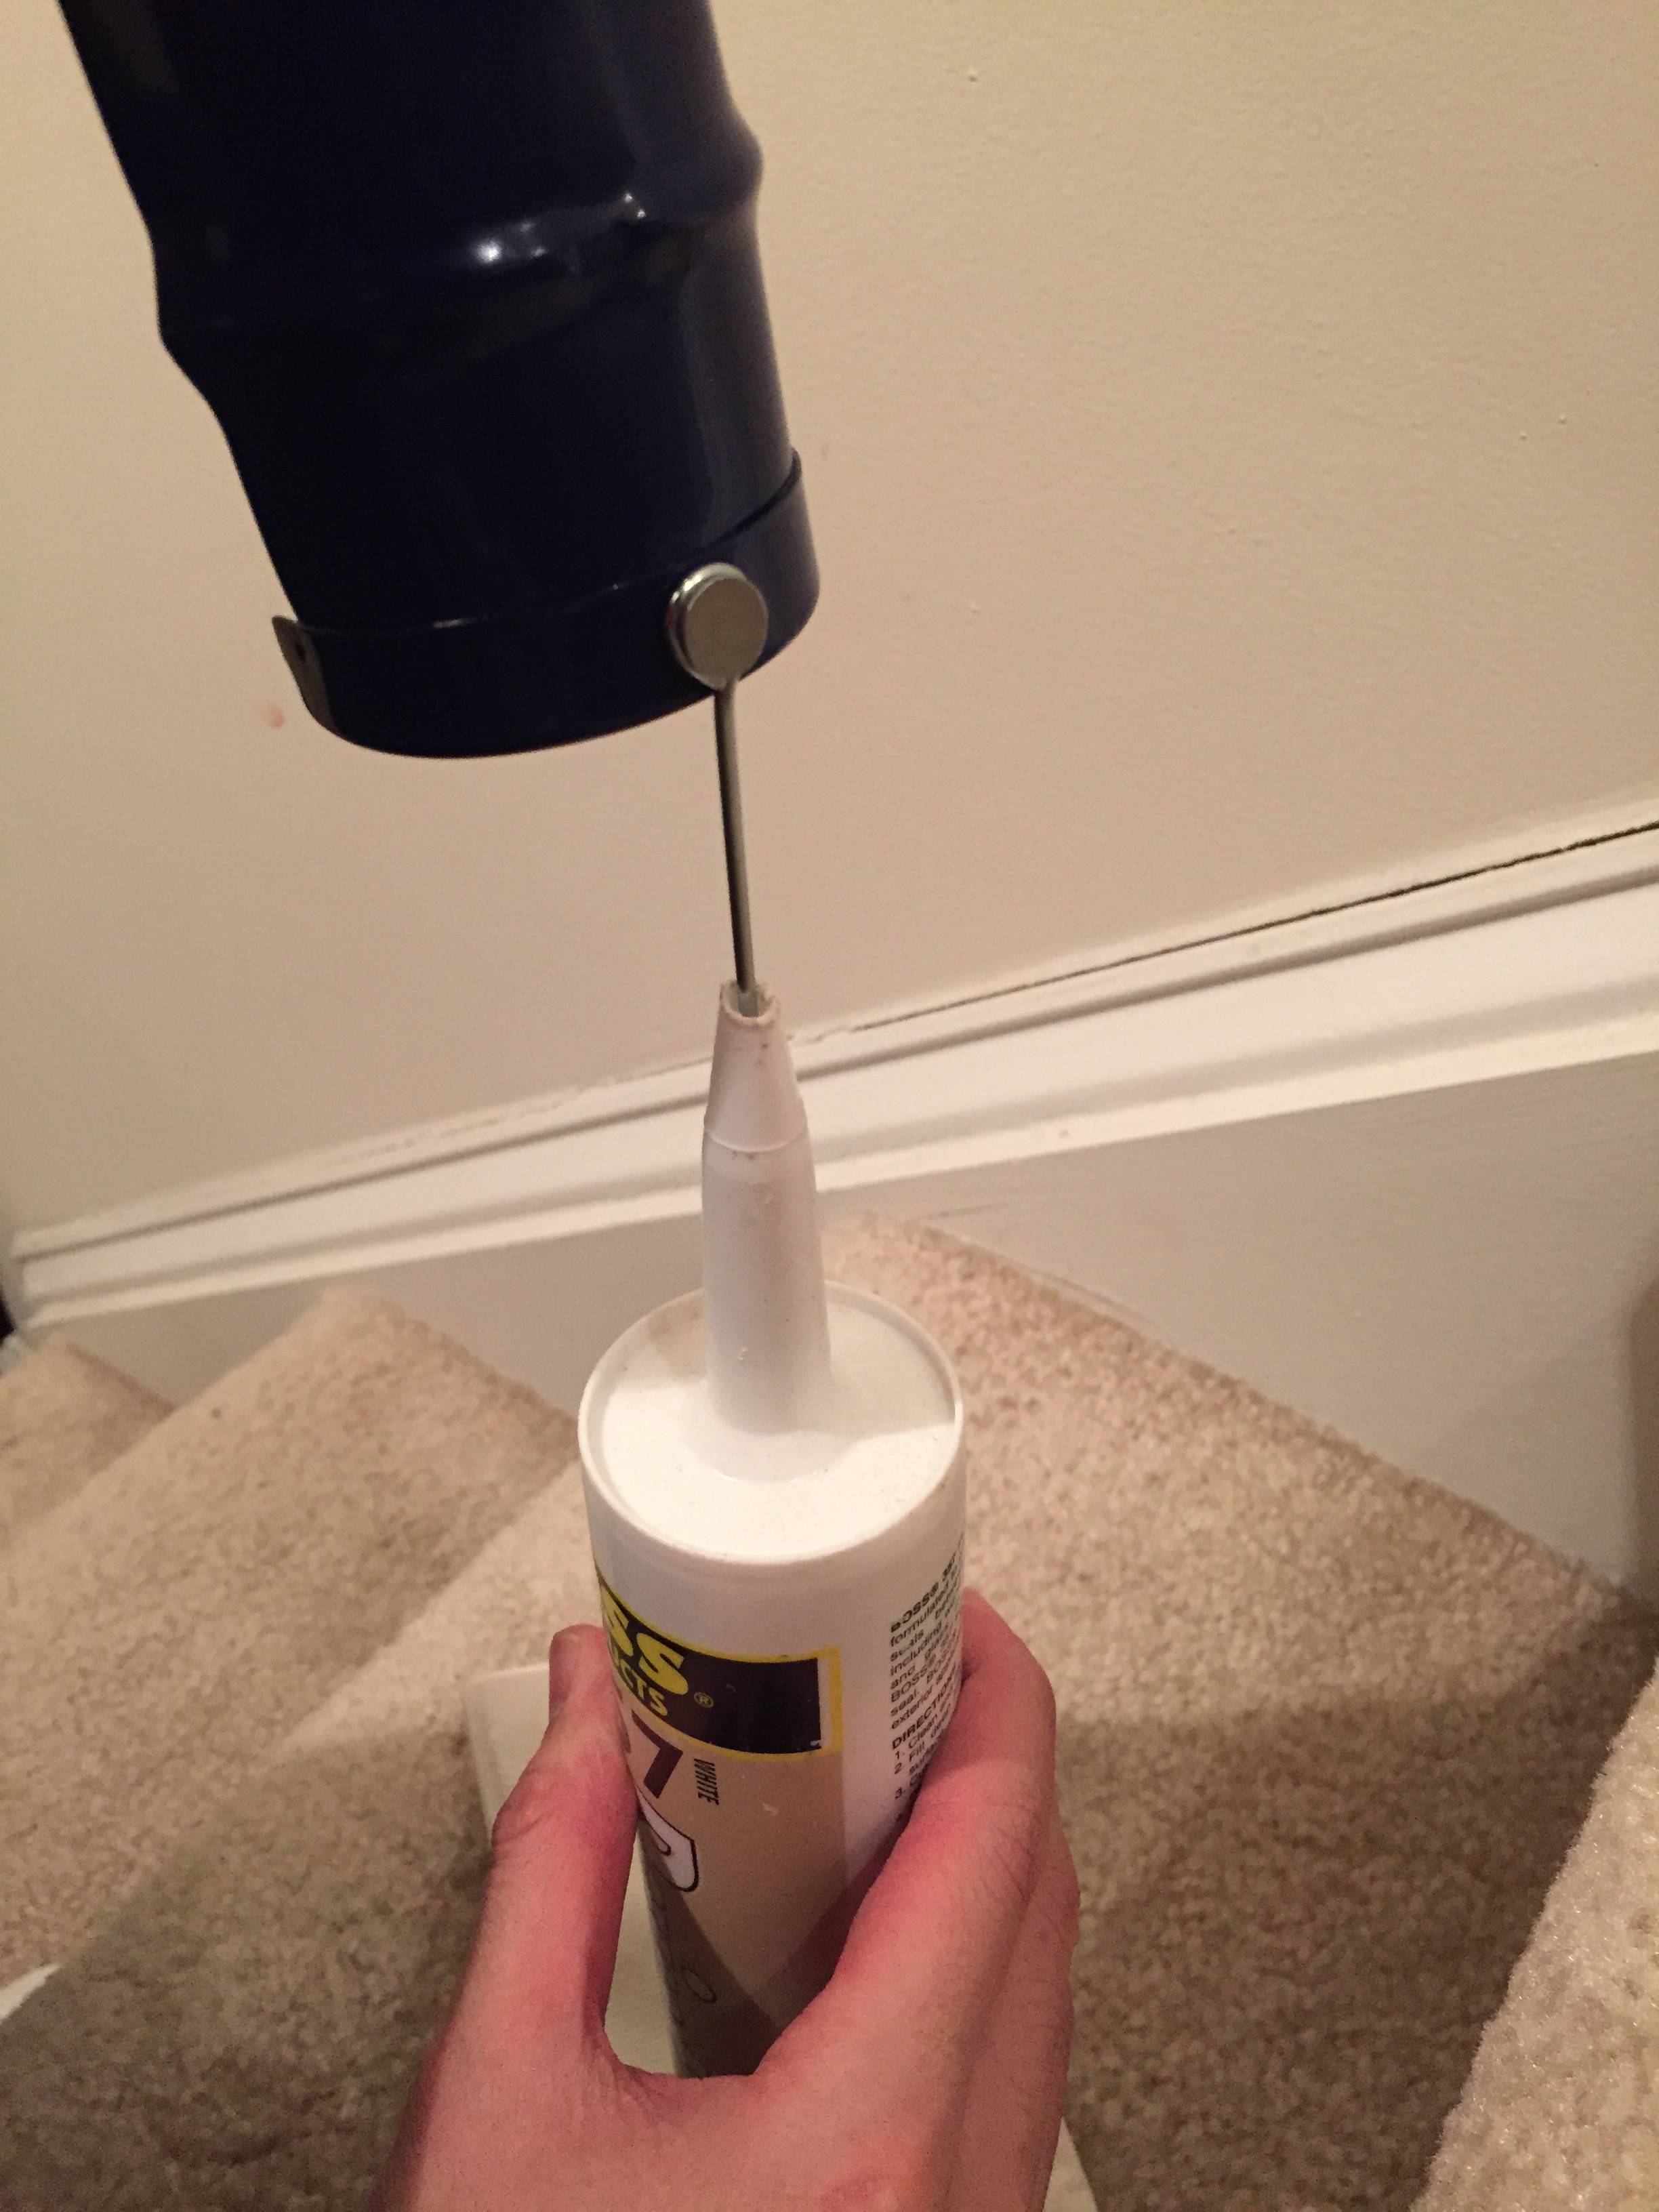
When the guy came, he quickly set out to fix up all those parts of the walls and ceiling.

plastic protectant laid on ground to catch drywall pieces

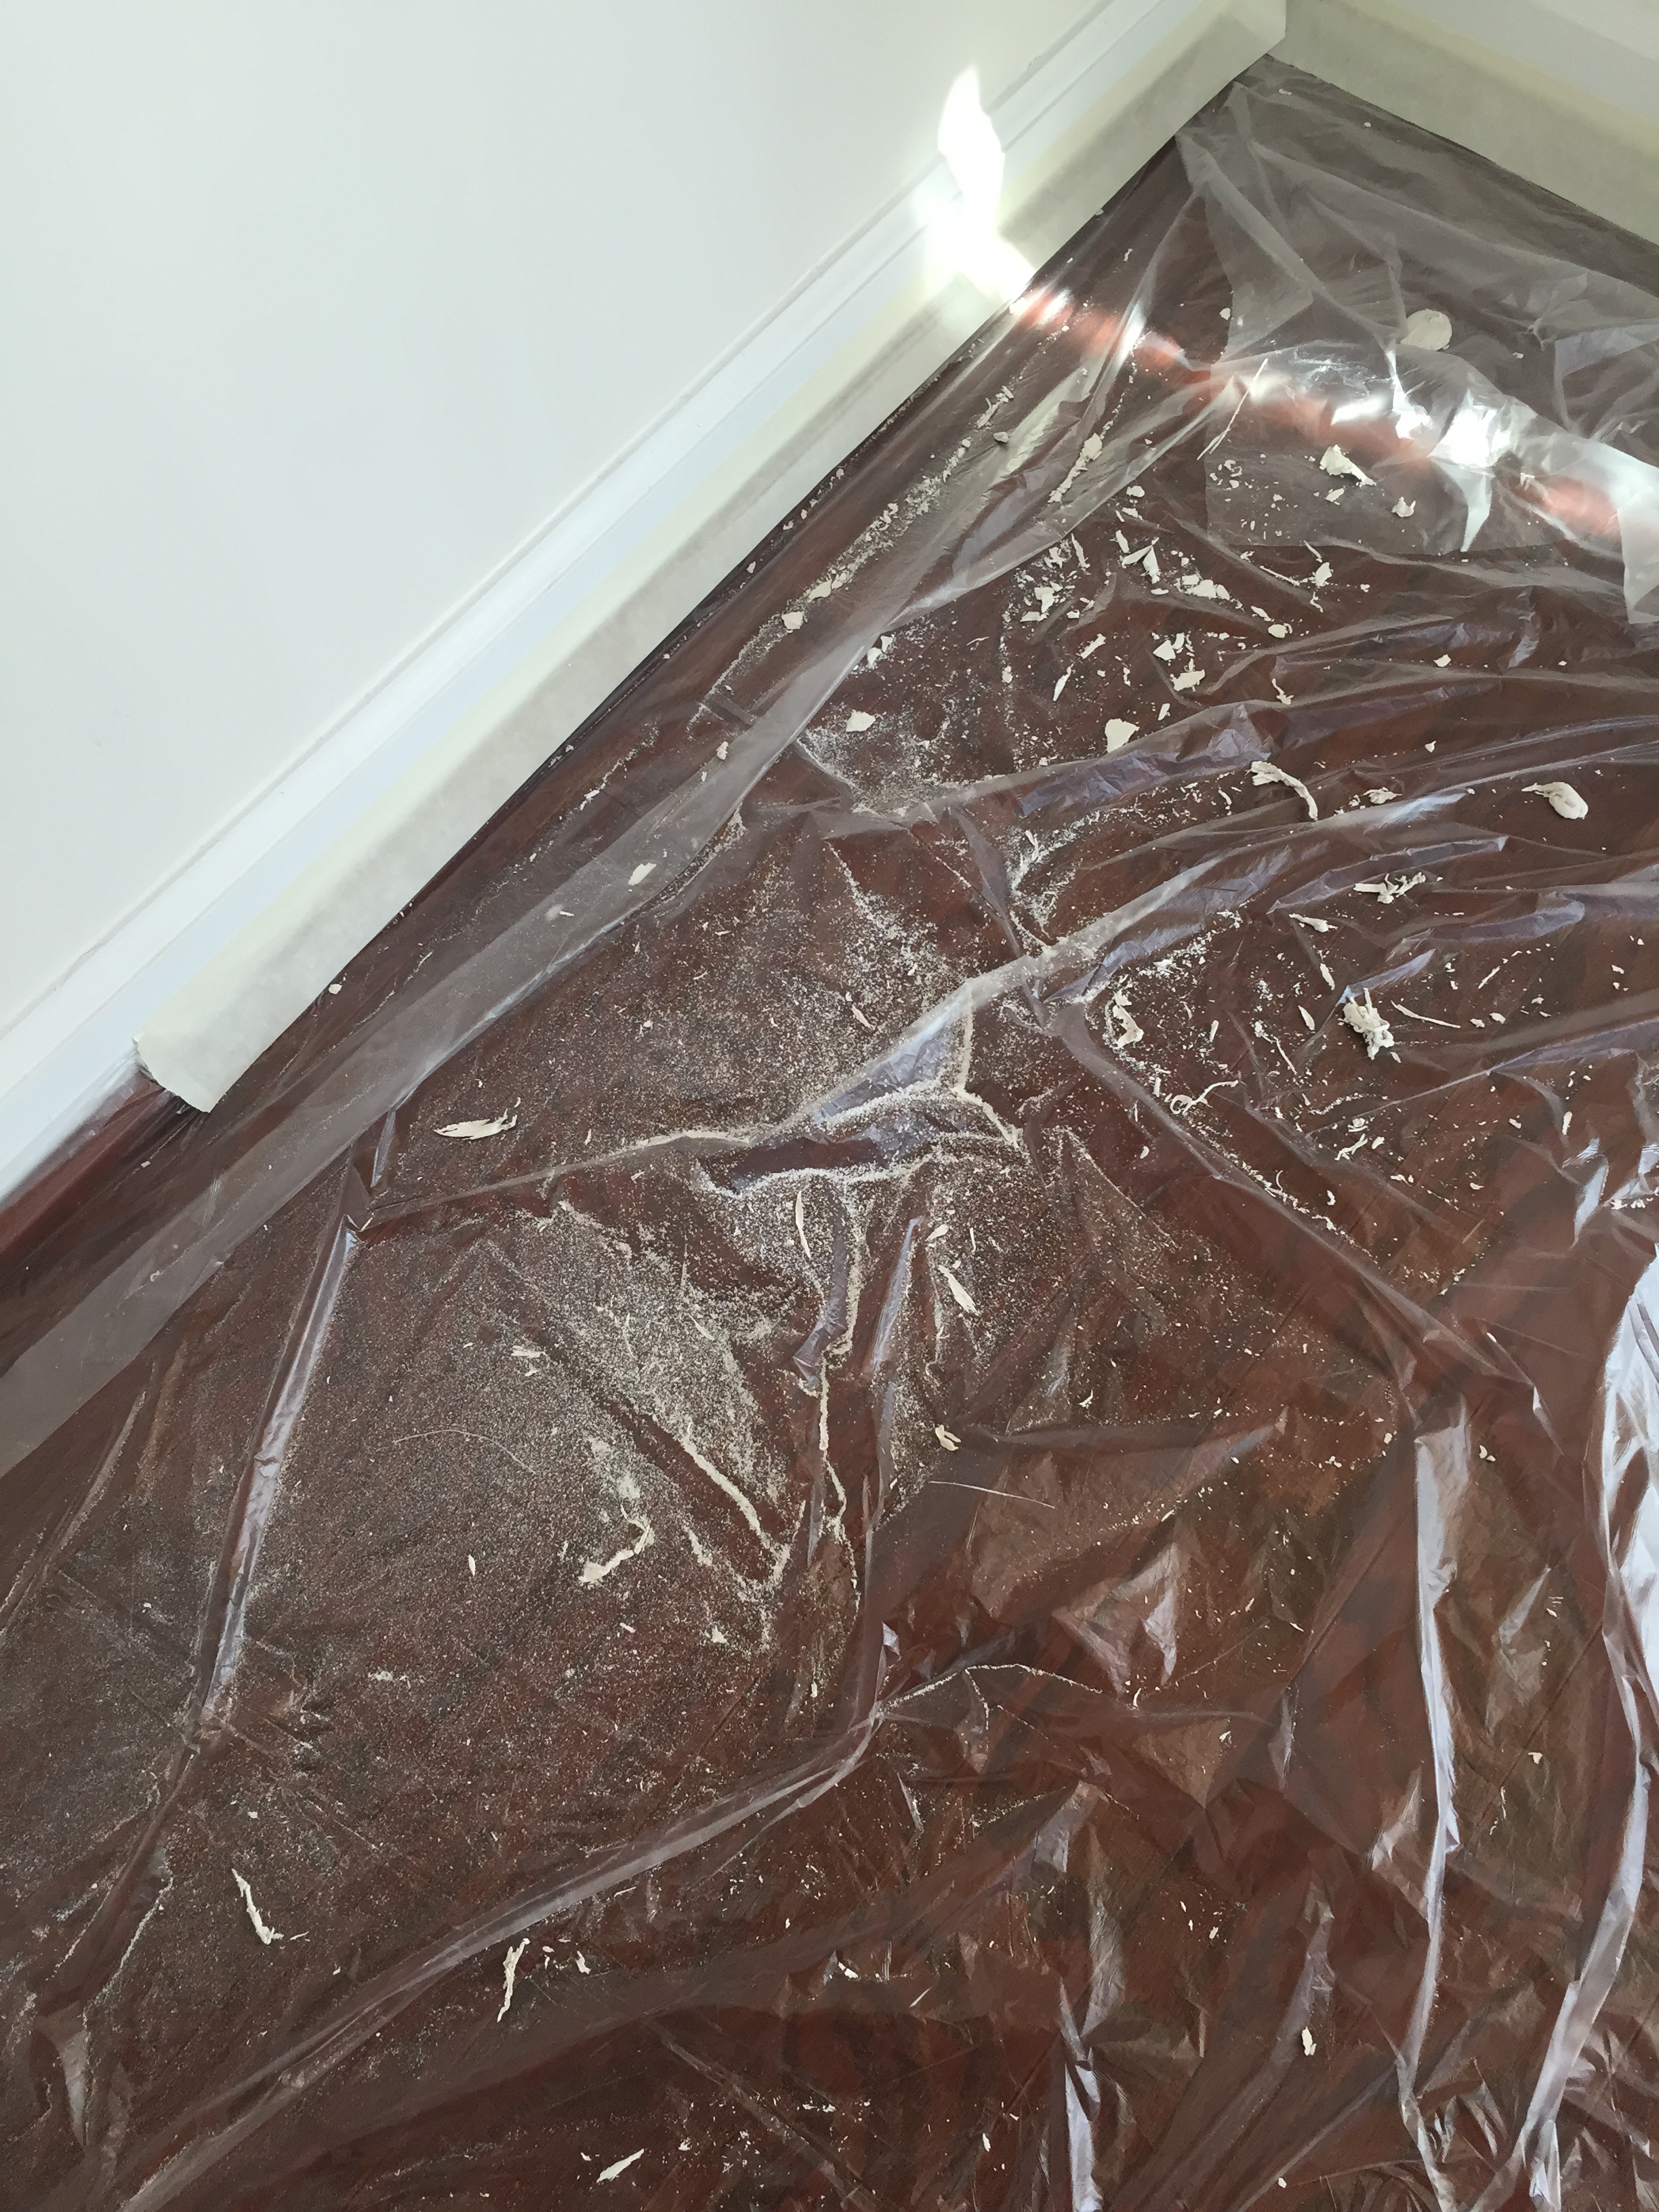
He carefully laid down plastic to cover areas where he was working.

exposed drywall patch being fixed and redone

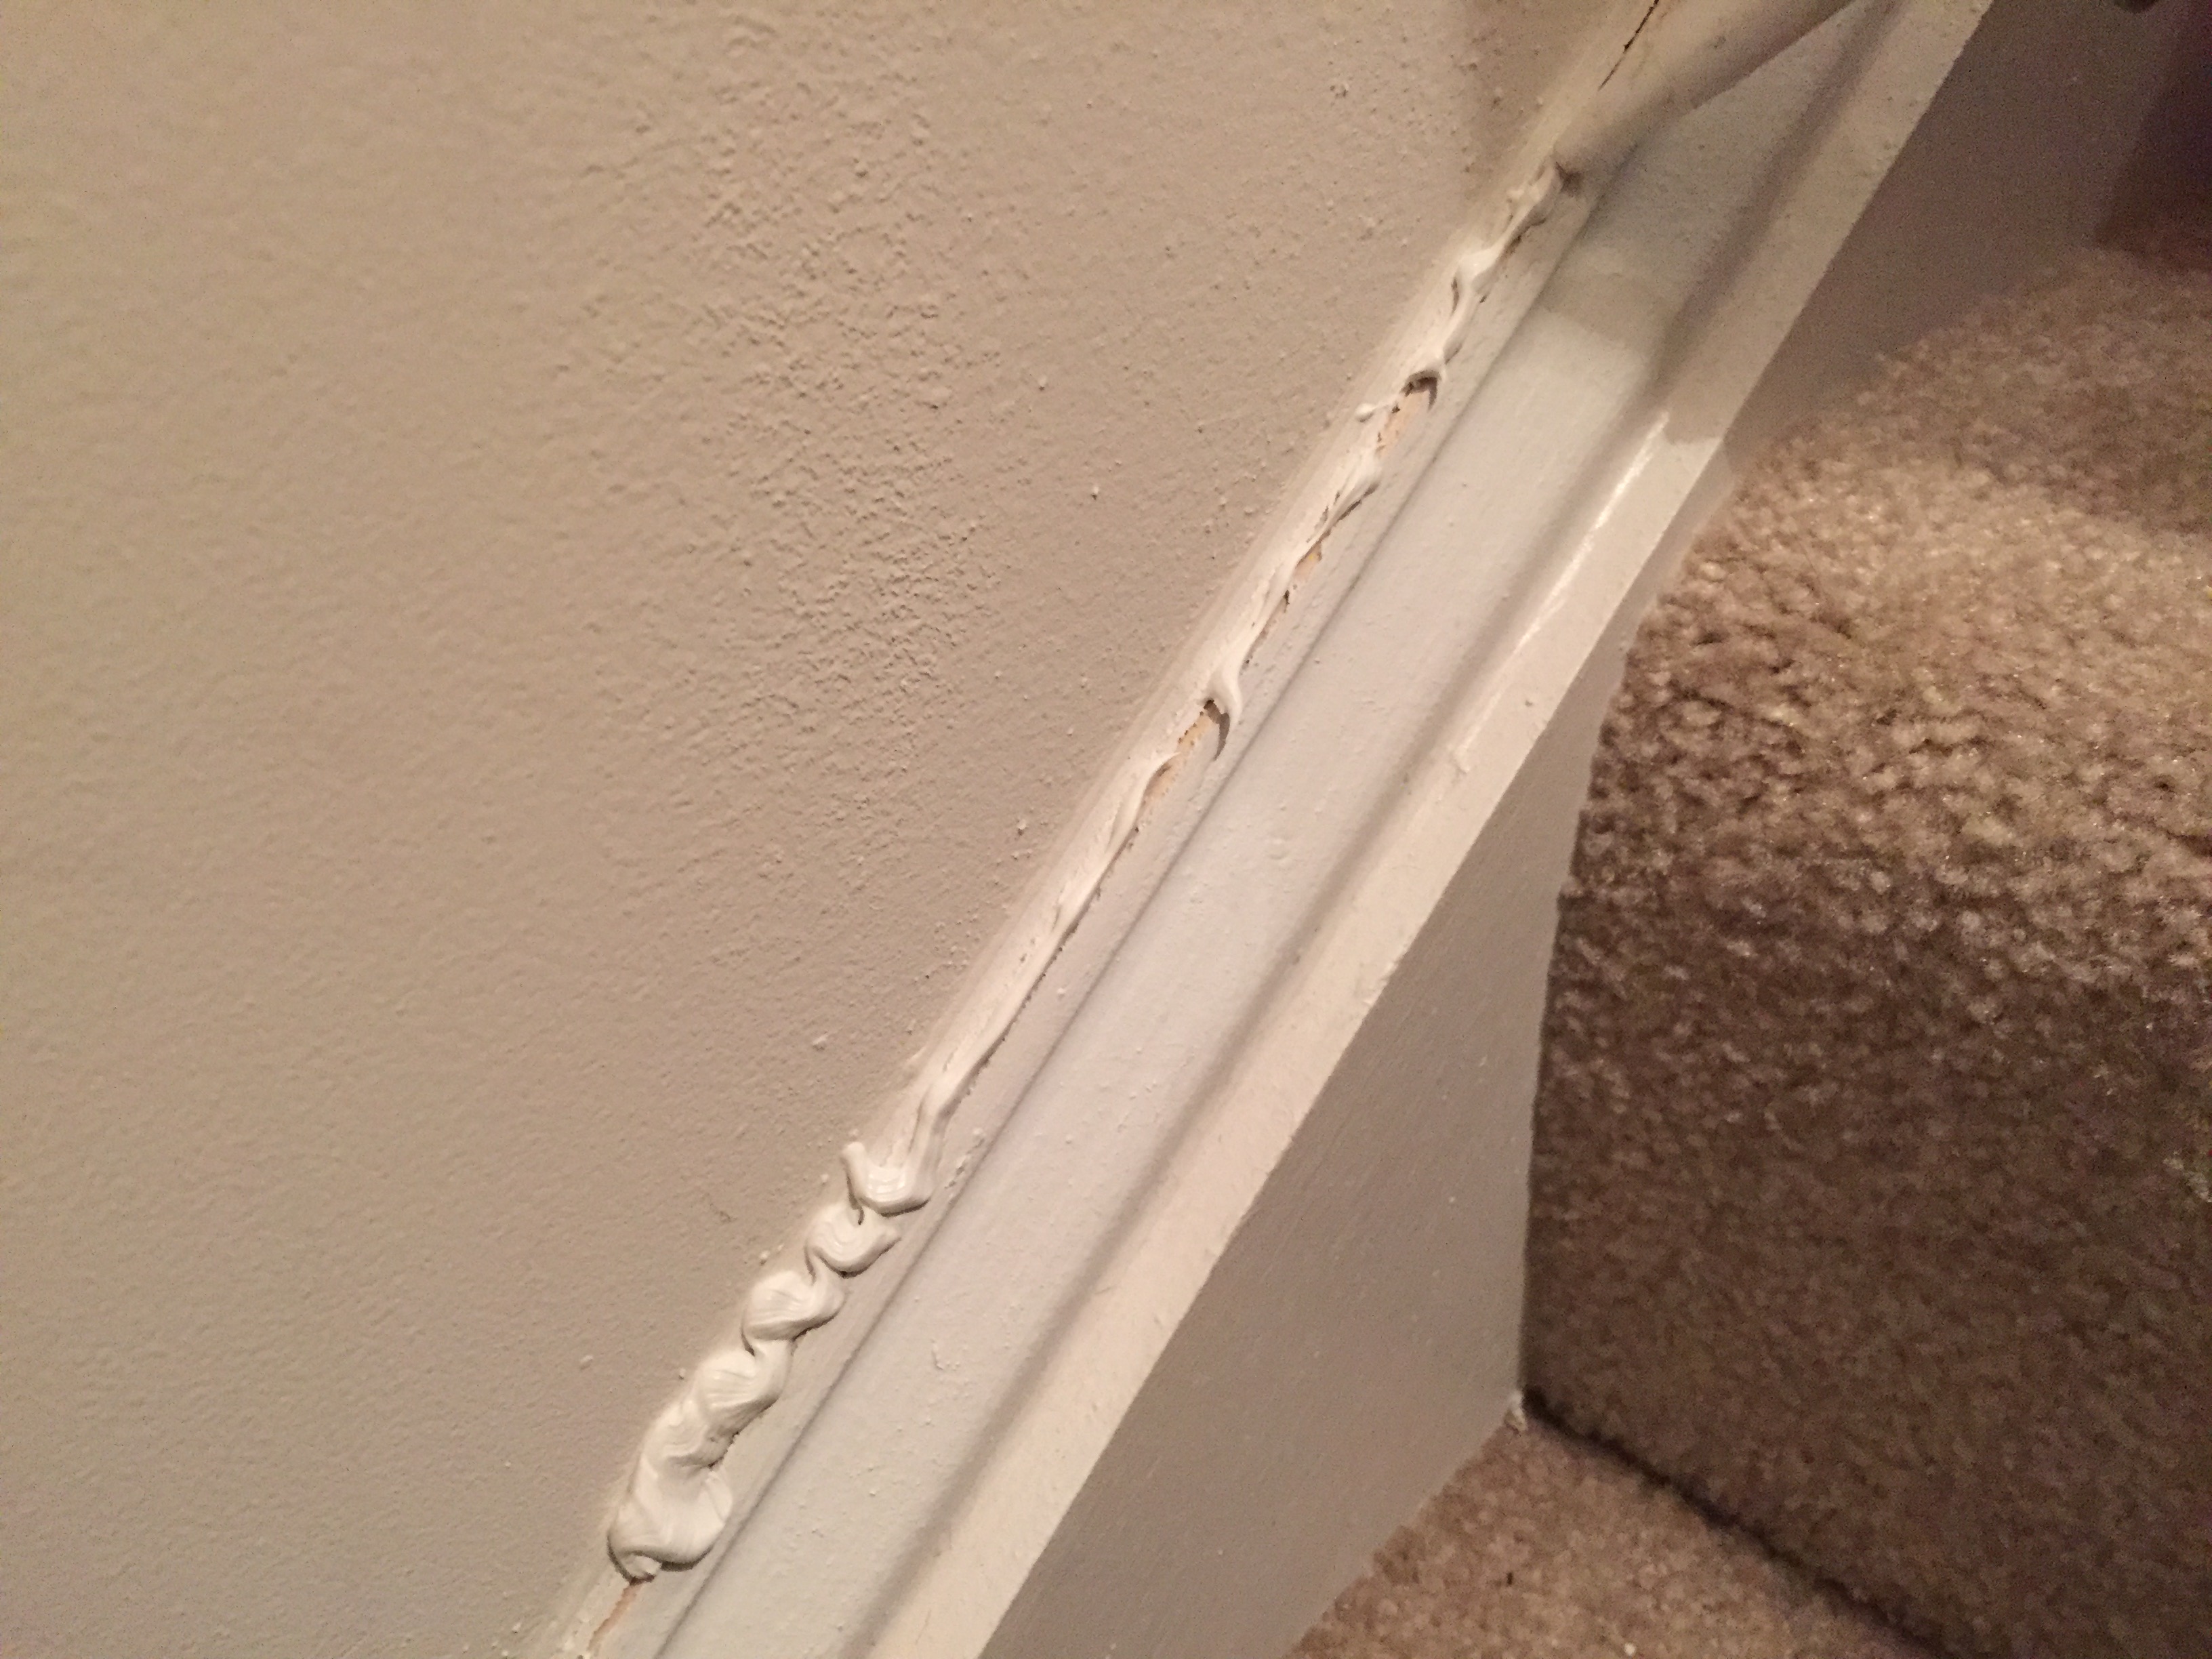
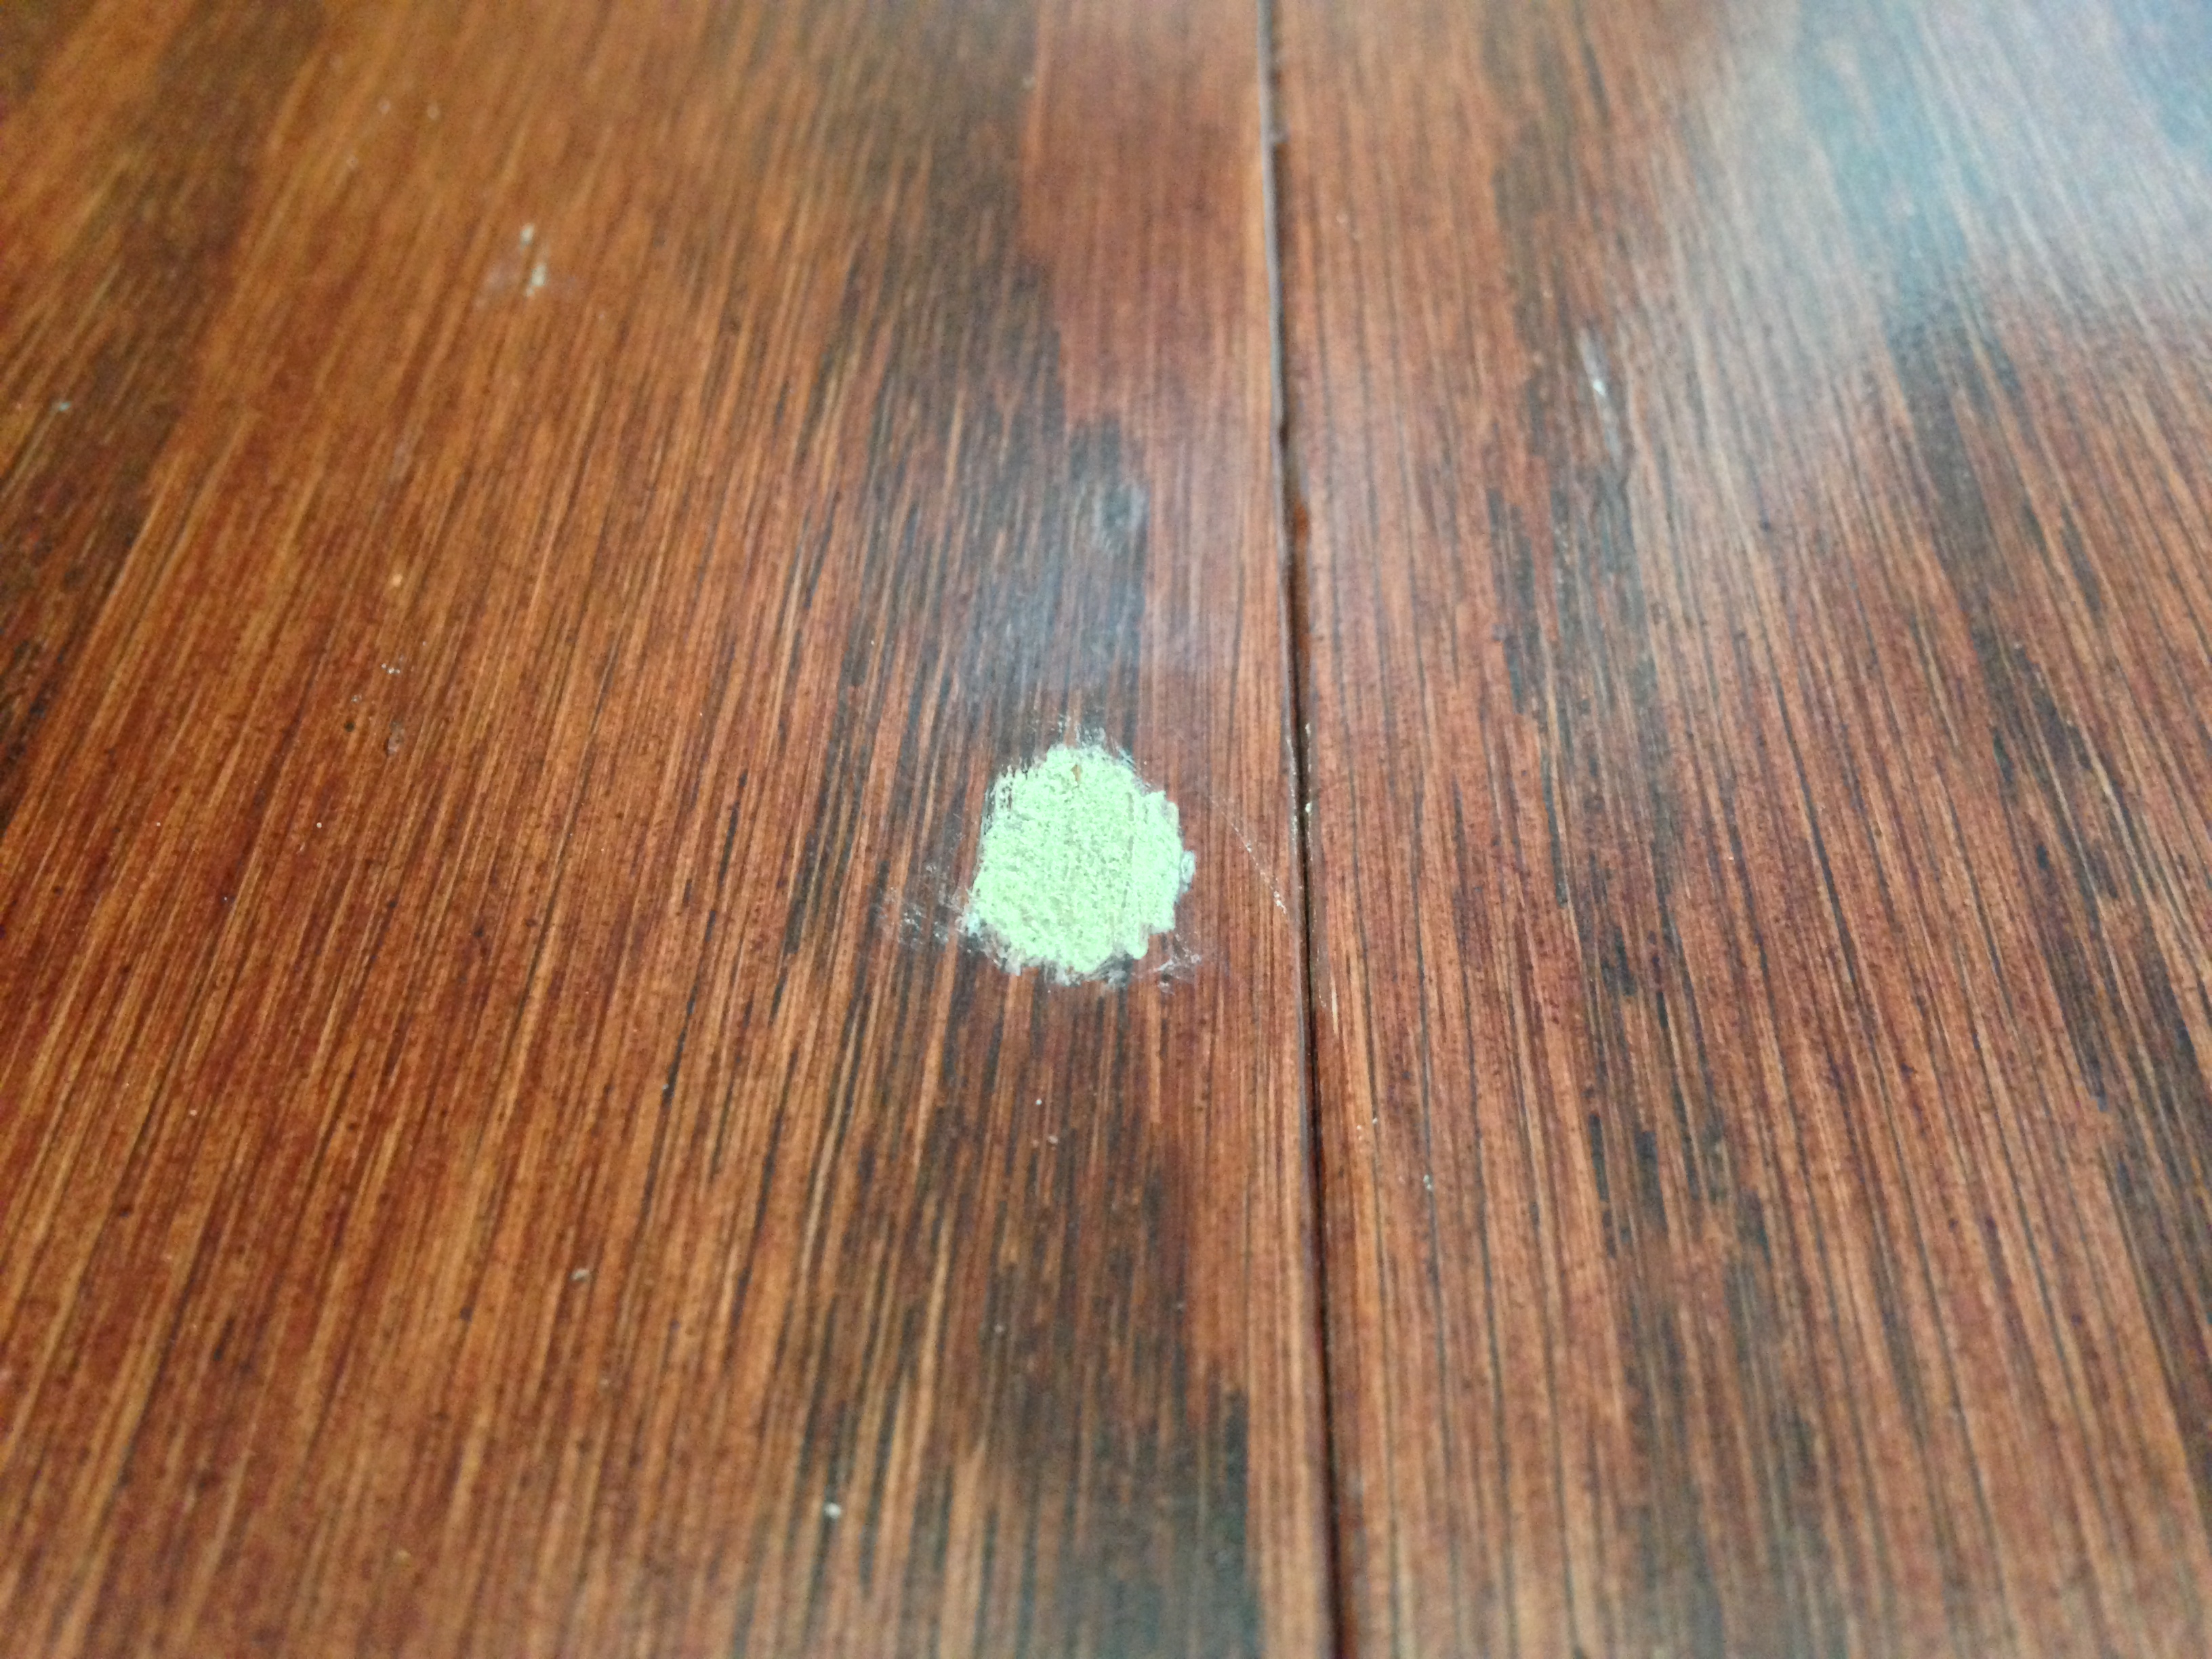
The cracks got chipped away and new drywall was put on top. The netting thing was to help things stabilize and adhere.

cat hiding in closet by hanging dress shirt sleeves

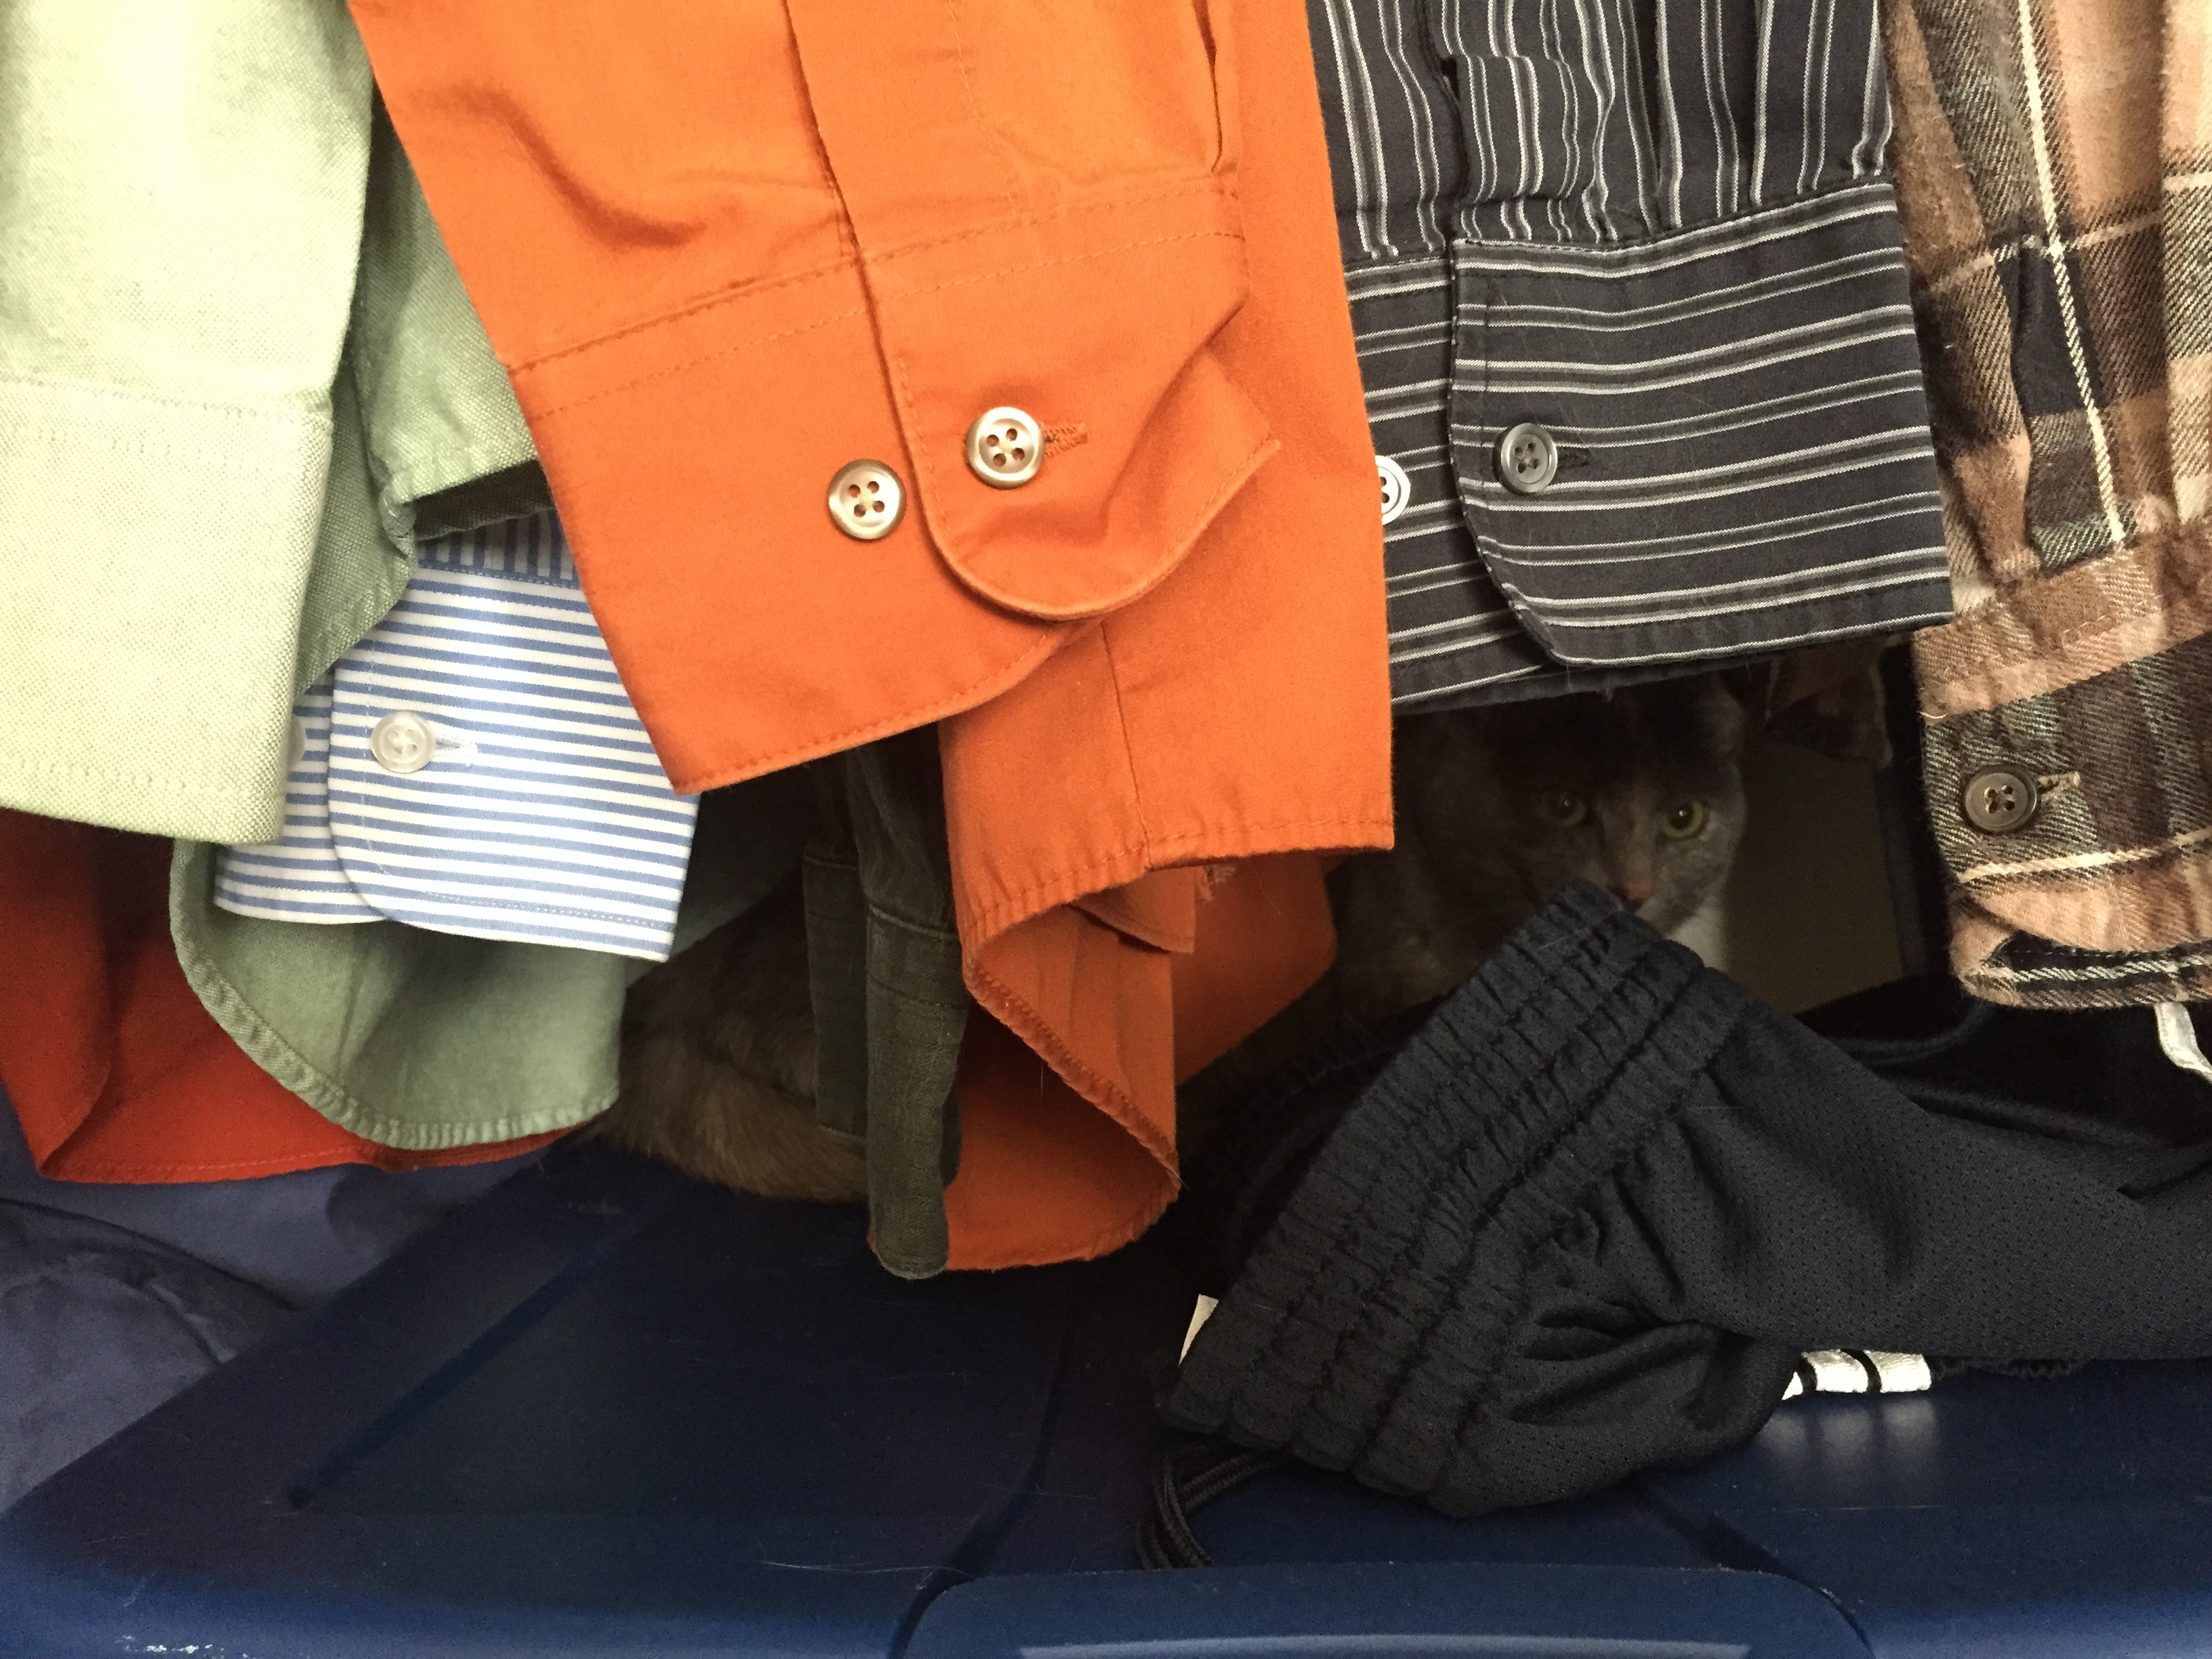
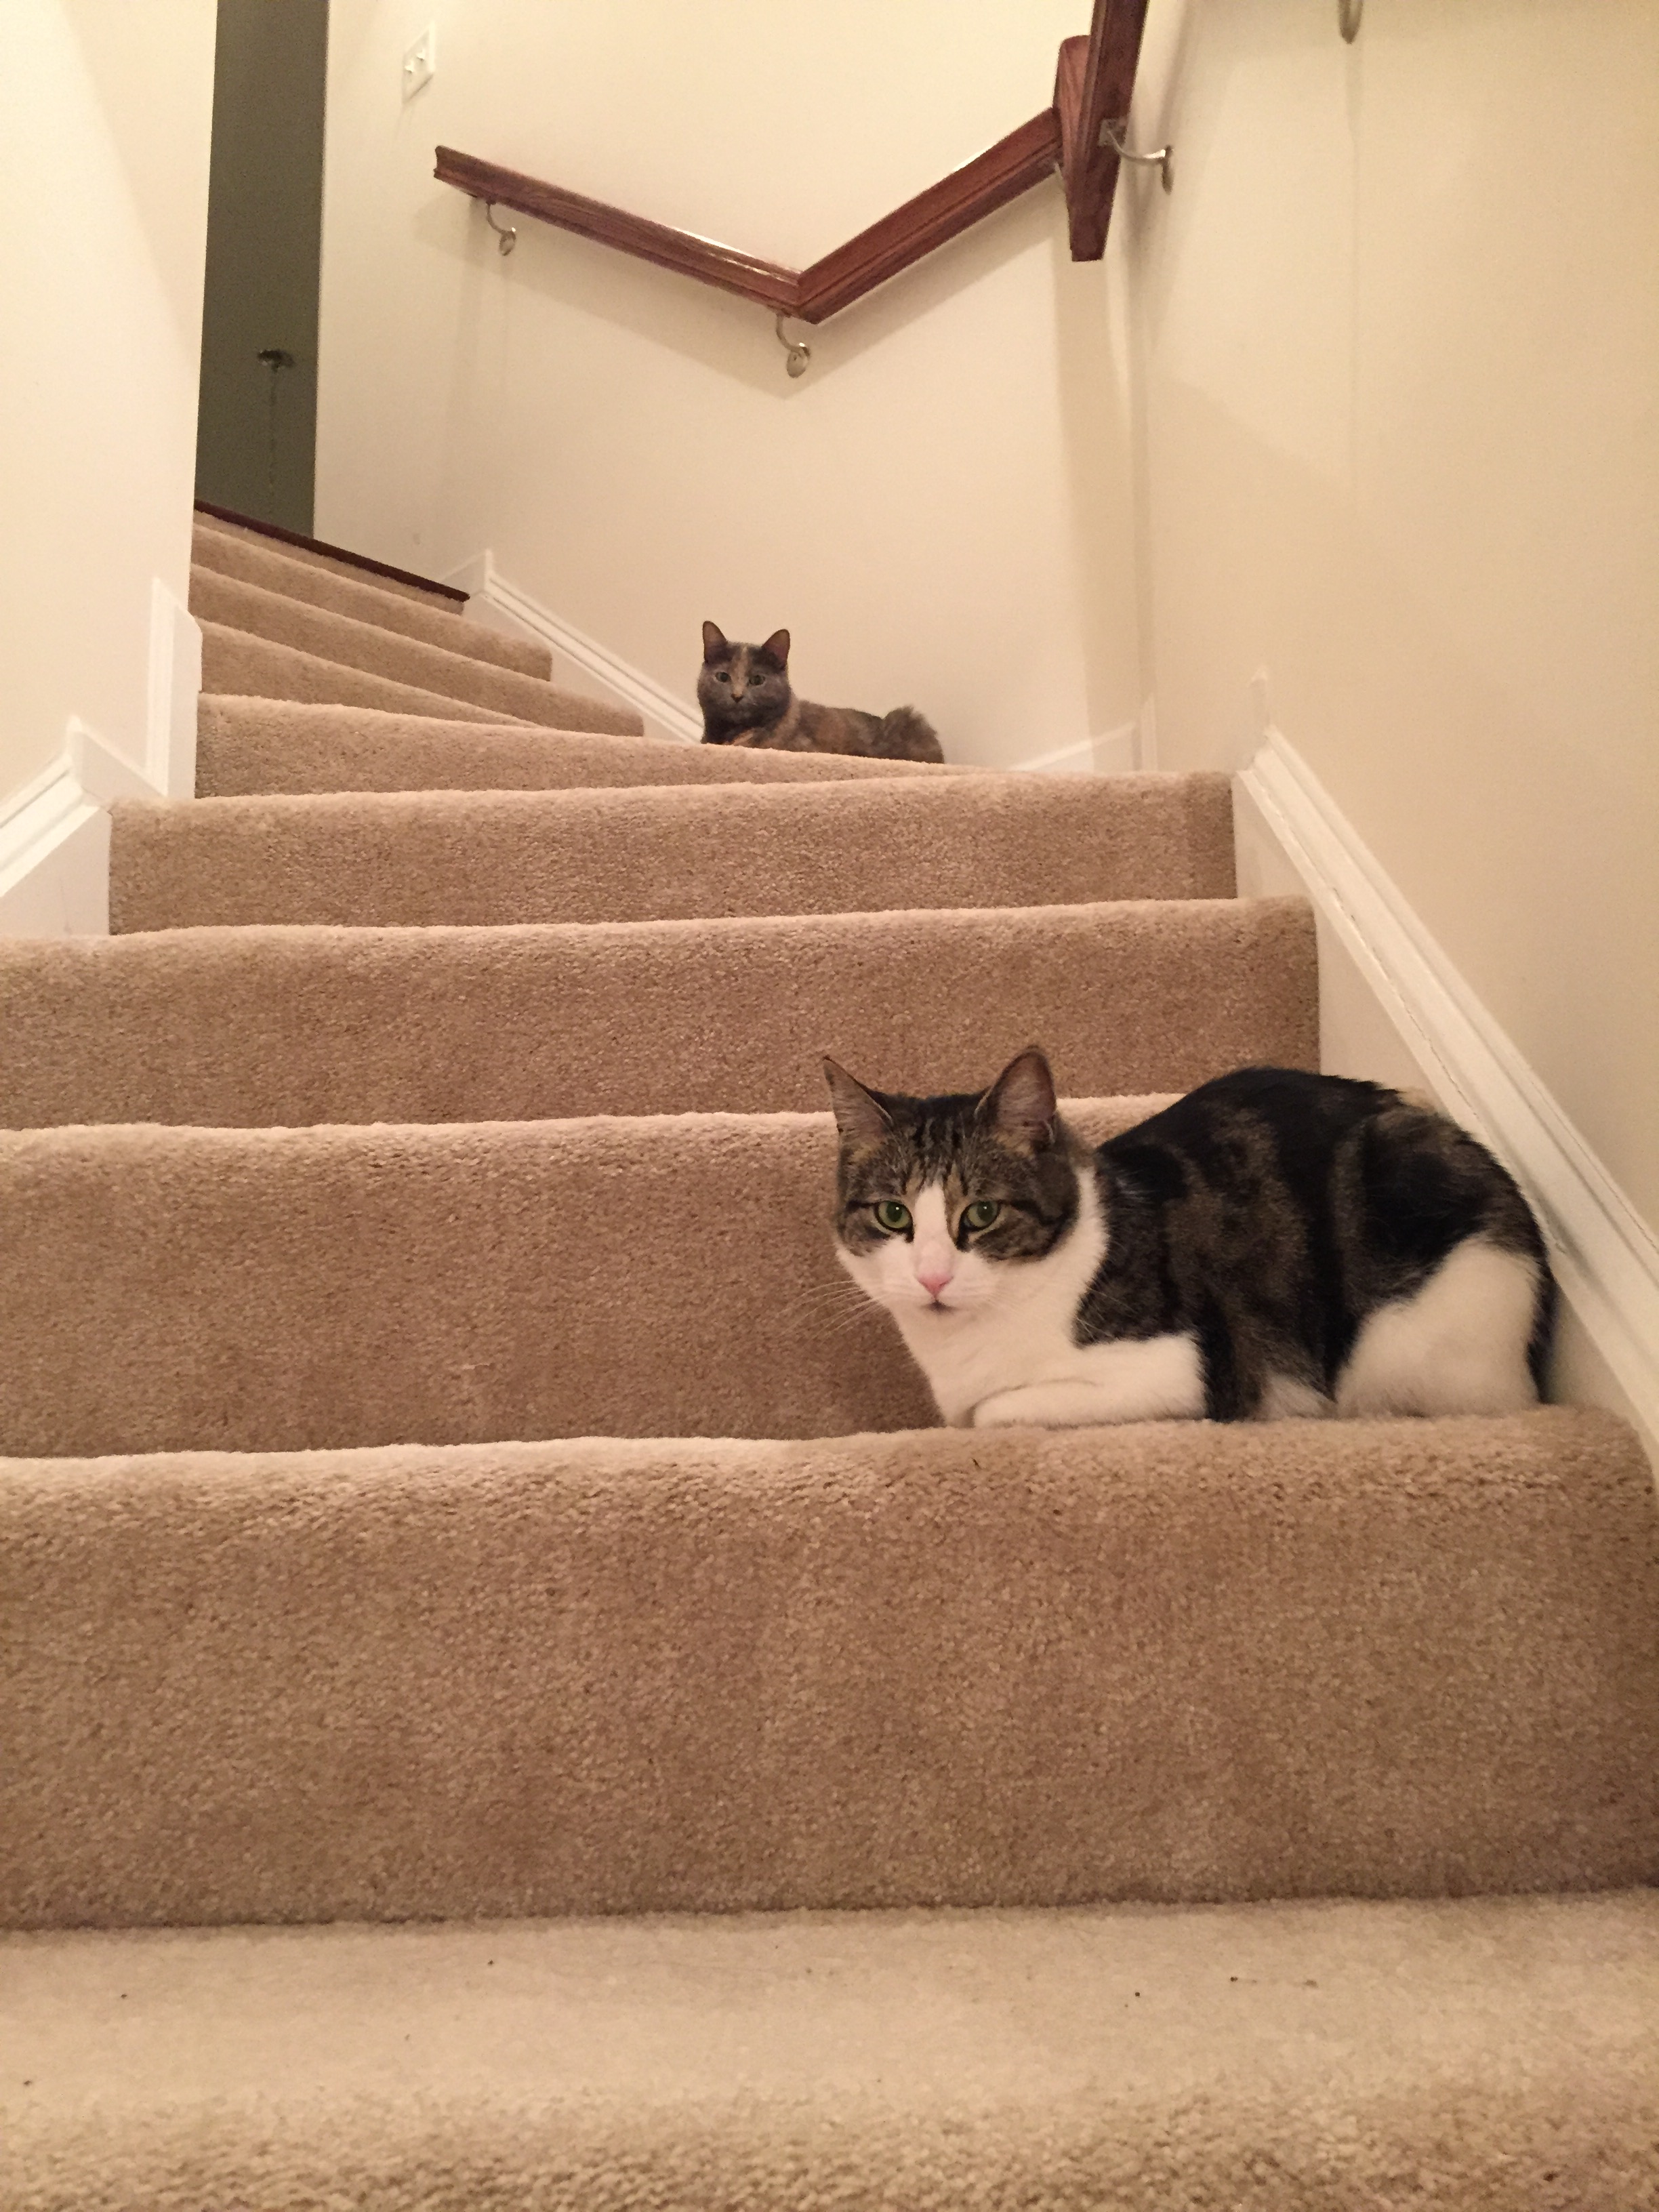
Smokey was not happy about the intrusion, so she went to hide in the closet.

wet drywall drying out after patching popped nails

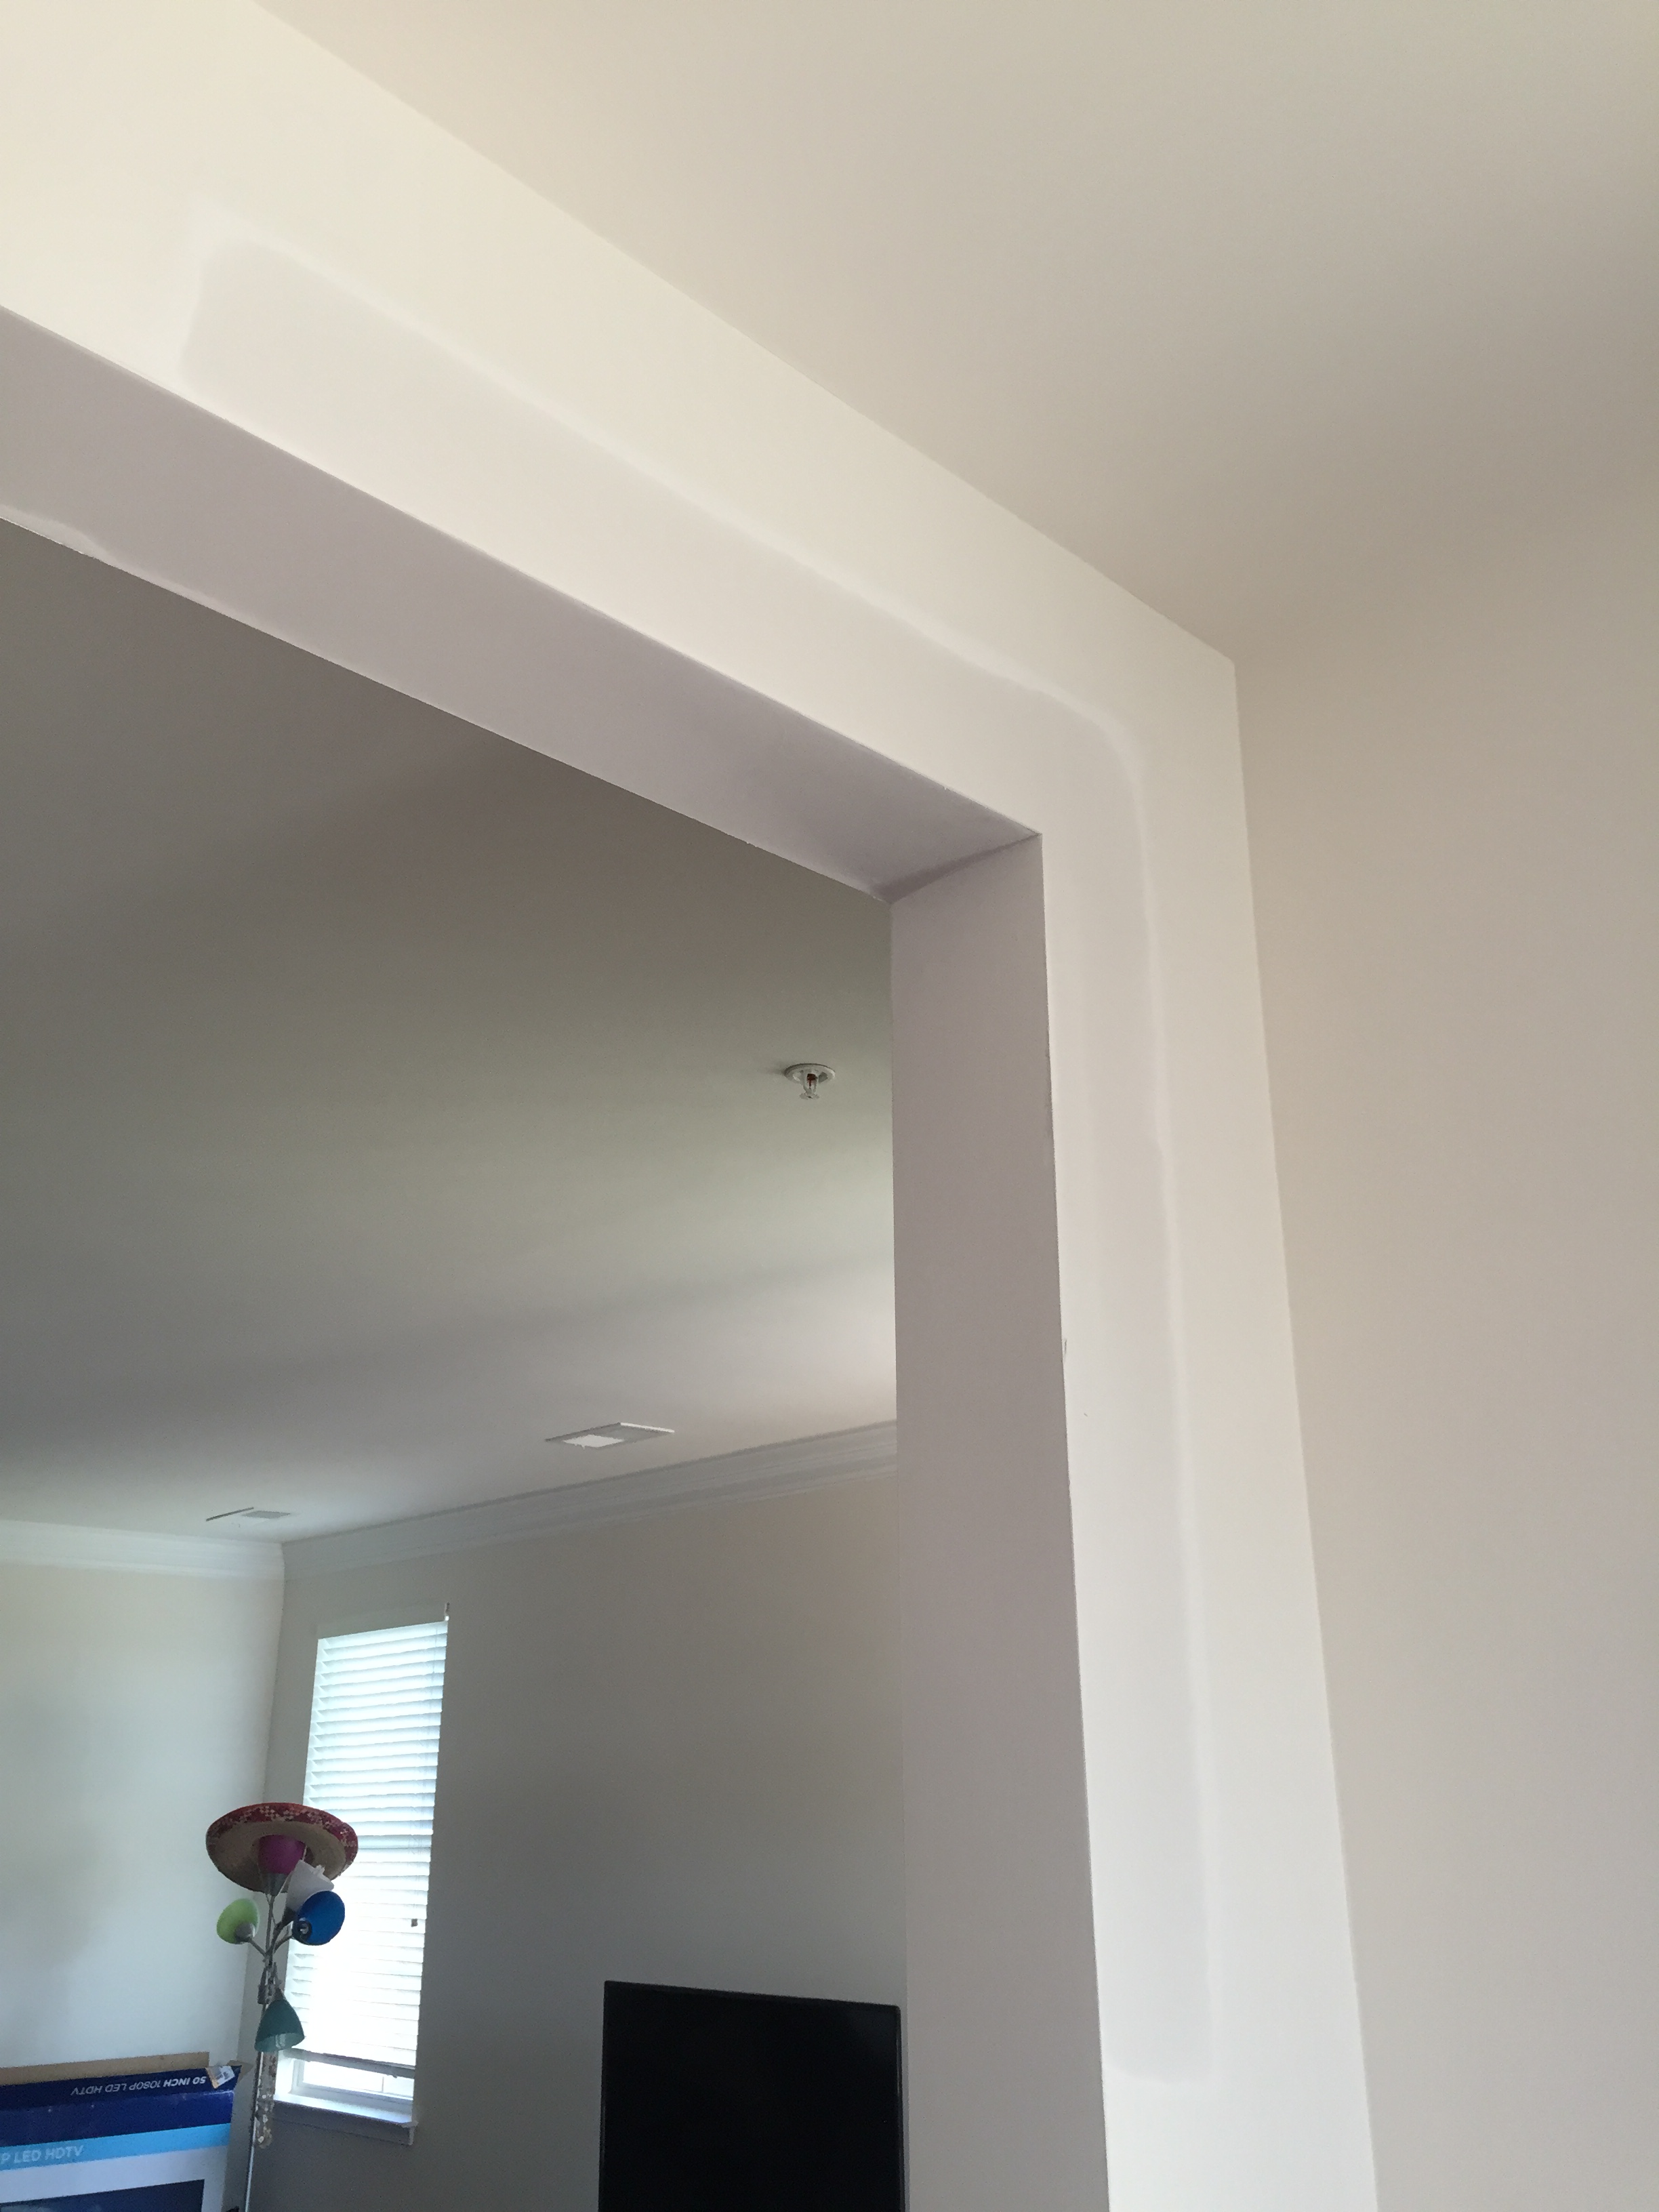
When he left, everything was still drying.

fresh drywall needing paint

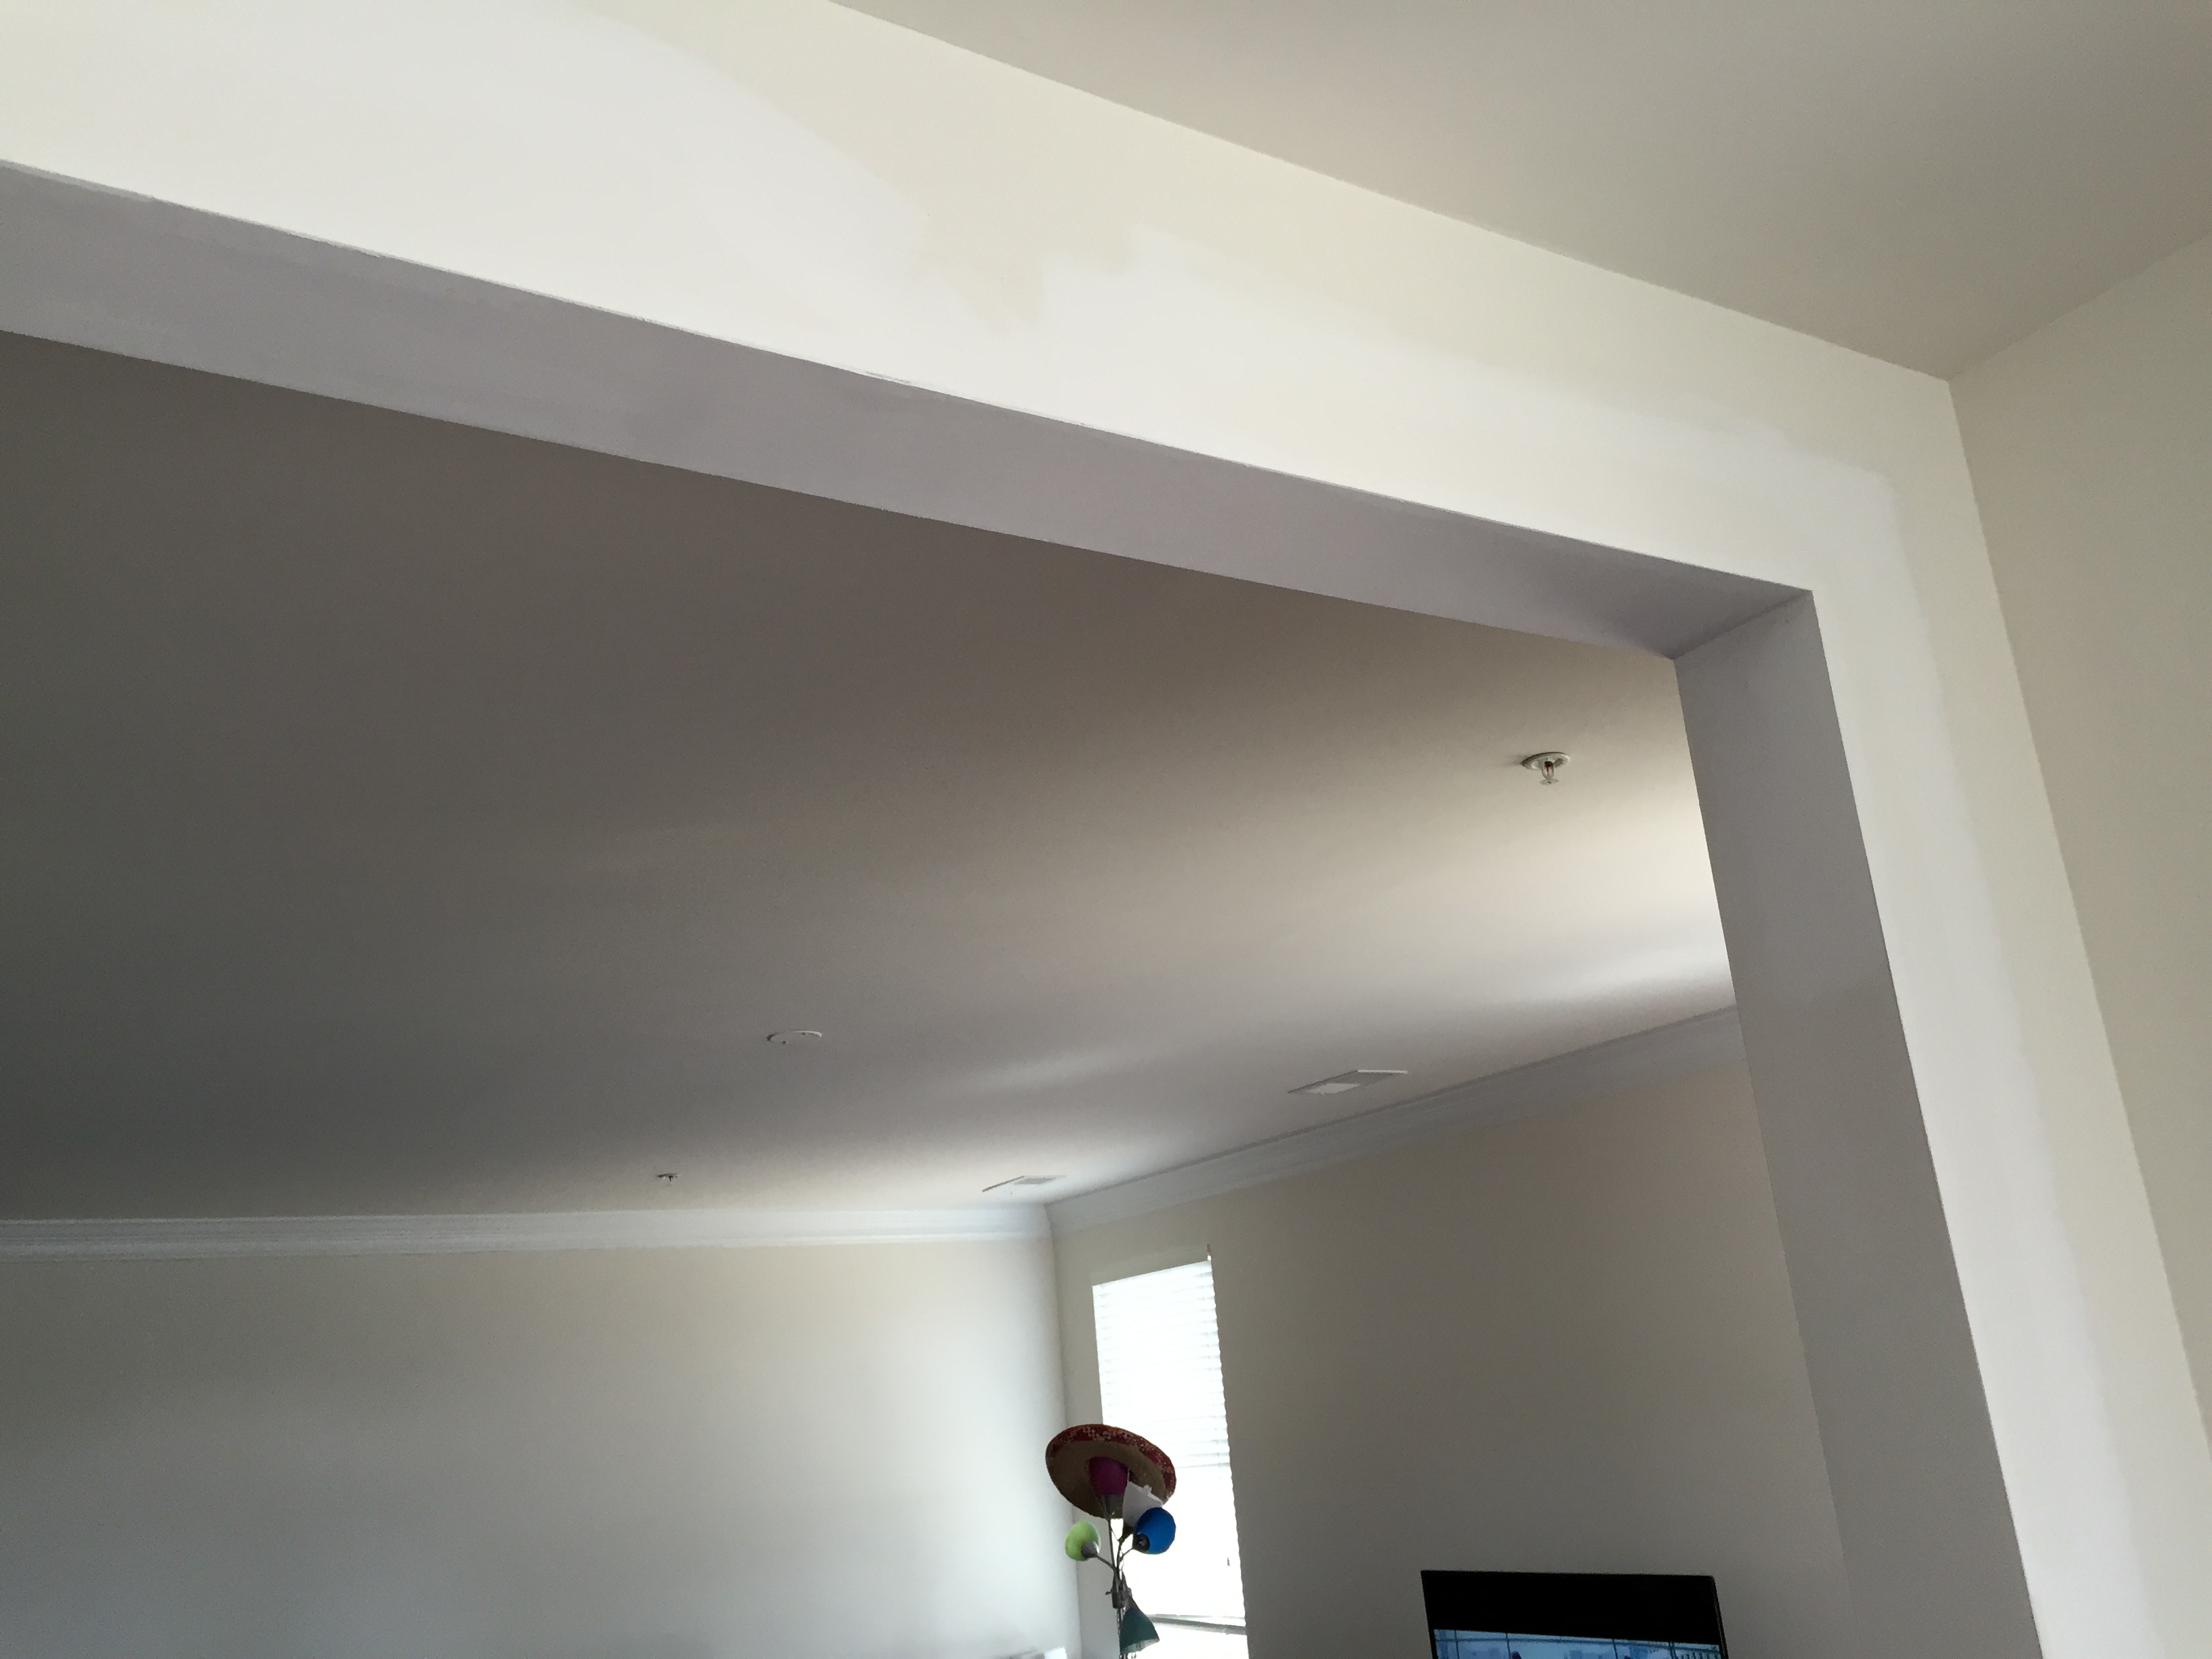
Once dry, this is how it looked. For the most part I hardly ever notice the patches, but every now and then they become obvious. Eventually we’ll paint them!

Caulking those cracks

laelene Posted in lifestyle glimpses,Tags: , , , , , , , ,
0

For awhile now, Panda’s been talking about caulking the cracks we’ve been seeing. The builders left us with a tube of it, which we have been meaning to use. So two weekends ago, we went shopping and got a caulking gun. We opened up the caulk tube and got to work in the coldest part of the home – the stairway leading up to our unit. It turns out that I’m far better at it than he, so I ended up doing a lot of the work. I even had to fix some of the caulking he did (what would he do without me? ;)). The cats were also super fascinated by this activity, so they sat around watching. Panda was a bit worried that they may try to sniff and then lick the stuff, but they didn’t seem that interested in it.

Have you caulked your home before? We still have plenty to go and I keep putting it off. Would you hire someone for jobs like this or do it yourself like us?

crack by stairs of home prior to caulking

These were the cracks that we tackled.

caulk gun poking hole into caulk tube for use

We poked a hole to let the caulk get squeezed out, but eventually it clogged and came out the back end so I just scooped it out with my finger from the other end.

midway through caulking process with globs of caulk covering crack

Putting the caulk on in all its globby goodness. We tried smoothing it with a plastic card, but I found it easier and faster with my finger.

two cats sitting on stairs watching caulking project

The cats love to oversee our home improvement projects.

crack by stairs of home concealed after caulking job

Finished product! Looks pretty good, doesn’t it?

Toilet trouble

laelene Posted in lifestyle glimpses,Tags: , ,
0

This weekend I discovered the toilet having issues, so we embarked on a home improvement journey. I’ve never taken apart a toilet quite so much before, so it was definitely a learning experience.

tube of water from toilet running after flush

It all started when I heard trickling in the toilet. The tube wouldn’t stop sending water down the overflow.

metal toilet supply cable connecting water supply to toilet tank

We turned off the water and drained the tank to unscrew the contraption.

blue toilet float in toilet tank

Turns out the float wasn’t triggering the stop of the flow of water to the tube.

blue toilet float piece removed from tank

After removing the entire piece with the float, we examined it to see if we could fix it.

toilet float with cap removed

The white bar inside the cap is what triggers the flow of water to start and (eventually) stop. It wasn’t returning to the fully “off” position though.

new toilet float part to replace broken one

Once we found we couldn’t get to the broken part to fix it, we brought out the new one from the store.

inside of toilet tank with newly replaced toilet float

With the float replaced, all was good again!

Hardwood floor repair

laelene Posted in lifestyle glimpses,Tags: , , , , ,
0

Some time ago, Panda messaged me and sent this picture to show me how he had damaged the floor when he dropped the cutting board. It has a metal handle on the side, which is what I presume bashed the wood here. He quickly went out to a home improvement store to get this filler stuff and pens in two shades, since they didn’t have a match for our cherry wood color. He insisted that I do the repair since he was convinced I could do it better.

When I finally got around to it, we documented the procedure. Filling in a small hole in your hardwood is pretty easy! Now we just need to get something to make that spot glossy like the rest of the floor. Otherwise, you’d never know it was ever repaired to begin with. We didn’t even need to try to blend the two shades of wood color, so he was able to return the unused one. We’ve kept the rest of the equipment for future accidents.

2014-08-26 23.45.17

Cutting board vs. hardwood: the floor loses.

2014-07-12 12.37.03

Testing out the filler on some sample wood.

2014-07-12 12.37.31 HDR

Patching up the dent.

2014-07-12 12.37.53

Gotta protect that from the cat and vice versa!

2014-07-26 18.44.06

Now testing out the filler pen.

2014-07-26 18.45.03

Sanded it and then colored it. Now you can’t even tell where it is anymore. 🙂

Related Posts Plugin for WordPress, Blogger...