Posts Tagged ‘tips’

How to get a 10-year visa to China

laelene Posted in general blog,Tags: , , , , , , ,
0

Well, it’s been over 2 years since I last got a visa to China and mine expired 4 months ago, so I had to go back again. Luckily, since that time, there is a new agreement in place that allows me to apply for a 10 year visa! Thank goodness I will only have to deal with this process once a decade. Here are some lessons from this time, building from my previous experience.

First of all, if you are applying for a visa in the DMV (DC metro area), make sure you’re going to the visa office on Wisconsin. The visa office is not in the embassy! I recommend parking over on 35th or Whitehaven – if you go down beyond the first block you’ll get past metered parking and find free 2-hour spots. Be sure to go in the morning or you might find yourself wasting an extra hour waiting for them to get back from lunch and/or not even getting serviced once they run out of time in the afternoon. They shut the doors at 2:30 so no new people come in, but from what I hear they keep on working through the line that has built up until 4 or later.

metal seats in waiting area at dc's chinese visa office
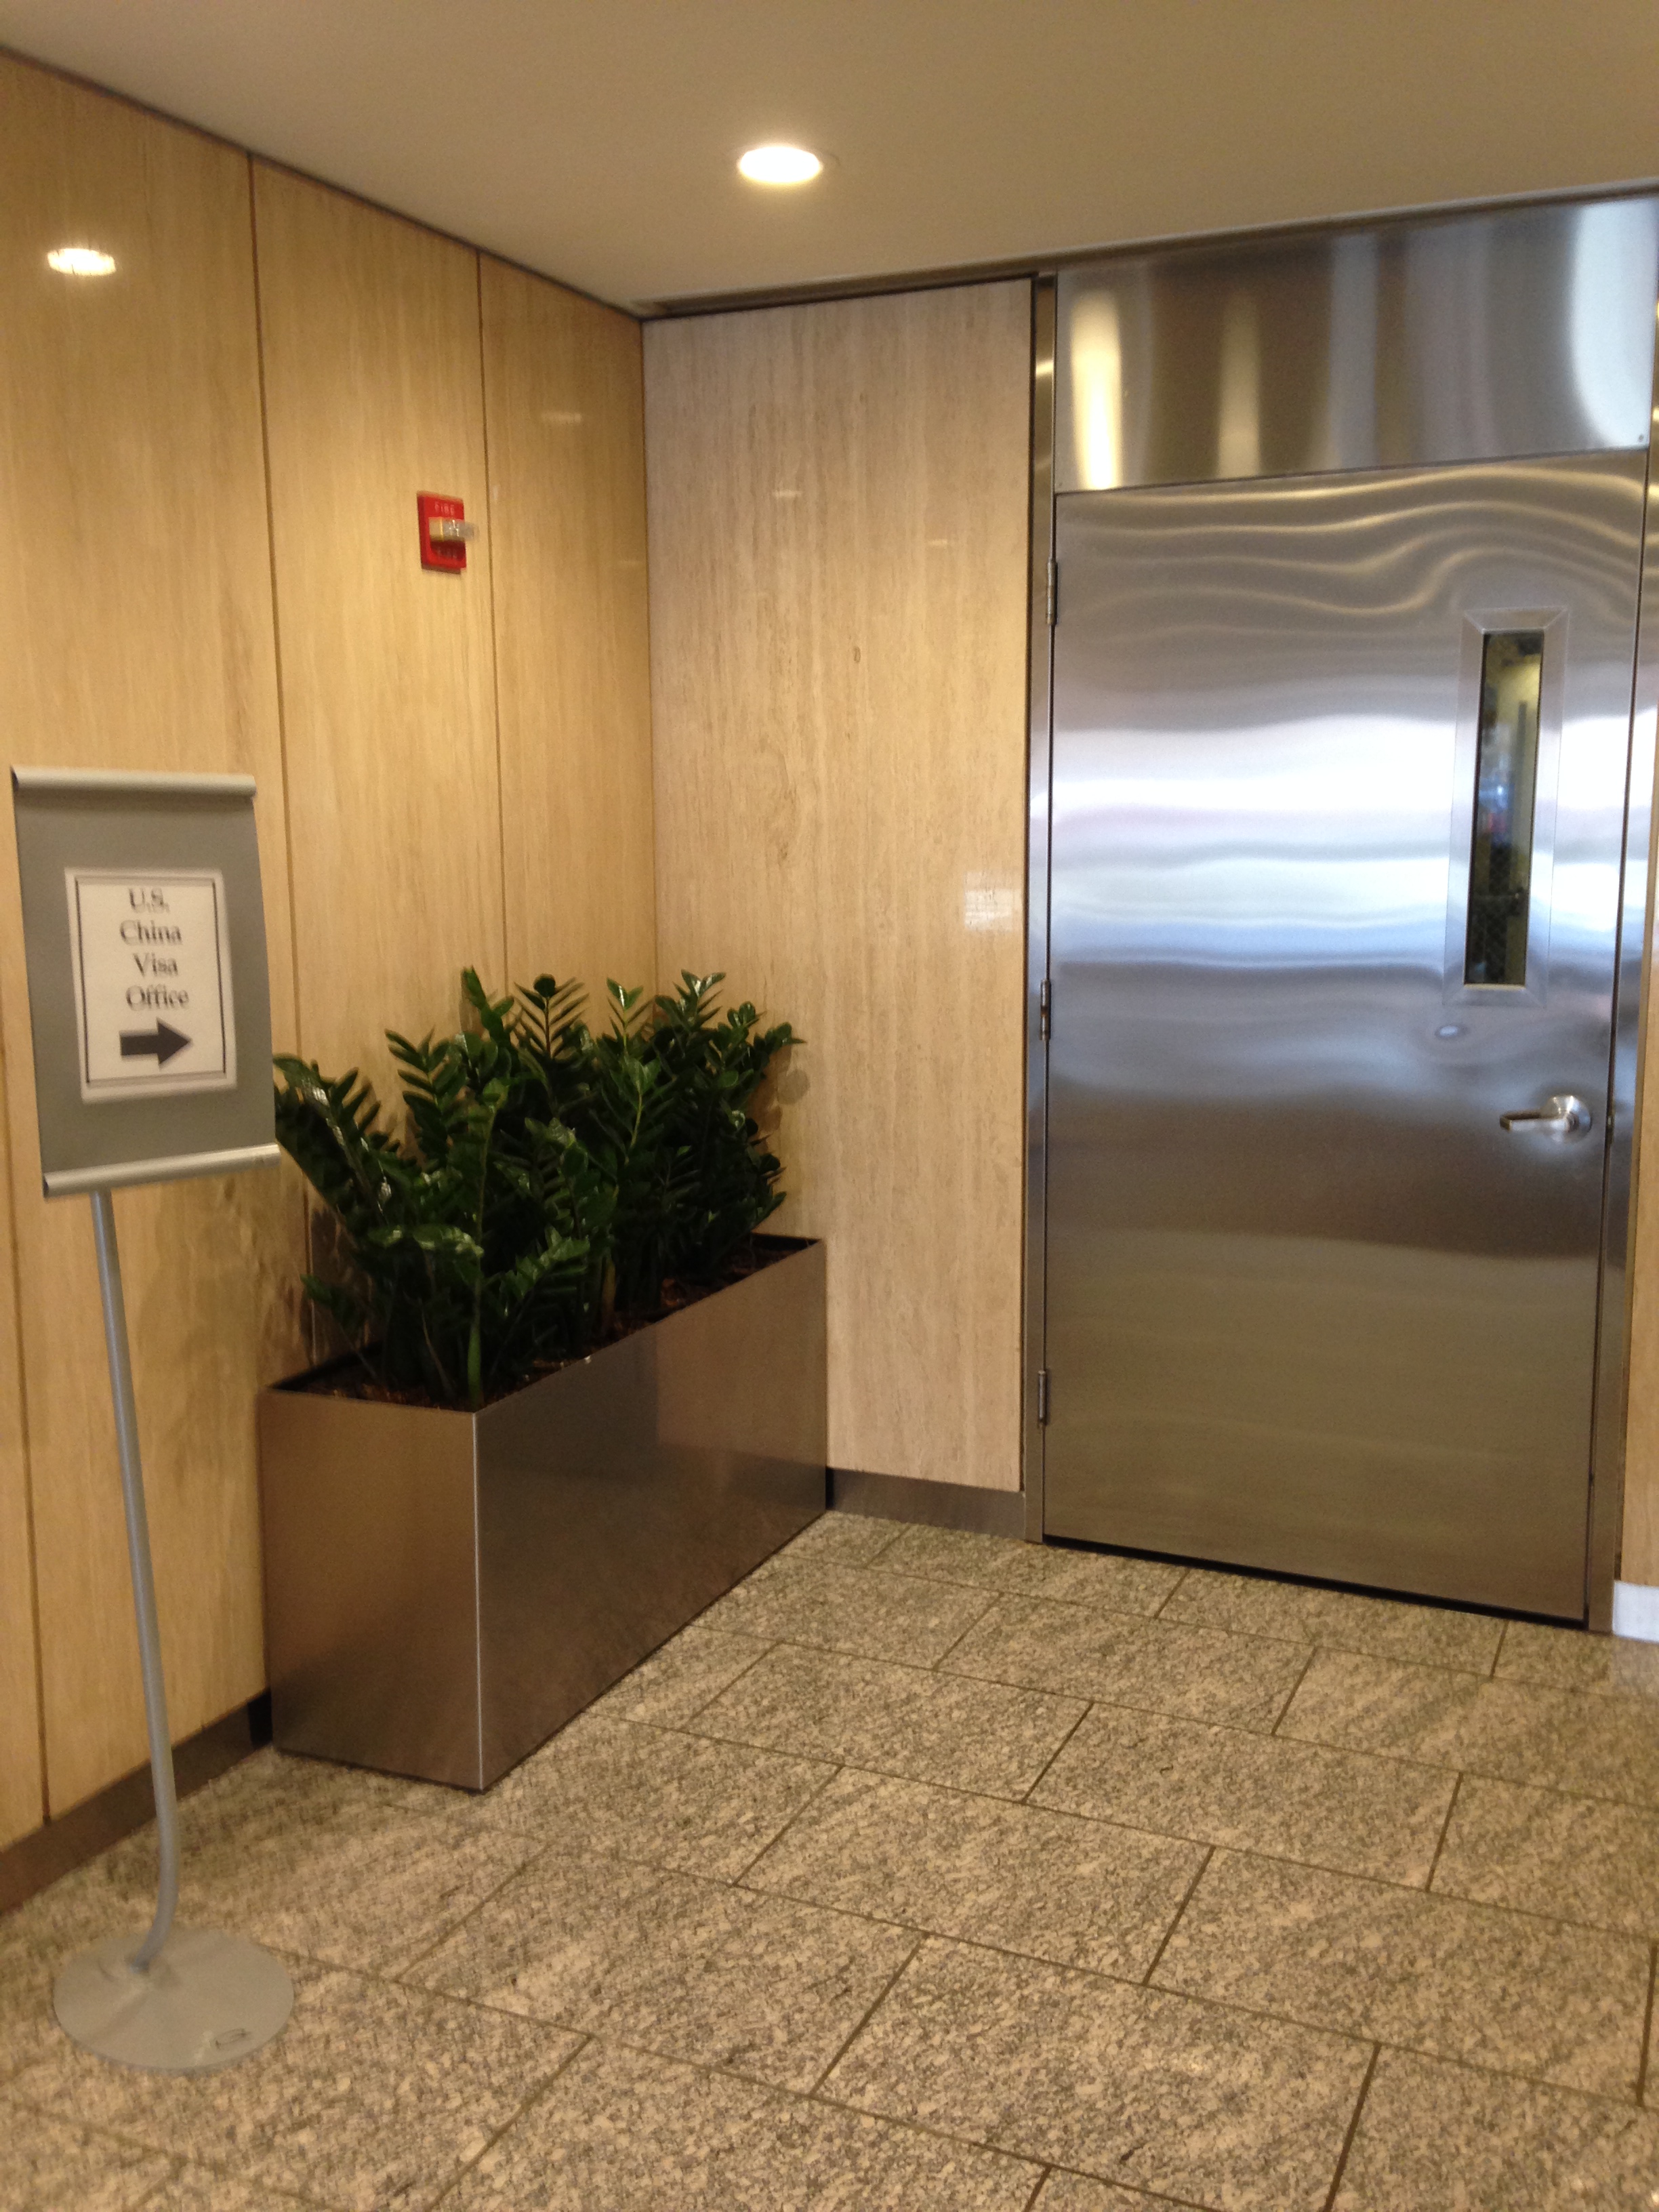
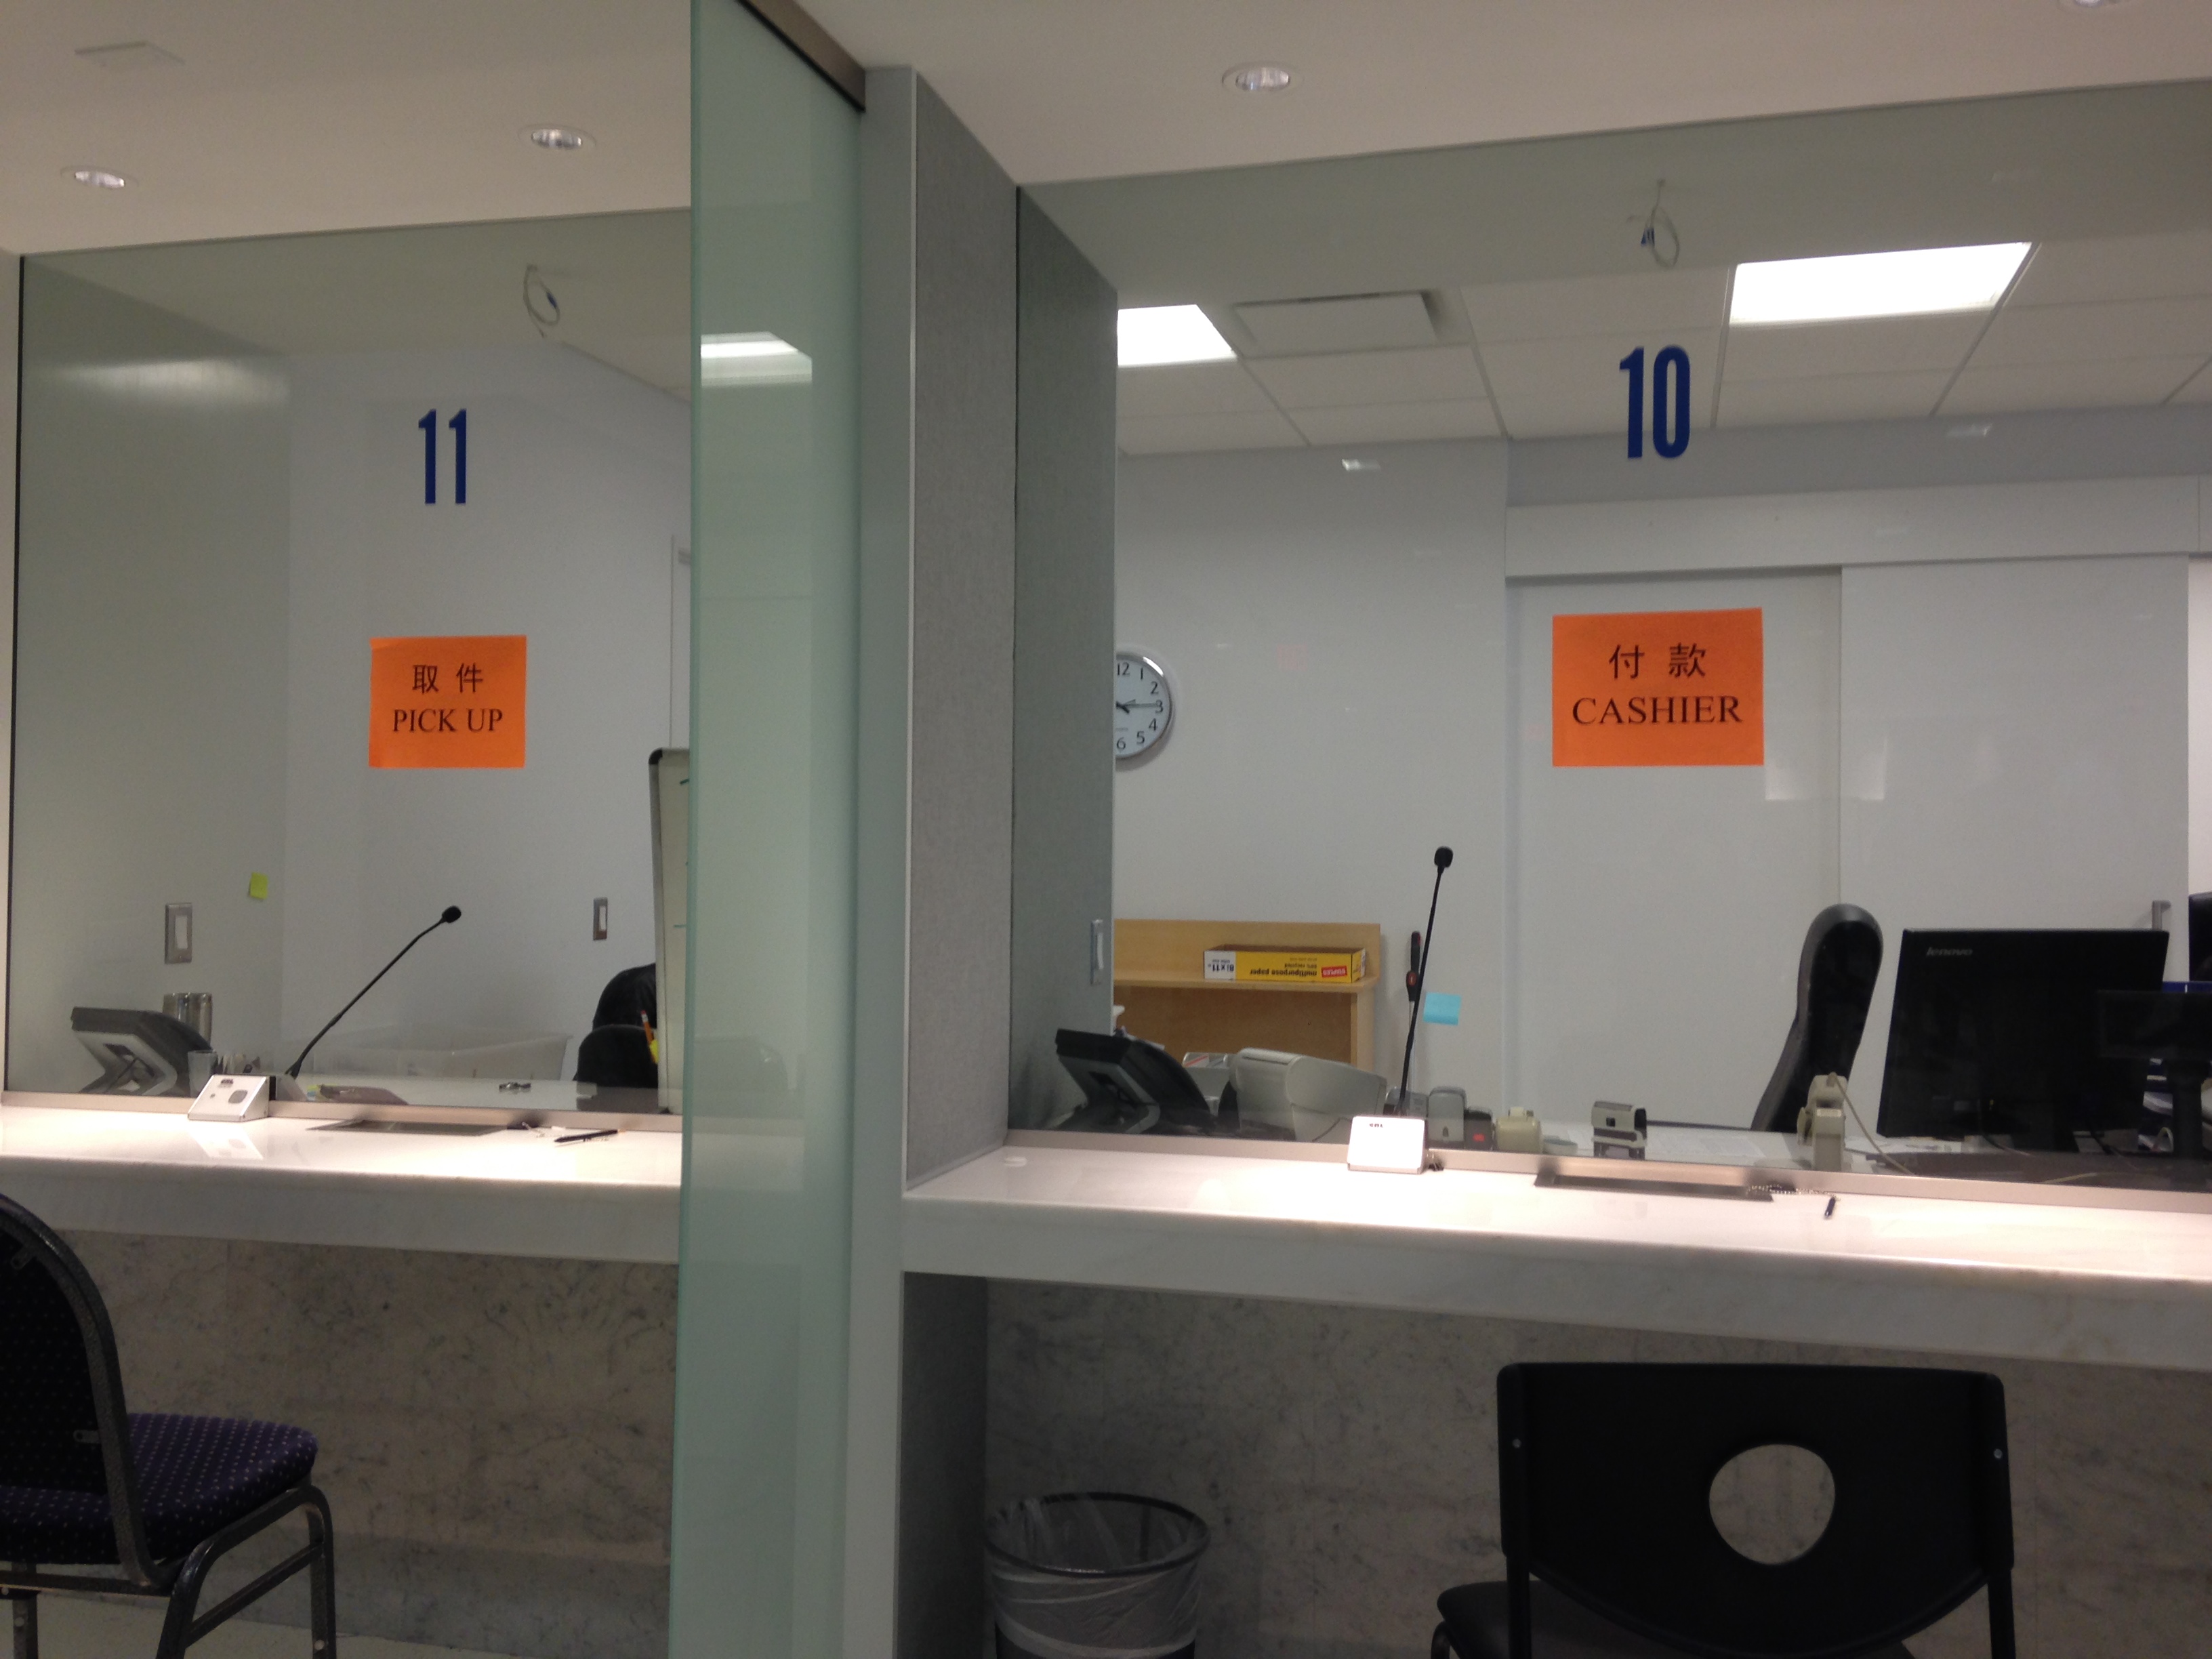
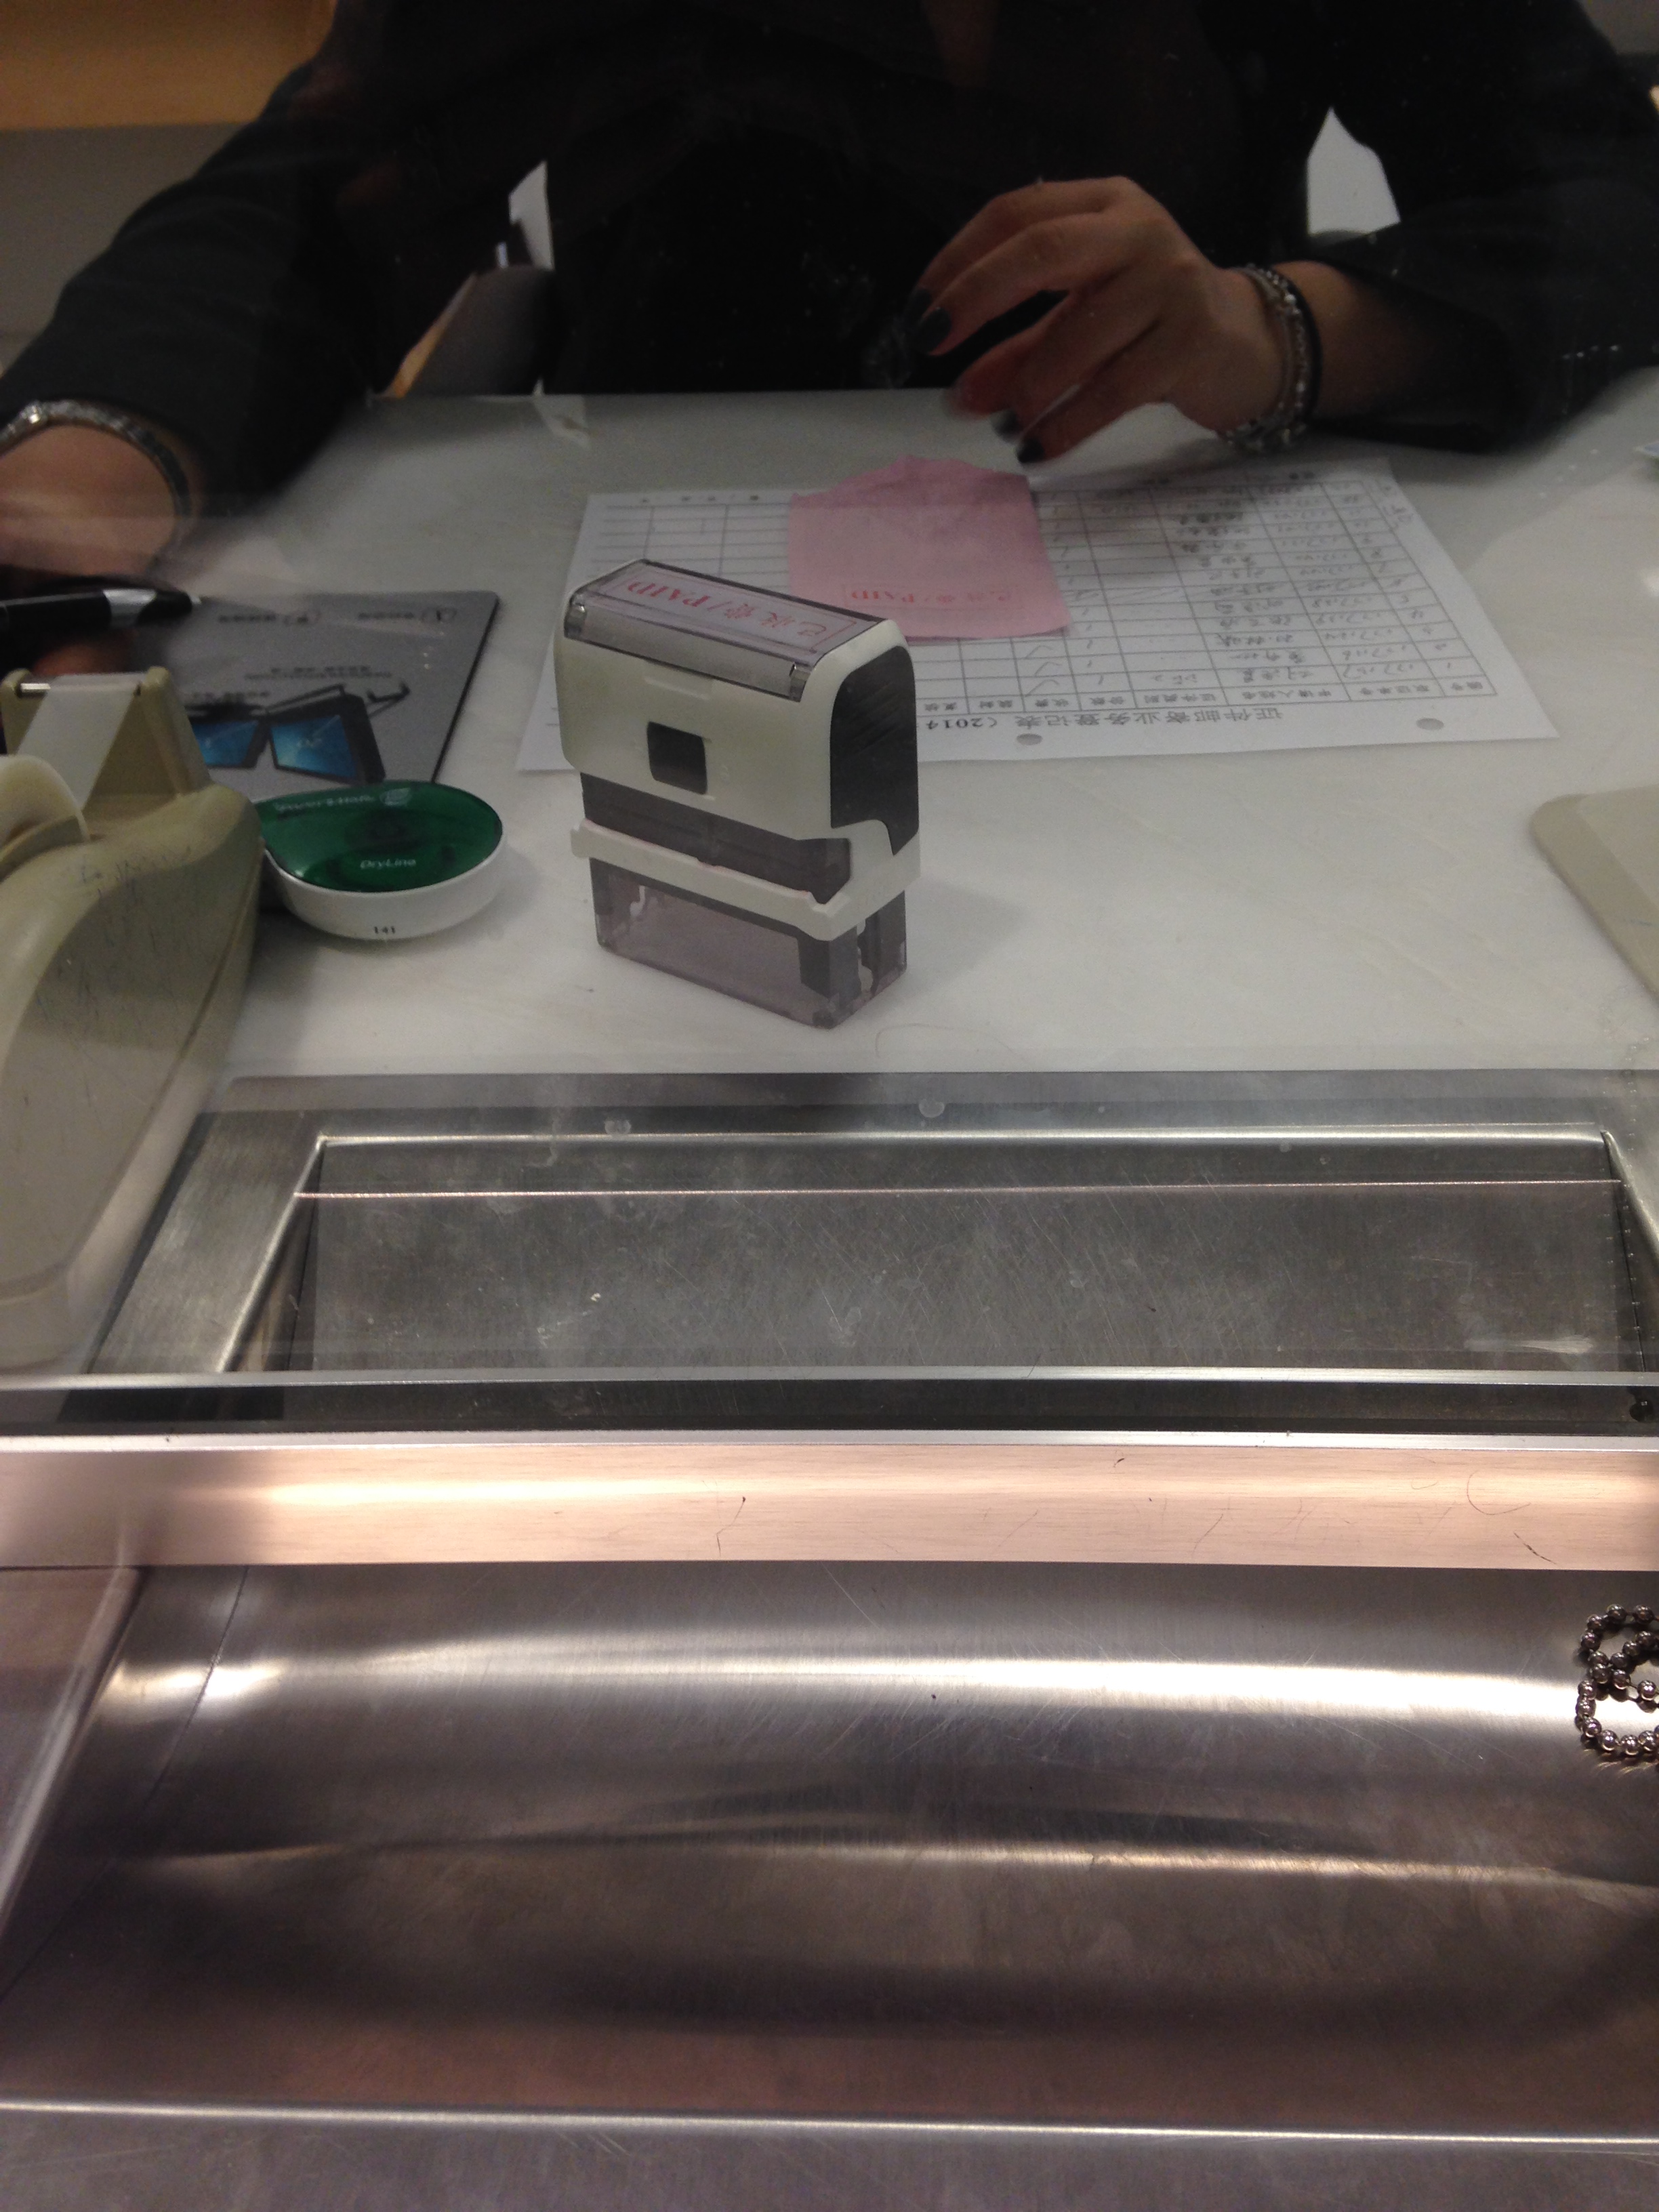
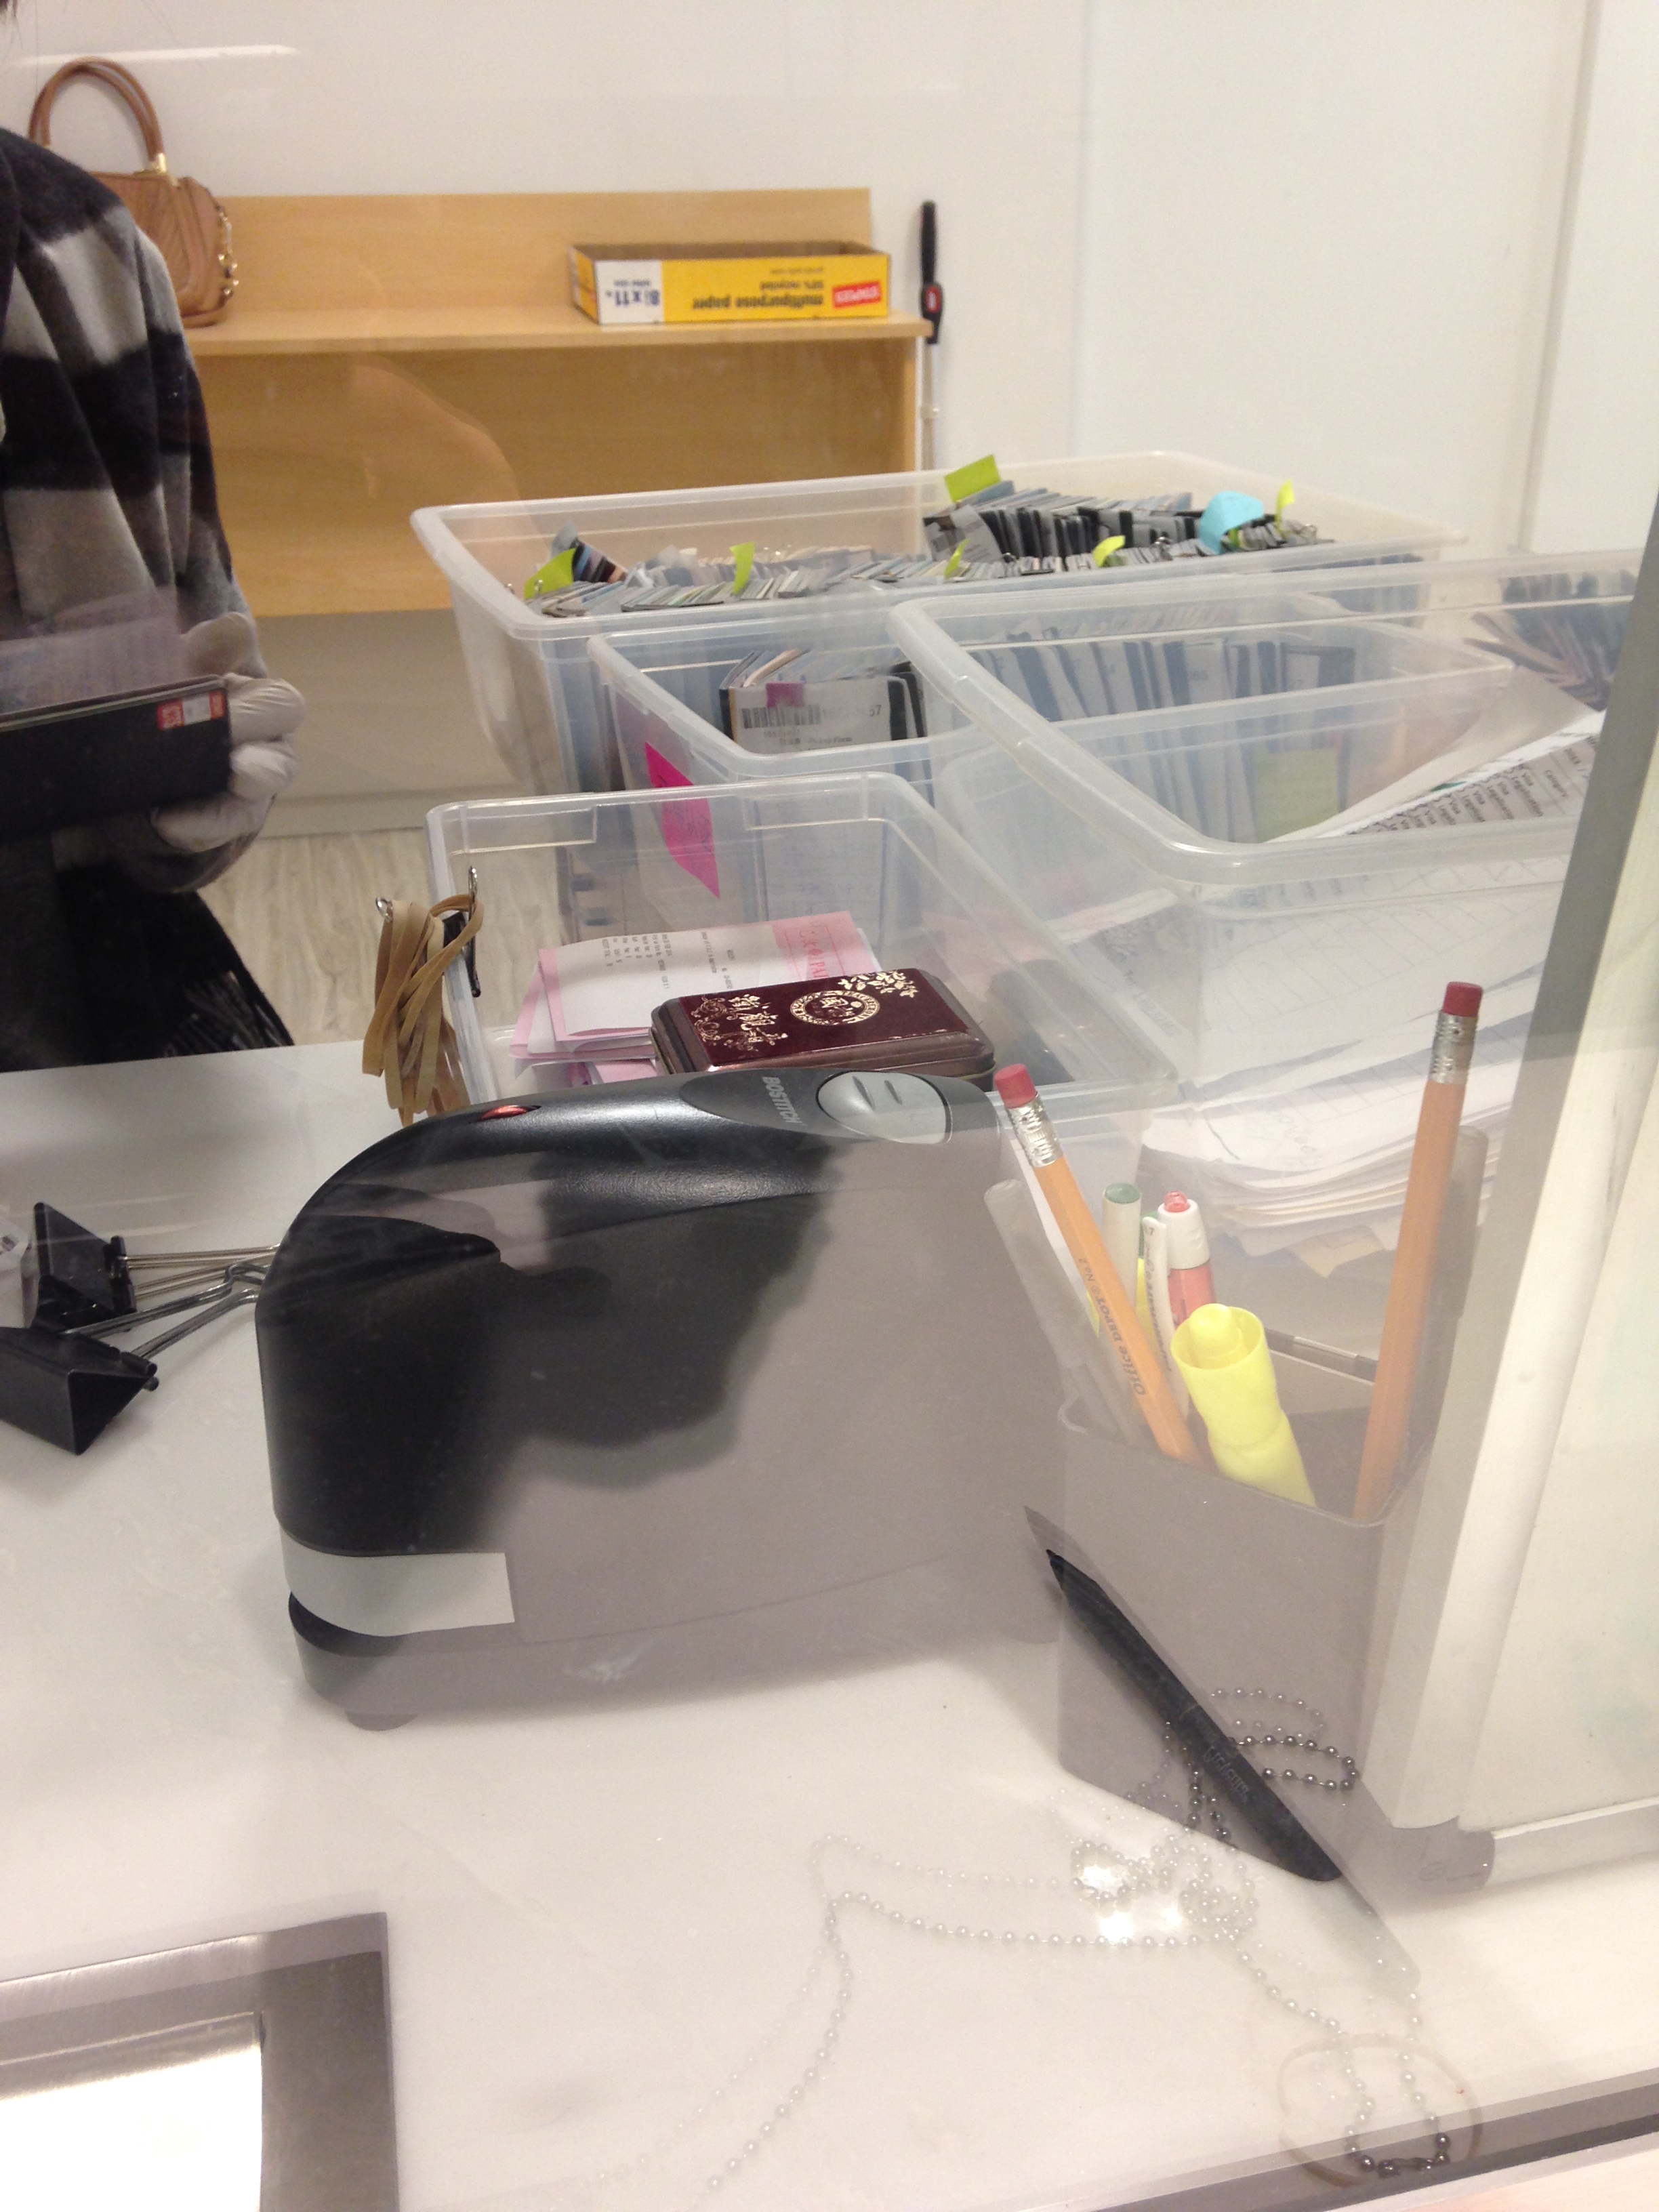
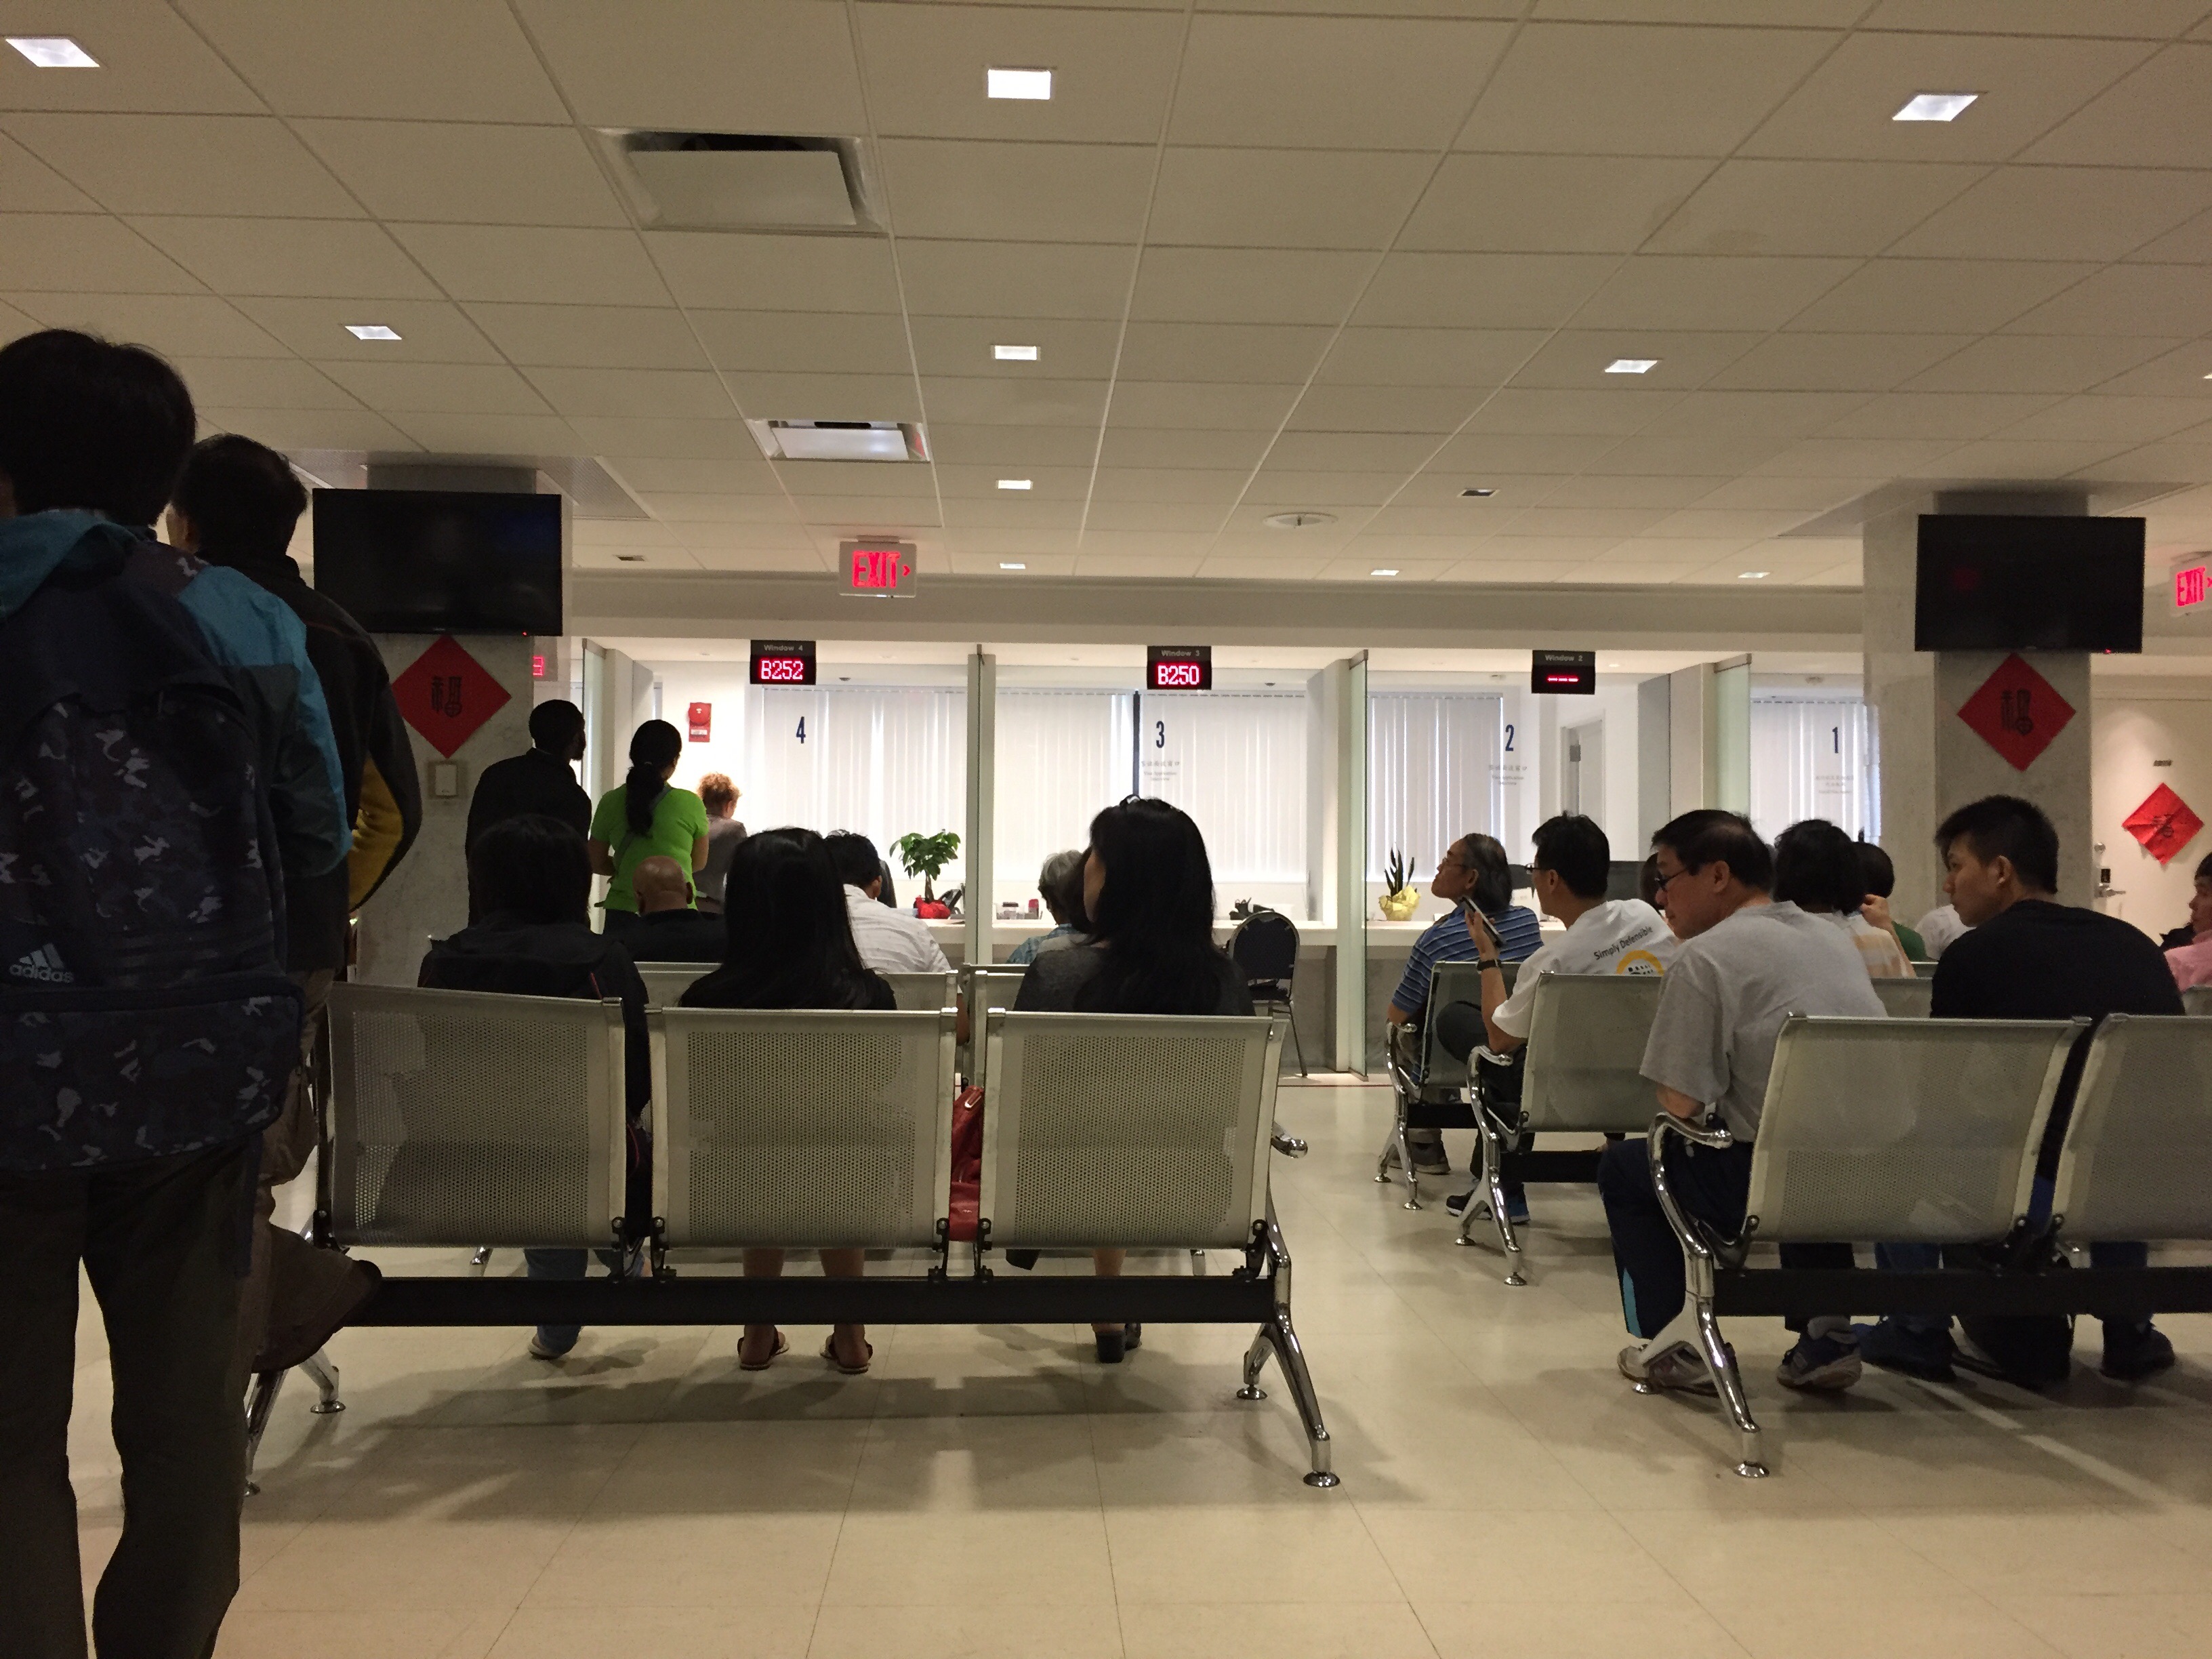
This time I am going during tourist season, so oh my gosh it was waaaaaaay worse than last time. 20-40 minutes in line?! Please. Think more like 3-4 hours! In light of that, bring a snack. I nearly fainted the first time I was there since I was there until nearly 2 without any food all day. They do have a remodeled area that was under construction last time I was there. There are a lot of seats, but even more people and typically most of them are taken.

By the way, yes, you need to give them your passport. Your original, physical passport. It’ll come back with a giant sticker on one page containing your visa! Even though they have your passport at hand, you still need to provide a printed copy of your passport photo page and most recent visa (if you ever had one before). I think a lot people don’t realize that.

I was super paranoid this time because last time was not easy, so I actually came over-prepared. I had copies of my passport, visa, driver’s license (front and back), email with travel details, invitation letter from my dad, his passport, his visa (proof he lives and works in China), and the application form. I ended up only needing my passport copy, visa copy, and 2 pages of the flight confirmation email (which was like 10 pages long), in addition to the application.

I read online that they only accept typed forms, so thank goodness I didn’t try to fill it out by hand. I actually prepared two versions – one for the L visa, for general tourists, and one for the Q2 visa, for visiting relatives. I ended up going with the L visa application and all they needed was the part of my itinerary showing my name, which matches my passport, and my departure dates.

While I had been worried that I had a Chinese address instead of a hotel for the place I’d be staying, that didn’t end up being an issue. That’s why I also had my dad’s info, to prove that he knew I was coming and had “invited” me to join him. Luckily, they didn’t seem to need any proof that I could stay at the Beijing address I gave.

Last Friday, we had a morning All Hands that ended around 10 and I headed out to apply for my visa. I arrived at 10:59 and got a ticket for the B numbers, which are for non-Chinese passport holders applying for a visa. A is for Chinese passport holders who are renewing their passport or processing other needs. C is for diplomats and other special folks, I believe. D is for those picking up something and gets you to the payment window. Windows are distributed by function too. Window 1 seems to be for travel agents and others with special scenarios. Window 2 is often vacant. Window 3-7 are for visa processing, with Window 5 being for diplomats. Window 8 & 9 are for Chinese citizens. Window 10 is for payment, and Window 11 is for pickup.

I sat for nearly 3 hours before getting called and for all that… my time at the window was around 2 minutes. I had managed to take a nap, do a lot of staring, and go move my car in that time. They seriously need to streamline this process. Add on the hour to get there and hour back and that was 5 hours just to submit my application. Thankfully, I was prepared and had everything I needed. There were no hiccups this time, no getting sent upstairs and having to spend money to fill out a form at a travel agency, no rejections at the window after a long wait. I was told I could come back on Wednesday to pick up my visa.

This past Friday, I was able to return. This time I came earlier, arriving before 10:30. As it was approaching 12:30, I started to get really nervous that I would not get in before the lunch break. The payment window closes 12:30-1:30 for lunch and it’s the only place you can pay before reclaiming your passport with your new visa. I was so relieved when I got called at 12:20, with time to spare! It was about a minute to pay (I wonder what all the other people did and why they were much slower) and then a brief wait for the person at the next window to come back and find my passport. Within 2 hours, I was happily on my way  back to the car!

I’m glad this won’t have to happen again for a long, long time.

My MBA application experience 

laelene Posted in mba,Tags: , , , , ,
1

A little over two months ago, I finally decided to buckle down and apply for grad school. Deadlines for Round 2 applications were the first and second week of January. I wasn’t sure if the time I’d allotted myself was going to be tight, but it was time to take this next step. Here’s how it’s gone for me… (want to skip right to my tips at the end?)

Choosing the schools

I knew that I wanted to apply to 5-6 programs, so I began looking at the top 25 ranked in the US. I considered applying to international programs as well, but ultimately decided not to because I intend to work for businesses in the states. While I would love international opportunities, my home base will always come back to the US, so going to a school domestically made more sense.

From the initial list, I came out with the programs I was most interested in: #1 Stanford GSB, #2 Harvard Business School, #3 UPenn Wharton, #4 Chicago Booth, #6 Northwestern Kellogg, #7 Berkeley Haas, #10 UVA Darden, #15 UCLA Anderson, #24 Georgetown McDonough, and #25 USC Marshall. Whew, that’s a lot! So I started narrowing down based on program structure, competitiveness, and personal appeal. That still left 8 options. I managed to eliminate Wharton and Booth because they felt more technical/finance-focused. To me, Wharton, Booth, and Kellogg were at very similar levels, so I decided to choose one of the three.

It was really hard for me to bring it down to the 6 max that I wanted to adhere to, so I kept going back and forth for awhile until I realized that I was really including Darden and McDonough for their proximity to Panda. But if you think about it, MBAs are so time-consuming that being nearby might not mean I have much time to see him anyway. So off they went and there was my final list: Stanford, Harvard, Kellogg, Haas, Anderson, and Marshall. I wanted to maintain a good spread across the rankings to give myself a very good chance of making it into at least one of the programs. #fingerscrossed

Preparing to apply

I’m fortunate enough to know some current and former MBA students at programs that I was planning on applying to. I reached out to many of them and got a chance to connect with three. After spending some time chatting with each of them, I got an understanding that I should really share my personal story. They also recommended reaching out to students or alumni of the other programs and try to do campus visits if possible.

I did manage to do some student meetups and a campus tour, but for the most part, I scoured their websites for details. Based on the courses they offer, the extracurriculars, and how they message their ideas, it gave me a sense of each of their brands. There are parts of each that I really appreciate and would love to be a part of. I definitely think it’s important to find programs that I’ll enjoy and will attract people I can connect with and learn from. Each has their own prestige, so that’s helpful too.

Thinking about essays

The very first thing I did application-wise was compile all of the essay questions and think about them all day long. Whenever an idea struck me, I wrote it down and I kept expanding my notes as I drafted and edited my essays. These were the most labor-intensive, with a lot of reflection and self-analysis. It took me awhile to finally find what I felt was a cohesive story that explained my motivations for where I’m going and how where I’ve been influenced that path.

On the surface, my jobs have been somewhat progressive, but not along a clear career path. However, digging deeper, I noticed that so many of the projects I took on stemmed from the same source. It turns out that the common thread between my roles was always the idea of empowering through resources. I really enjoy helping people and being resourceful, so I consolidated resources and built databases and processes because I believe that giving people the right tools, skills and knowledge empowers them to strive for more. No matter what, that has always driven me in my work.

As part of my research for applications, I dove into a variety of business books, online articles, and even TV shows. Each tied back to my thoughts on my essays. When I watched The Voice, I thought about expressing my true self and being genuine. When I read Uncontainable, I noted my own values and the key ways I intend to change the corporate landscape. Everything tied back to my philosophies on life and how that applied to my approach to business.

Choosing recommenders

I had always had one person in mind as a recommender, because he had worked with me pretty much since I started at my current company. He had a good sense of the many projects that I’ve done and we collaborated on quite a few. What I waffled on at first was whether to ask my direct supervisor or someone else. What if knowing that I was slowly on my way out affected the opportunities I received at work? What if that changed their perception of me? I thought about choosing someone else, but then I decided that I’d rather my manager know now instead of having to explain to him months down the line what I’d been up to. Plus, my office is a supportive environment where reaching for a goal like this is applauded.

I asked both gentlemen as soon as I made up my mind on them and my schools. Both happily agreed, and I put together a document of bullet points to share with them. I split my notes into two categories: Leadership & Initiative and Teamwork. I felt these were the key components of my experience and encapsulated many things I had done. One of my MBA friends had shared a “recommender tips” document that he had used, which I repurposed and shared with my recommenders. It basically summarized to this: the most effective recommendations are ones with concrete examples that paint a picture so vivid that the reader can feel me jumping out of the page.

I registered for all the applications and set up my recommenders to give them ample time to fill them out. One thing I learned from this is to make it crystal clear that some schools have a very specific format and set of questions they want answered. A general letter will not do. The recommenders should be prepared for the amount of effort this will take on their part. In addition to the essays, there are evaluation grids to fill out. It’s no simple task and you shouldn’t be shy about following up. Stay on top of those recommenders!

Filling out the applications

I probably should have done a dry run through all the applications early on so I would know what to prepare. For Haas, they require copies of official transcripts, which I did not have on hand. When I tried to order them from my school, they were on winter break and would only return two days before the application deadline! So I had to rush the order and ask my mom to go get them from the school. At another point, I wasn’t sure if my Kellogg application would be accepted because my GMAT scores had not been sent to the school and they needed them by the deadline! Yikes! But it turns out that they are actually ok with the scores being available later as long as they can view them when they get to my application.

To avoid any last-minute efforts, definitely go through the applications to see what fields they have and what required documentation there is. I was so caught up in essays that I figured filling out the forms would be easy, but they actually took quite a long time. You have to manually type in your previous job and extracurricular experience, which can add up quickly when you’ve had a few. Plus, there are certain documents that you may not have prepared that you should be aware of.

There were parts that I didn’t really think would come up, like my parents’ education, my international experience, and even my hobbies. I expected things like work experience, awards and honors, as well as extracurricular activities. The rest was pretty random additional information that varied by school. Stanford even asked for your favorite word!

Check, check, check!

So once you’ve got all these pieces together, make sure you have at least one other person take a look at your applications. I had my trusty husband go through and point out weak areas for me. He also kept an eye out for minor errors/typos after I’d been staring at everything for too long. Give yourself enough time to input all the data and proofread at least two or three times. You want to be as professional as possible and any grammatical error or typo can work against you.

When you’re ready to submit (at least hours, if not a day or more before the deadline), make sure you get confirmation emails that your application was received and so was your payment. You don’t want to miss out on an opportunity because of a glitch or because you forgot to pay the fee. Oh yeah, you’ll want to be ready to pay about $150-275 per application. That adds up fast!

For Kellogg, they had one more step after the application was submitted: the video essays. So if your program has something like that, make sure you spend time rehearsing. The program they use allows you to practice with the software until you’re comfortable, so I must have done it 20 times until my eye contact was steady and my answers could fit into the allotted 60 seconds. It’s amazing how shifty you can seem on your first try, so neeever jump right into it.

Once you’re all done, each application usually allows you to download a proof as a PDF, which I definitely recommend you do. Keep that for your records, so you can use it if there are any discrepancies. Plus, it helps you remember what you sent them!


So, these are the tips I have for the process up until those applications are submitted:

-When choosing which programs to apply to, go through each school’s websites to learn as much as you can. Try to keep your choices to 6 or you might be stretched too thin (and your recommenders won’t give up on filling out so many!).

-Sign up for their mailing lists ASAP so you know if there are local students you can meet or if/when an admission officer will be in your area. This is a great way to evaluate schools and learn things that can help with how you focus your application. Each program values different things and each school has a different culture.

-Take the GMAT/GRE before all the application madness if possible, so it’s one less thing to worry about.

-Read carefully through requirements. Do they need a GMAT score or do they accept GRE as well? Do they require scores to be sent or can you self-report for now? Do they need official transcripts sent or are unofficial transcripts acceptable initially? Prep these early as needed.

-Think about the narrative you’re going to tell. It’s hard to distill everything you’ve done and who you are into a neat package, but choose that one trait that best sums it up. Look at the work you’ve done, the activities you’ve been involved in, and even your personal background to connect the dots. A cohesive story makes the picture clearer and easier to digest.

-Based on your narrative, choose recommenders who can speak to the work you’ve done around what you’re focusing on. Put together some examples that the recommenders can choose to write about, which may differ greatly depending on your interactions with them. The more they can personalize it and relate it back to your theme (as well as tie it in to what matters to the school), the more impactful they will be.

-Follow up with your recommenders to make sure things are on track! If one of them needs to change, you want ample time to swap them out.

-Go through all the fields that each application requires. This will give you a sense of extra materials you’ll need to pull together, like your parents’ educational histories, your extracurriculars, any awards or recognition, or even international experience. The UCLA Anderson app had a paragraph to summarize hobbies and the Kellogg app asked for international experience as well as video essays. Know about these ahead of time so you’re prepared! Even the way they ask you to fill out work info varies greatly, so take a peek at how that’s structured.

-Start setting aside the amount of money you’ll need for the fees if you don’t have that readily available. Most seem to be $150-275. There are some cases where you can get the fee waived, so if you’re really strapped for cash, see if you qualify for any.

-I would allocate at least 10 days per app at the least, giving yourself time to have a breather when things were intense and you needed some time away from staring at these applications.

-Proofread your application a few times and have at least one other person go through the final version if you can.

-Submit your application well ahead of the deadline! I did them all the day before, so if anything went awry, I’d have the following day to figure it out.

-Be sure to get confirmation emails that your application was submitted AND payment was received. Otherwise you might not make it into the round you want!


Any other tips you’d share? Let me know! Now I’m just waiting to hear back on interviews…

How to: make a browser tab act as a desktop program

laelene Posted in general blog,Tags: , , , , , , , , ,
0

When I learned of this trick, I was so excited! I hope your inner nerd loves it too.

Are you like me and hate having certain tabs open in your browser because you want to be able to use a site as if it was a separate program? Well, with Google Chrome you can basically achieve that! As I discovered recently, you can pop out certain sites you want to have open without having to resort to new windows or tabs. This way, it gets its very own icon in your taskbar and when you close it, you can quickly re-open it by clicking the image. This is called an application shortcut and is particularly useful for sites you listen to music on (so it’s like having a music player program open), sites you’re messaging with (so it’s like having an IMing program installed), or even just your favorite sites (like your blog editor).

I think you really need to try it out for yourself to understand it better. It’s a lot like the Add to Home Screen option on iOS devices (but the Windows desktop version), if you’ve done that before. Here’s how to do it:

Step 1 – Go to the menu in the top right, More Tools, then Create Application Shortcuts…

google chrome browser application shortcut setting option

Step 2 – Choose one or both application shortcuts to create. You can create a Desktop shortcut and/or a Pin to Taskbar one.

google chrome browser create application shortcut options

Step 3 – Now your app shortcut sits on your desktop and/or your taskbar for easy access. Just click to open!

google chrome browser application shortcut on desktop

Here I set up Grooveshark so I can listen to music and quickly switch to it to pause my music. Behind it, I’m working on this blog post in the browser!

How to Apply for a Chinese Visa

laelene Posted in how to guides,Tags: , , , , , , , , ,
1

What a ride it’s been applying for my visa to go to China! I watched as time after time, people were turned away because they didn’t have everything they needed for the application. It seems that the law changed in the past couple of years, so those who had been getting visas to China for over 20 years suddenly found themselves no longer meeting the requirements for the application (on their first try anyway). I don’t think a single person who was there for the first time had a successful experience. So, to help you avoid a similar fate, here’s what I learned to make your visa application process as painless as possible.

Short on time? Skip right to the tips list.

First and foremost, PREPARE thoroughly.

When I first saw the extensive forms of visas, I had no clue which one I wanted and I didn’t pay much attention to the requirements. After all, I’d done it plenty of times before so how hard could it be? Oh no, how naive I was. First of all, you have to fill out the form ahead of time. There are no longer forms at the embassy – my first big mistake. Luckily, there is a well-situated travel agency upstairs from the visa office in DC (what a smart move on their part), so I went there and paid $10 to fill out my form on a computer and print it out. Avoid those mistakes and download a copy and print it yourself.

sign and entrance to chinese embassy visa office in washington dcAll applicants are going to want to have a photo copy of their passport ID pages (for the office to keep once they return your passport to you), previous visa(s) to China if this is not your first, and a copy of your itinerary (proof that you will leave the country within an appropriate time period). If you’re like me and just got a new passport, you’ll want to bring copies of your old passport and visas that you had in there. If you’re getting a special visa that lasts beyond the typical maximum of 12 months, there are other documents to provide. This usually includes a signed letter from a Chinese native/resident or company, inviting you to the country and explaining the purpose of your visit.

Plan for at least 40-60 minutes at the visa office

Don’t forget to bring all your documentation! When you arrive, you’ll almost always find a dozen or more people in line to submit their application and it’s a painfully slow process. After all, they have to be thorough in reviewing your application. They also often have to explain exactly what is missing from an application so people can get it right the second time. And inevitably, there are those frustrated people who spent hours getting to the office only to find out they have to make another trek, so they vent and sometimes demand managers.

Wait patiently for 3-4 business days, then pick up your visa

chinese embassy visa office windows for payment and pick upWhen you leave after submitting your application, you’ll get a receipt – hang on to it! It lists the date your visa will be ready and if you don’t get a call by that time, it means your visa should be ready with no issues. Picking up the visa is pretty quick, thankfully. Go first to the payment window and they’ll process your payment. All visas cost the same, no matter the length of validity and they’re currently at $140 for US citizens. I paid by credit card and then took my receipts over the to pick up window when the lady returned. She located my passport and showed me the page with the visa on it. I checked to make sure it was accurate – correct personal information, appropriate expiration date (two years from now, woo hoo!), and actually in my passport.

chinese visa payment window with receipt slip and stamp

Payment time.

passports in boxes ready for pick up after getting chinese visa

Boxes of passports.

So here’s a recap of the main points:

Download the application and bring it filled out along with a 2×2 photo attached (no more copies offered at the visa office)

Bring
-photo copy of passport
-copy of old passport (if recently outdated)
-copies of previous visas (if you’ve had any before)
-copy of travel itinerary (if already booked)
-invitation letter with name, ID number, and address of inviter (Chinese citizen or resident) – also include your name and passport number as invitee
-copy of front and back of ID of inviter

Apply at least 5 business days prior to intended travel (but preferably closer to 8-10 days in case there are issues)

When picking up your visa, bring form of payment (credit card is fine) and receipt slip

Did I forget anything? Do you have any lessons learned to share?

How to: win free stuff

laelene Posted in how to guides,Tags: , , , ,
2

how to: win free stuff -maryqin.com

Honestly, when it comes to winning stuff, it pretty much boils down to a numbers game. Enter enough and you’ll start winning. But if you’re interested in a few other tips, here’s what I’ve found help me with winning more:

Find blog giveaways

When I set my mind to winning a Conscious Box, I did a search of giveaways online and found a bunch. I entered every single one I could find and I ended up winning two 3-month subscriptions! Similarly, I really wanted to win an Escape Monthly box and I did the same thing, also winning two different giveaways. Pretty awesome! Generally there are only hundreds of entries to contend with from these giveaways, versus hundreds of thousands for stuff being given away directly by brands. Of course you’re limited to items of more average value – you won’t really find cars and other big ticket items.

Befriend bloggers

If you find that certain bloggers seem to get or give all the things you want, it doesn’t hurt to make a friend. Start commenting on their posts and share your genuine interest. If they happen to know you loved something they reviewed or have access to, they might just think of you when they get a chance to share. Building great relationships can always open doors to opportunities. Just be careful not to cozy up to these people for the sole purpose of getting stuff. That sort of insincerity is not a good foundation for a friendship.

Promote yourself

If you’ve entered a giveaway, sharing it on your social media or even reaching out directly to the giveaway organizer can capture their attention. It could simply be sharing your excitement for the giveaway and thanking them. I’m amazed at how many people would only say something if there’s something to complain about. Giveaways are a nice thing and nobody ever said these people or organizations had to arrange them. Taking the time to thank them can go a long way.

Try consistently

When it comes to larger giveaways especially, the best thing you can do is enter as much as is allowed. Many allow multiple ways of entering or daily entries. Set up reminders so you can enter the max amount to improve your chances. I have a success rate of about 1-3% on things I enter, so if you haven’t entered at least 100 giveaways then I doubt you’ve set yourself up to win. Keep trying!

Think positively

If you approach things from a good perspective, you’re more likely to do things that enhance your chances of winning, like promoting yourself and befriending people who’d give you stuff. It’s also just nice to put out that positive energy into the world. If you want to be a guaranteed winner, try hosting a giveaway of your own – making someone else’s day is a surefire way to feel fabulous. 🙂

Have you won things? What do you find help with your chances of winning?

8 tips for buying a new car

laelene Posted in how to guides,Tags: , , , ,
3

Alright, I started to mention some things soon after I got my Kia, but I wanted to put together a more cohesive list of recommendations if you’re in the market to buy a car. One of these days I’ll discuss the decision to lease versus purchase, but for now if you know you want to buy, here are some things that may help:

8 tips for buying a new car graphic

1. Do your research

This is probably a given, but just in case, I’m including it. Spend time using the various resources online to find out which models you might want and once you have it narrowed down, go for some test drives. Between getting the features you want and having a car that feels good for your driving preferences, you can probably narrow it down. Then you can really hone in on what price you could get it at, using sites like Kelley Blue Book. Your goal is to get at or below the Fair Purchase Price.

2. Take your time

Salespeople will forever be trying to get you to jump on offers pronto, since they want to get that sale in the bag. If they don’t get you now, who knows what might happen – they may never get you as a customer. Don’t let them pressure you into deals you’re not comfortable with. The best way to ensure you’re prepared for this brings me to my next point…

3. Time your purchase

First of all, try to give yourself 2-3 weeks leeway from when you start looking to when you’d actually want/need the car. That way you aren’t in a rush and can go back to dealerships over the course of a few weekends (assuming you can’t make it on weekdays). Secondly, if you know way ahead of time you’ll be getting a car down the road, try to do it as the current year’s models are being phased out and the next year’s are coming in. Dealerships will be much more willing to give you deals on the models that are on their way out. Third, start looking towards the beginning of a month. Many promotions generally end at the end of a month, so this will give you time to browse and still take advantage of offers.

4. Take advantage of promotional offers

There are generally a variety of promotions going on at any given time, so be sure to ask about those and find which ones you qualify for. Even if you don’t, if someone in your family does and is willing to be a co-signer, that’s a great way to save hundreds if not a couple thousand right off the bat. I did this with Panda, who qualified for two promos (recent grad and competitive vehicle). If it was just me… well, I would have had to pay another $1400.

5. Try multiple dealerships

If you live/work within a reasonable distance of multiple dealerships, try visiting them all. I ended up purchasing from the second dealership I went to because it gave me a better vibe and my salesperson seemed to really want to give me a good experience. Plus, you can use it as a way to find a better deal by comparing the different offers you get at each. If you plan on getting all future maintenance with your dealership, you might want to go to the closest one, but if you’re the type to take your car to a smaller local shop, then a further dealer won’t make much difference (and if their service or price is better, it could be worth it).

6. Negotiate the overall rate

Now I’m not sure if all dealers do this, but since all I cared about was the total price I’d pay, including all taxes and fees, the finance guy quoted me a number and he stuck to it. That way, there are no surprises. So if you can, try to get them to commit to the number with everything factored in. After all, what you get for the car may be what you wanted, but then with the freight charge, processing fee, taxes, and who knows what else, you may end up paying thousands more than you anticipated. Watch out for those extra charges and try to negotiate the absolute max that you’d pay all-inclusive.

7. Ask for freebies

A nice way to get some small things you may have wanted buy didn’t want to buy is to use that for bargaining in your negotiation. If they’re at a price you like, try saying you’d sign the paperwork now if they threw in a charging cable, or upgraded floor mats, or what have you. Then you save yourself a few meals’ worth while feeling great about the fun bonuses you got.

8. Get financing with 0% interest

If you can pay for your car over the course of 5 years without incurring a higher price, why not? It frees you up to do other things with your money. Of course, the sales price might be higher if you get this, but it’s most likely you’ll save in the long run compared to if you got a 1.9% or whatever the going rate is now. Make sure to calculate that and know whether it’s worth it. This is assuming you need financing… if you can just pay it upfront then more power to you.

What else would you advise someone on the market for a new car? Have you gotten a great deal before?

How to: Facebook Contest Tutorial

laelene Posted in how to guides,Tags: , , , , , , ,
1

I just participated in a super-quick giveaway on Facebook and there seemed to be a lot of confusion over how to win. In case you ever come across a similar promo, here are some tips for a winning strategy – I’ll use the contest I entered, hosted by Physician’s Formula, as the example.

success page for those who got the free physician's formula product on facebook

Want to win these giveaways? Here are my tips for how to do it.

The giveaway was hosted on Physician’s Formula’s Facebook page using the “Promotions” tab. On the promo tab, there was a timer counting down to when the giveaway started, which in this case was today at 2 PM PST.

Tip 1: Check the time! A lot of people thought it was 2 PM local time, but it was stated that it would be PST, so you’d need to convert to your own time zone. All giveaways will specify the time, so be sure to look it up. If you’re not sure, browse the Rules or Terms/Conditions for the contest ahead of time, or just check with the company by asking them.

The instructions were to watch for a secret word posted on their page at 2 PM PST, then be one of the first 1000 to fill out the form (over on the Promotions tab) to win. A lot of people promptly posted the secret word on PF’s Facebook page and wondered if they won. This, however, was not the appropriate place to enter. A careful read of their instructions would have made it more clear.

Tip 2: Double & triple-check the rules! All giveaways clearly lay out how they will work and what their terms are, so if you really want to win, make sure you know exactly what you need to do when the giveaway is live.

Also, many people complained that the timer wasn’t accurate or their clock didn’t match. One of the things you want to check beforehand is that your clock is synced with the “real” time. Usually our computers do this automatically, but it’s always good to check it and make sure that your clock is matching up with the timer. As for the timer being off, it might have been due to certain browsers not being up to par. Make sure you’re using the latest version of your browser. Also, when time’s getting close, refresh the page so the servers realign and ensure a more accurate countdown time.

Tip 3: Refresh the page (but not too much). It’s always a good idea to refresh the page to make sure you haven’t missed something, but overdoing it can overload the system and cause your page to freeze mid-load or load blank. Definitely not what you want when you’re trying to win!

Oh, and speaking of all this browser and computer talk – if at all avoidable, DO NOT USE a smartphone. Facebook “apps” (or tabs) such as the Promotions one for Physician’s Formula don’t tend to work on mobile phones. Your best bet is a computer browser, whether desktop or laptop or netbook or otherwise.

Tip 4: Use a non-mobile device. While you still can access the appropriate tab on a tablet, it’s a lot more hassle and often less reliable than a good old computer desktop or laptop. If you don’t have access to a non-mobile device but you have a tablet, be sure to log in to Facebook from the browser. Don’t use the Facebook app for your device, as it will generally not show you the Promo tab.

Ok, so you’re all ready to wait for the secret code to show up on the Facebook page so you can then fill out the form on the Promotions tab. Be smart about it! Have both pages open in your browser! In fact, have an extra backup browser with the pages open too. That way, you can quickly get to the form once it’s live and fill it out ASAP. If there’s a snag with something loading, you can promptly try a different browser to see if it works better.

Tip 5: Have both pages open in your browser. Saves a little bit of time, which can mean the difference between winning and not.

Ok, and now here’s one of my best tips: get notifications. What does that mean? Well, read on…

Tip 6: Get notifications! Usually to participate in a contest like this, you have to “Like” the page. Now what a lot of people don’t know is that after you like the page, you can actually choose to get (near) instant notifications from that particular brand. Just hover over the “Like” button and you’ll see a small menu. Click on “Get Notifications” and a checkmark will appear next to it. Now you’re a power user! This one step can help so much – every time the page is updated, you will get a notification. When you have Facebook open in your browser, a small box will appear in the corner sort of like an IM. If you have a mobile device, it will also receive pop-up notifications (if you have that enabled for your Facebook app). This is the fastest way to find out if the company updated their page yet, so you can get the code right away.

If this is confusing, just give it a try with a page you follow that updates often. The next time they post, you’ll get a notification and you’ll see how fast it is. When the code showed up for Physician’s Formula today, I saw it pop up in the corner and immediately went to fill out the form on the Promotions tab (which was live by then – no refreshing needed). When you went to fill out the form, a small box popped up asking for the secret code and that’s where you should have entered it. Tons of people repeated the code on the wall, but that didn’t do anything for you. And if you were one of the lucky 1000 to get your submission in on time, you got a lovely confirmation like the one shown. All those wondering if they got it probably didn’t, since it was clear upon filling out the form if you did.

Alright, those are my tips for how to best prepare yourself to win these flash giveaways! Do you have any other tips to share? Did you find this useful? Please let me know!

If you liked this, you might like my other tutorial on how to link social media accounts.

Related Posts Plugin for WordPress, Blogger...