Are you ready to see the results of my Homegrown Collective August box?! I sure had a ton of fun with it. 🙂
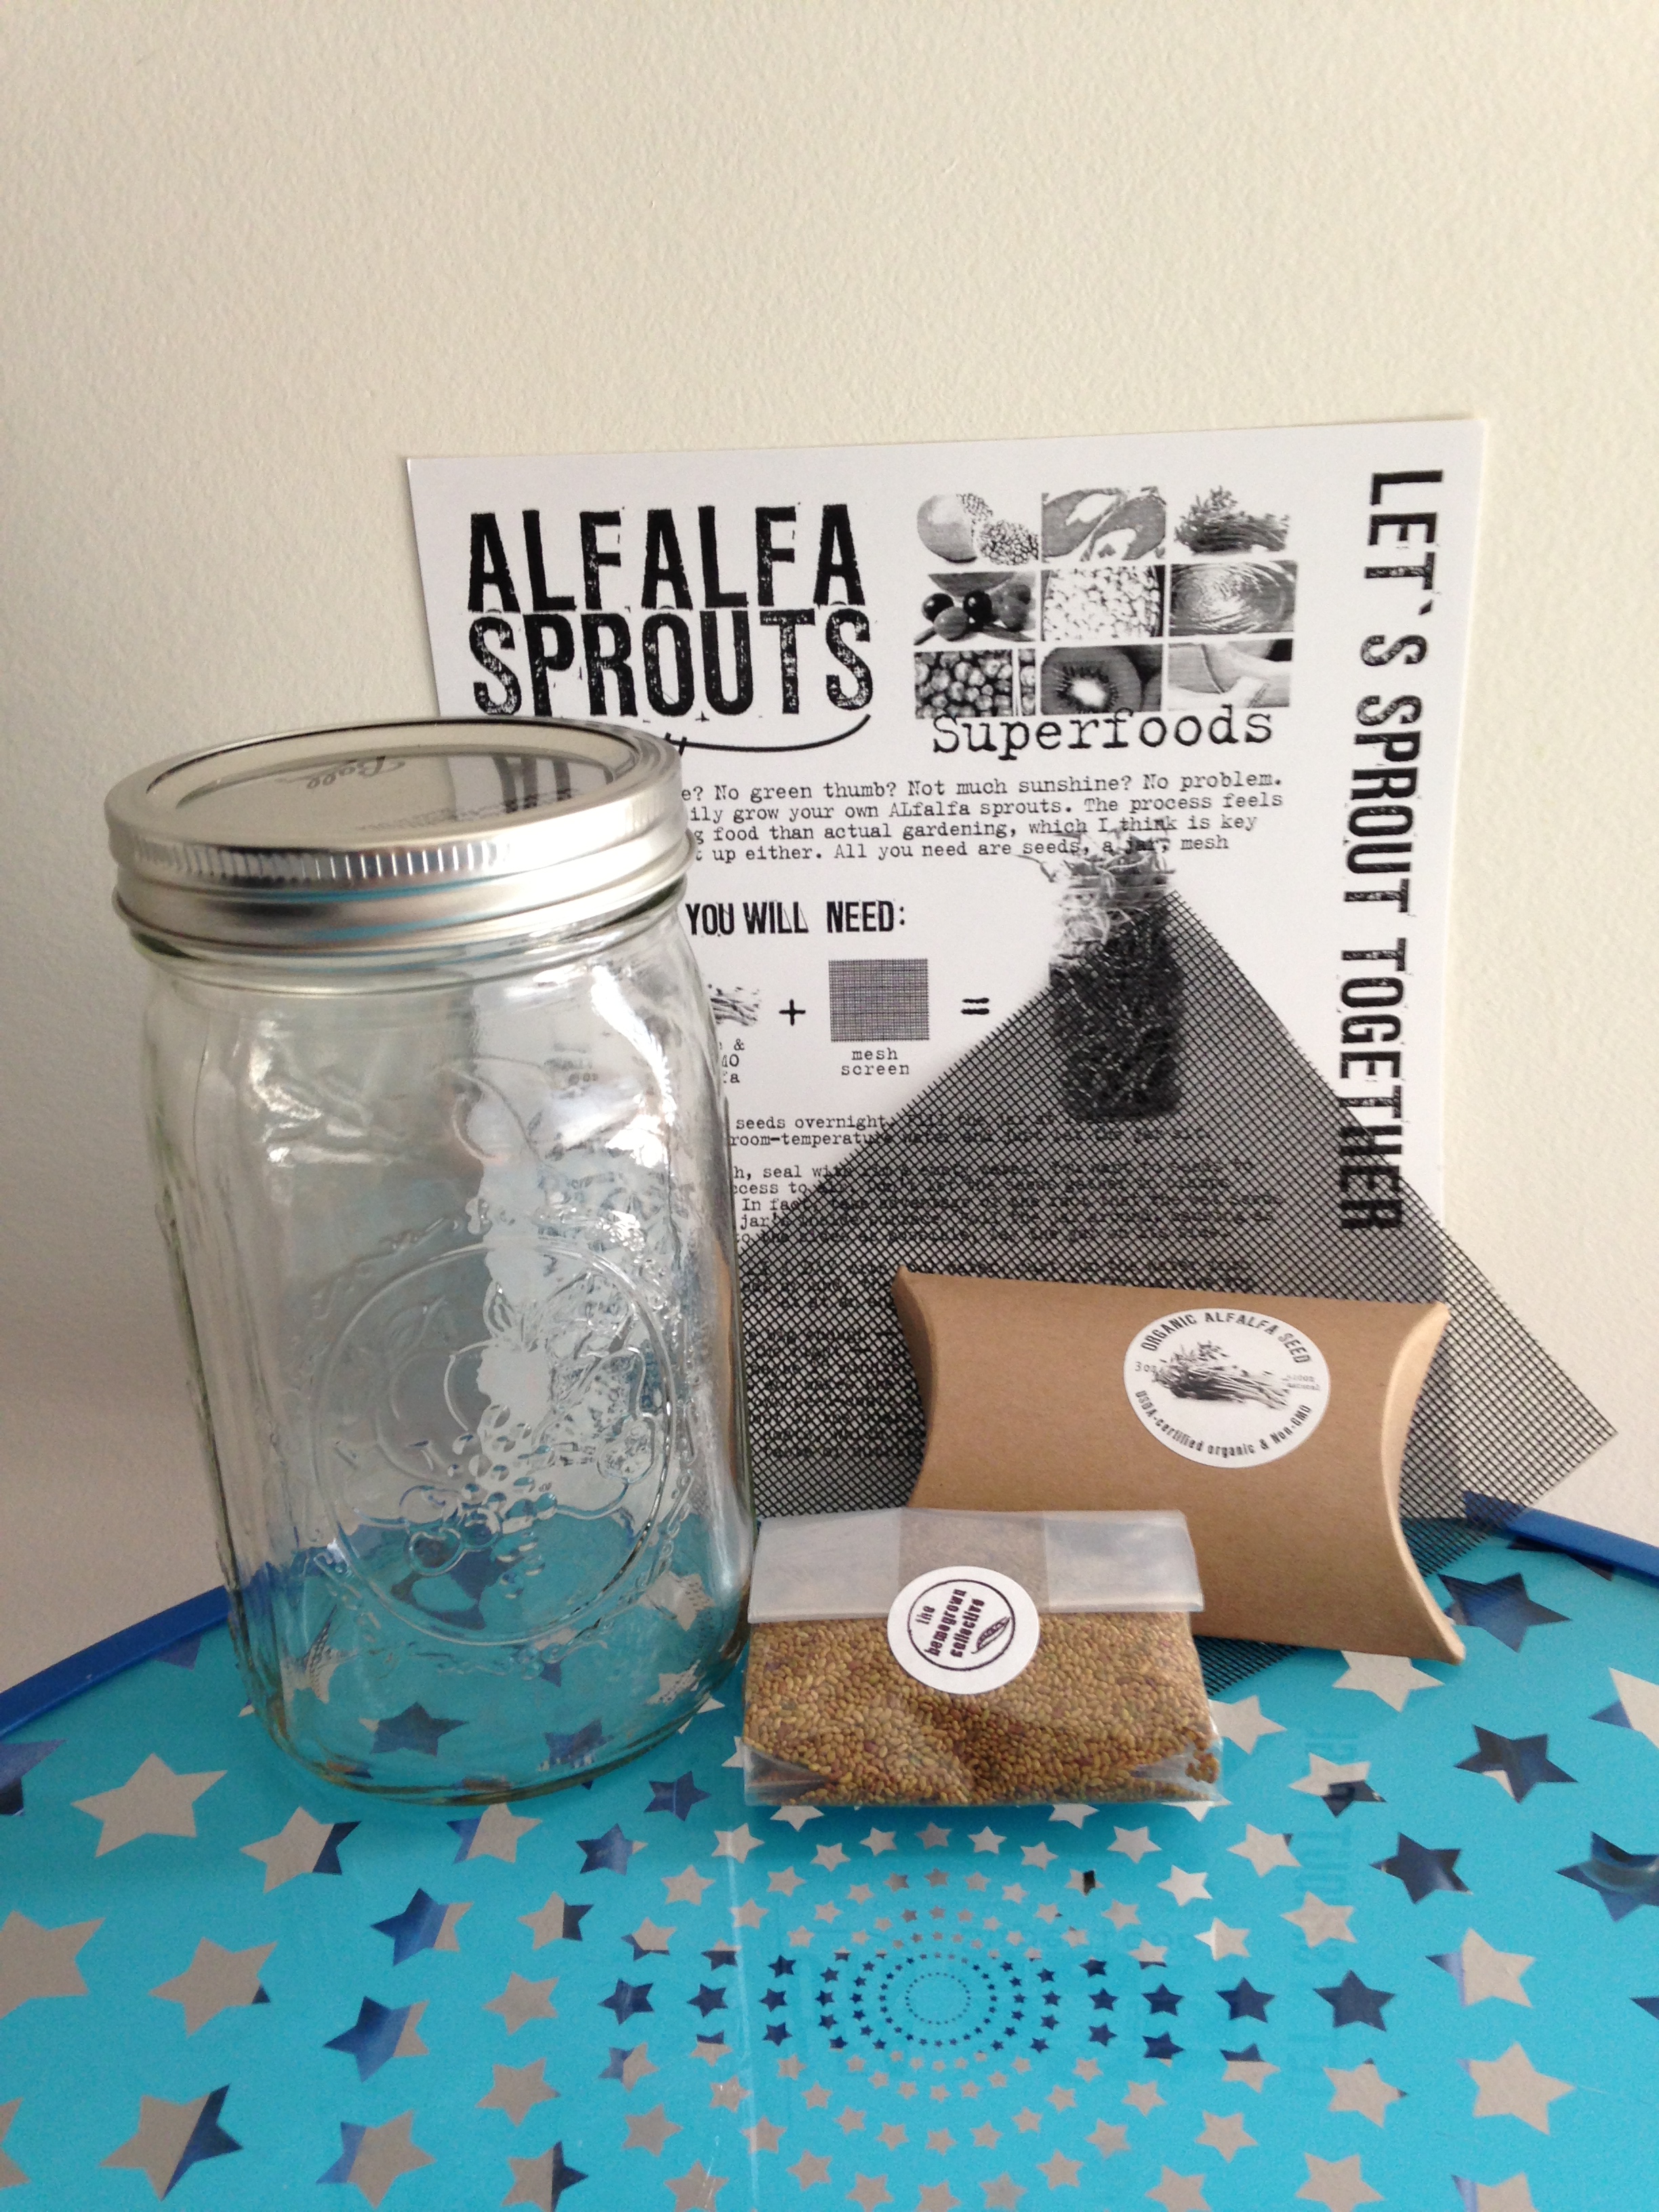
The Homegrown Collective GREENBOX is $39 per box + $9 shipping (or as discounted as $429 for an entire year, with options in between) and comes with fun and easy projects to live a more sustainable lifestyle. Boxes are sent monthly with no option to skip. They offer a referral program you can apply to join.

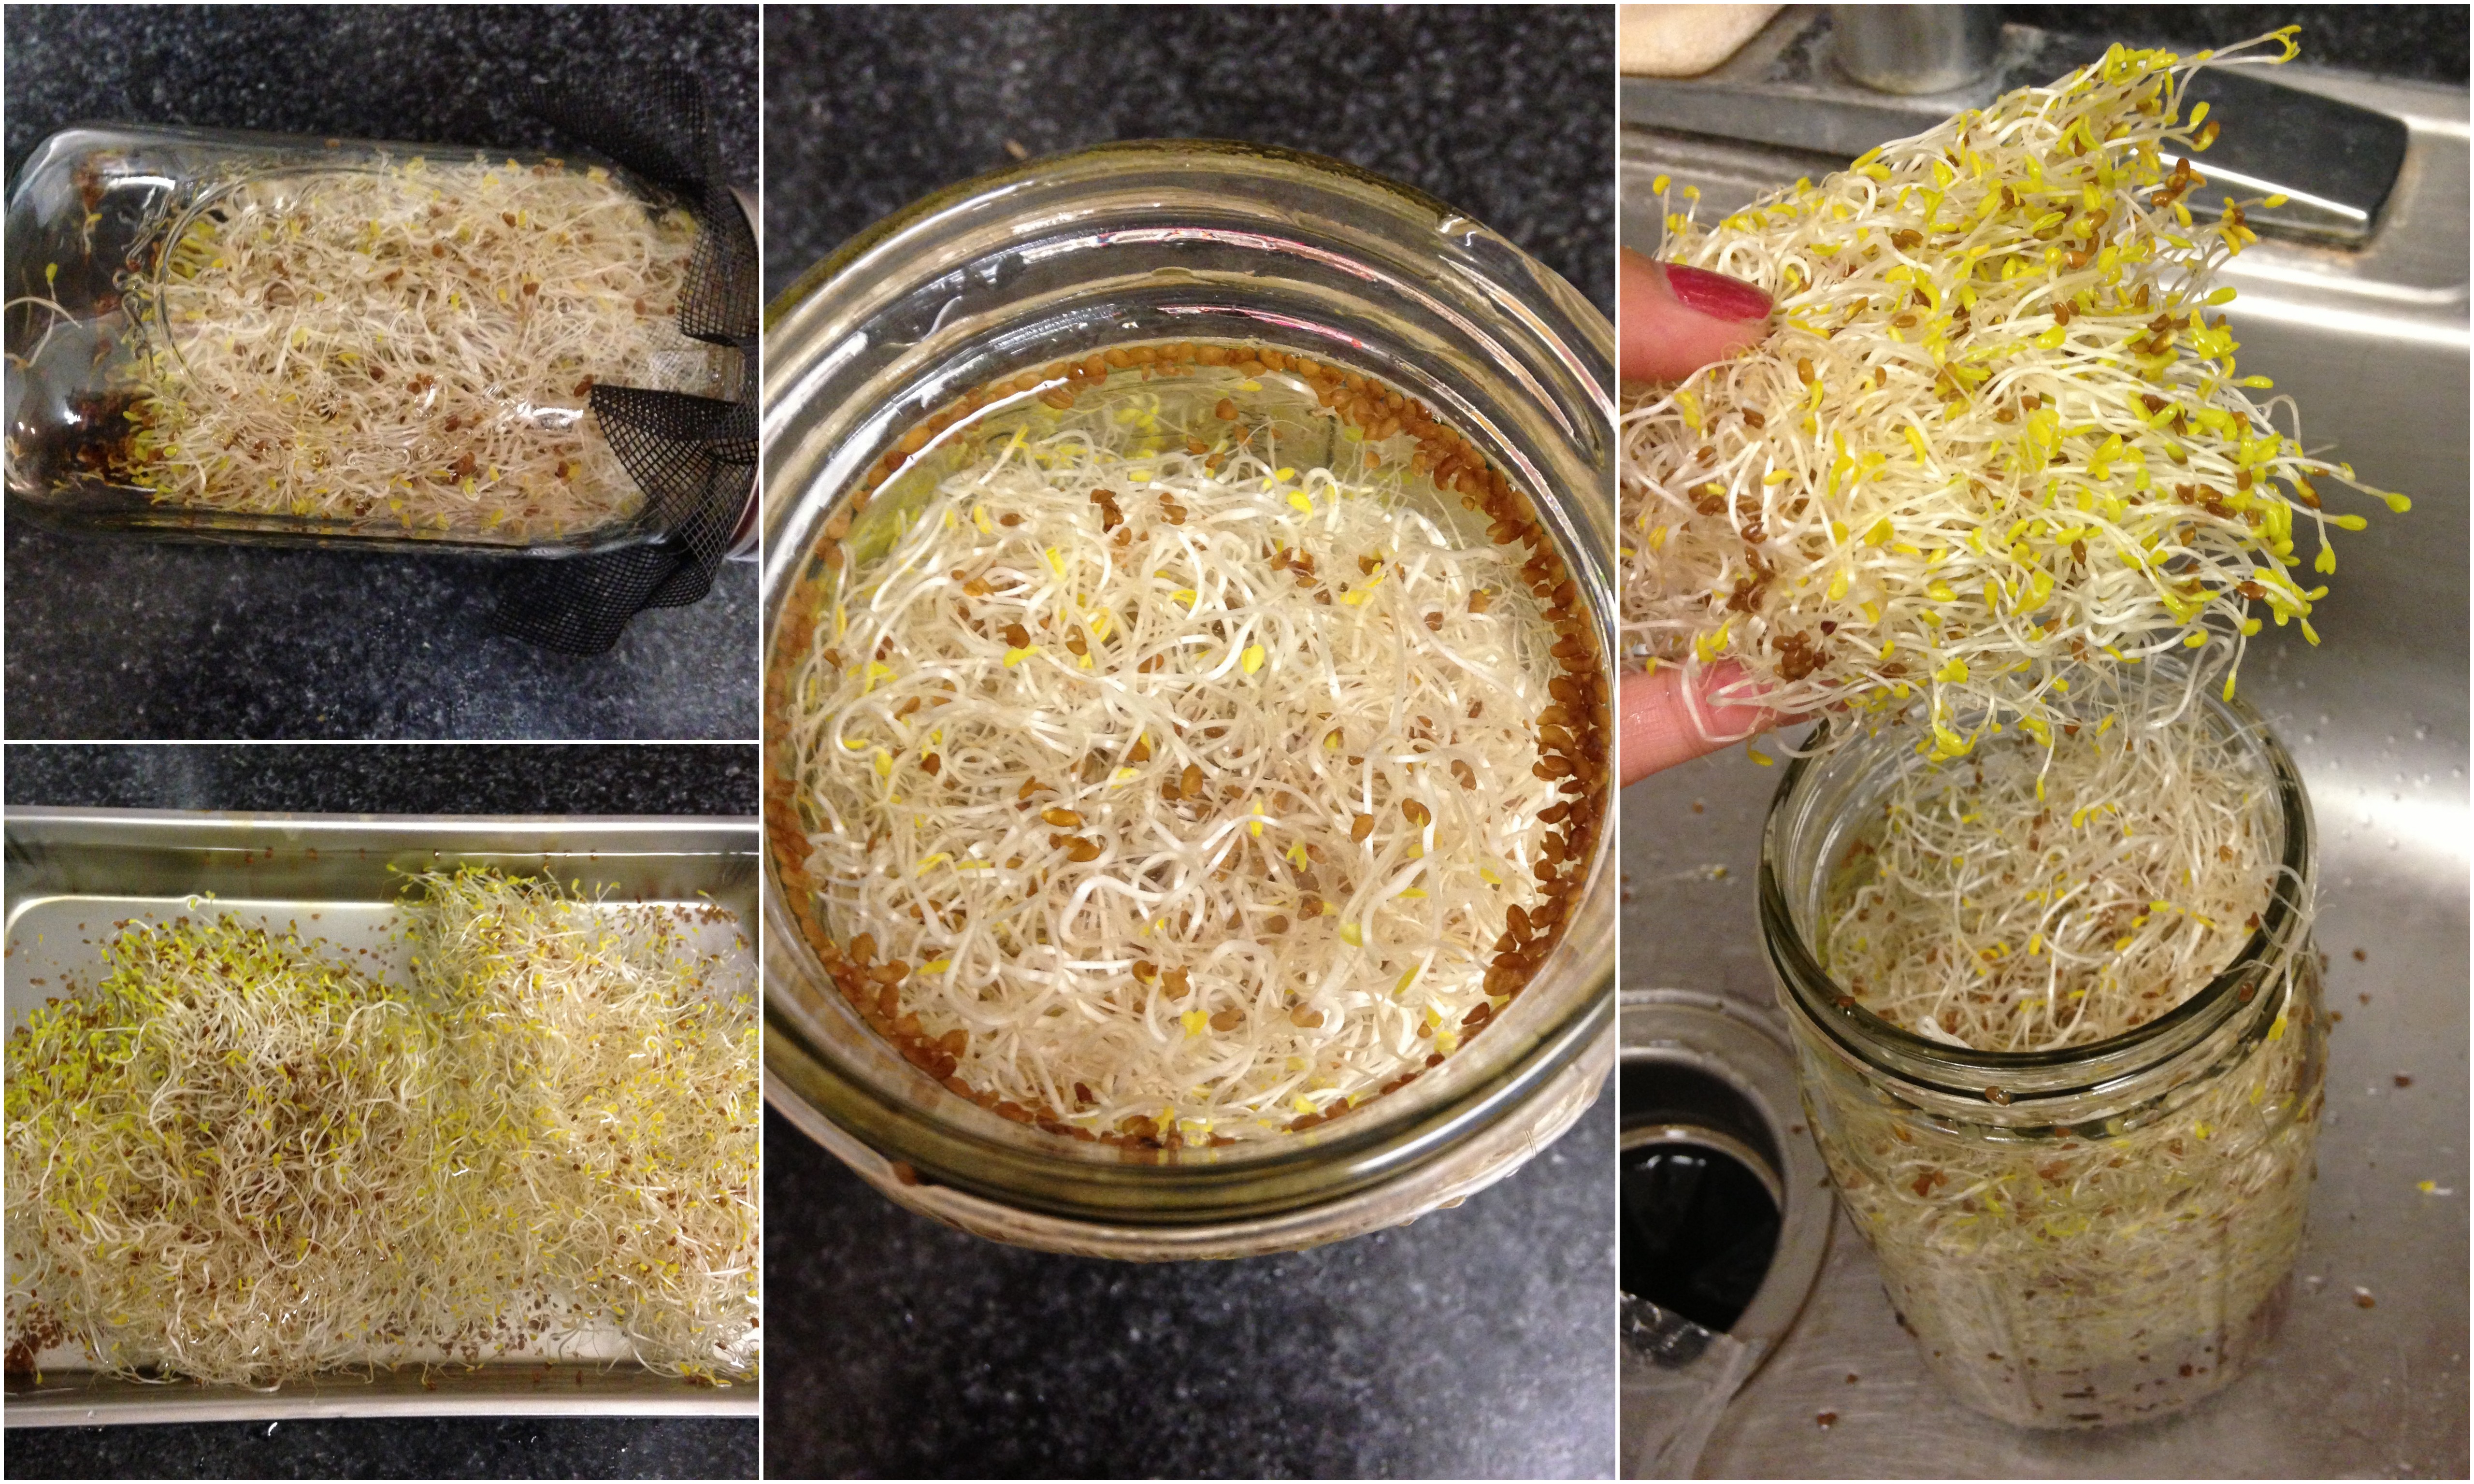
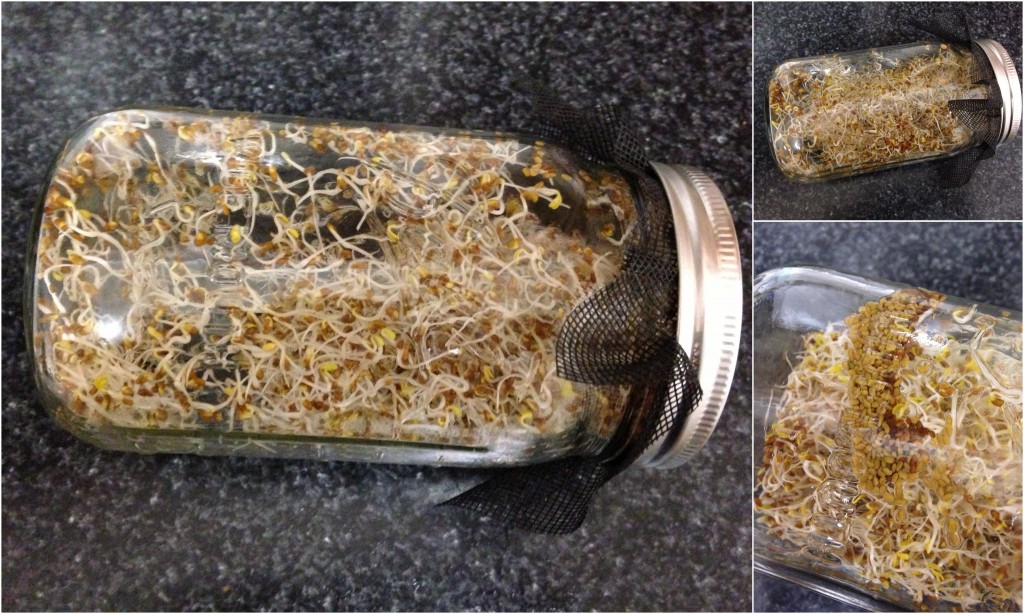
I started off with the alfalfa sprouts project.
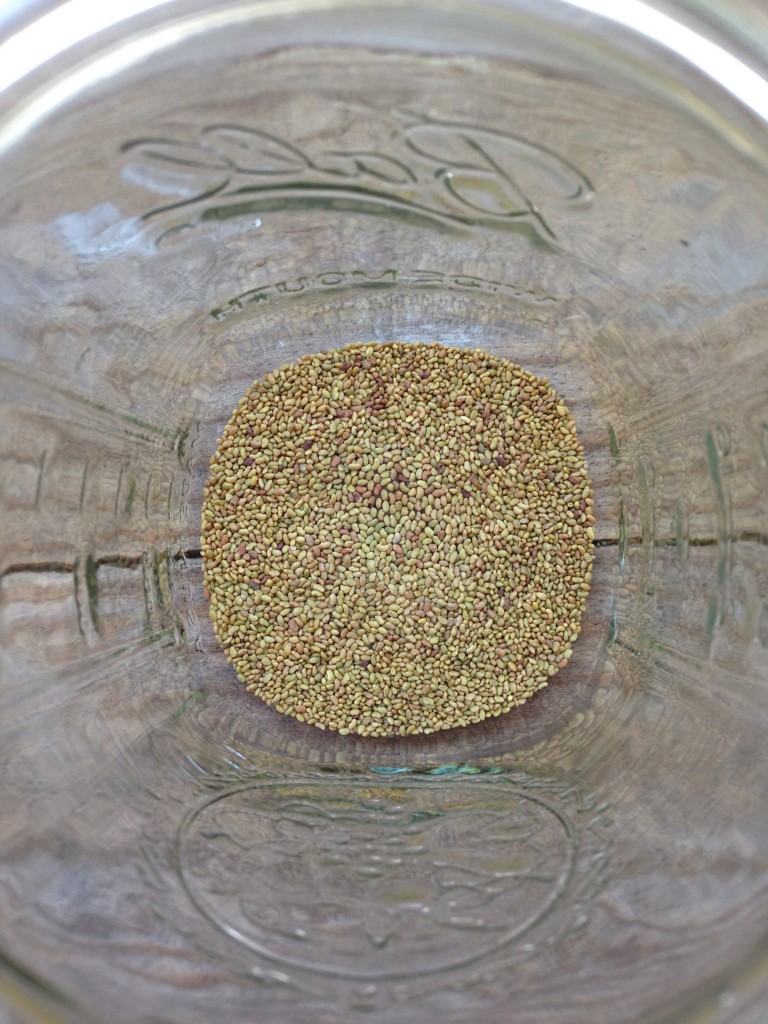
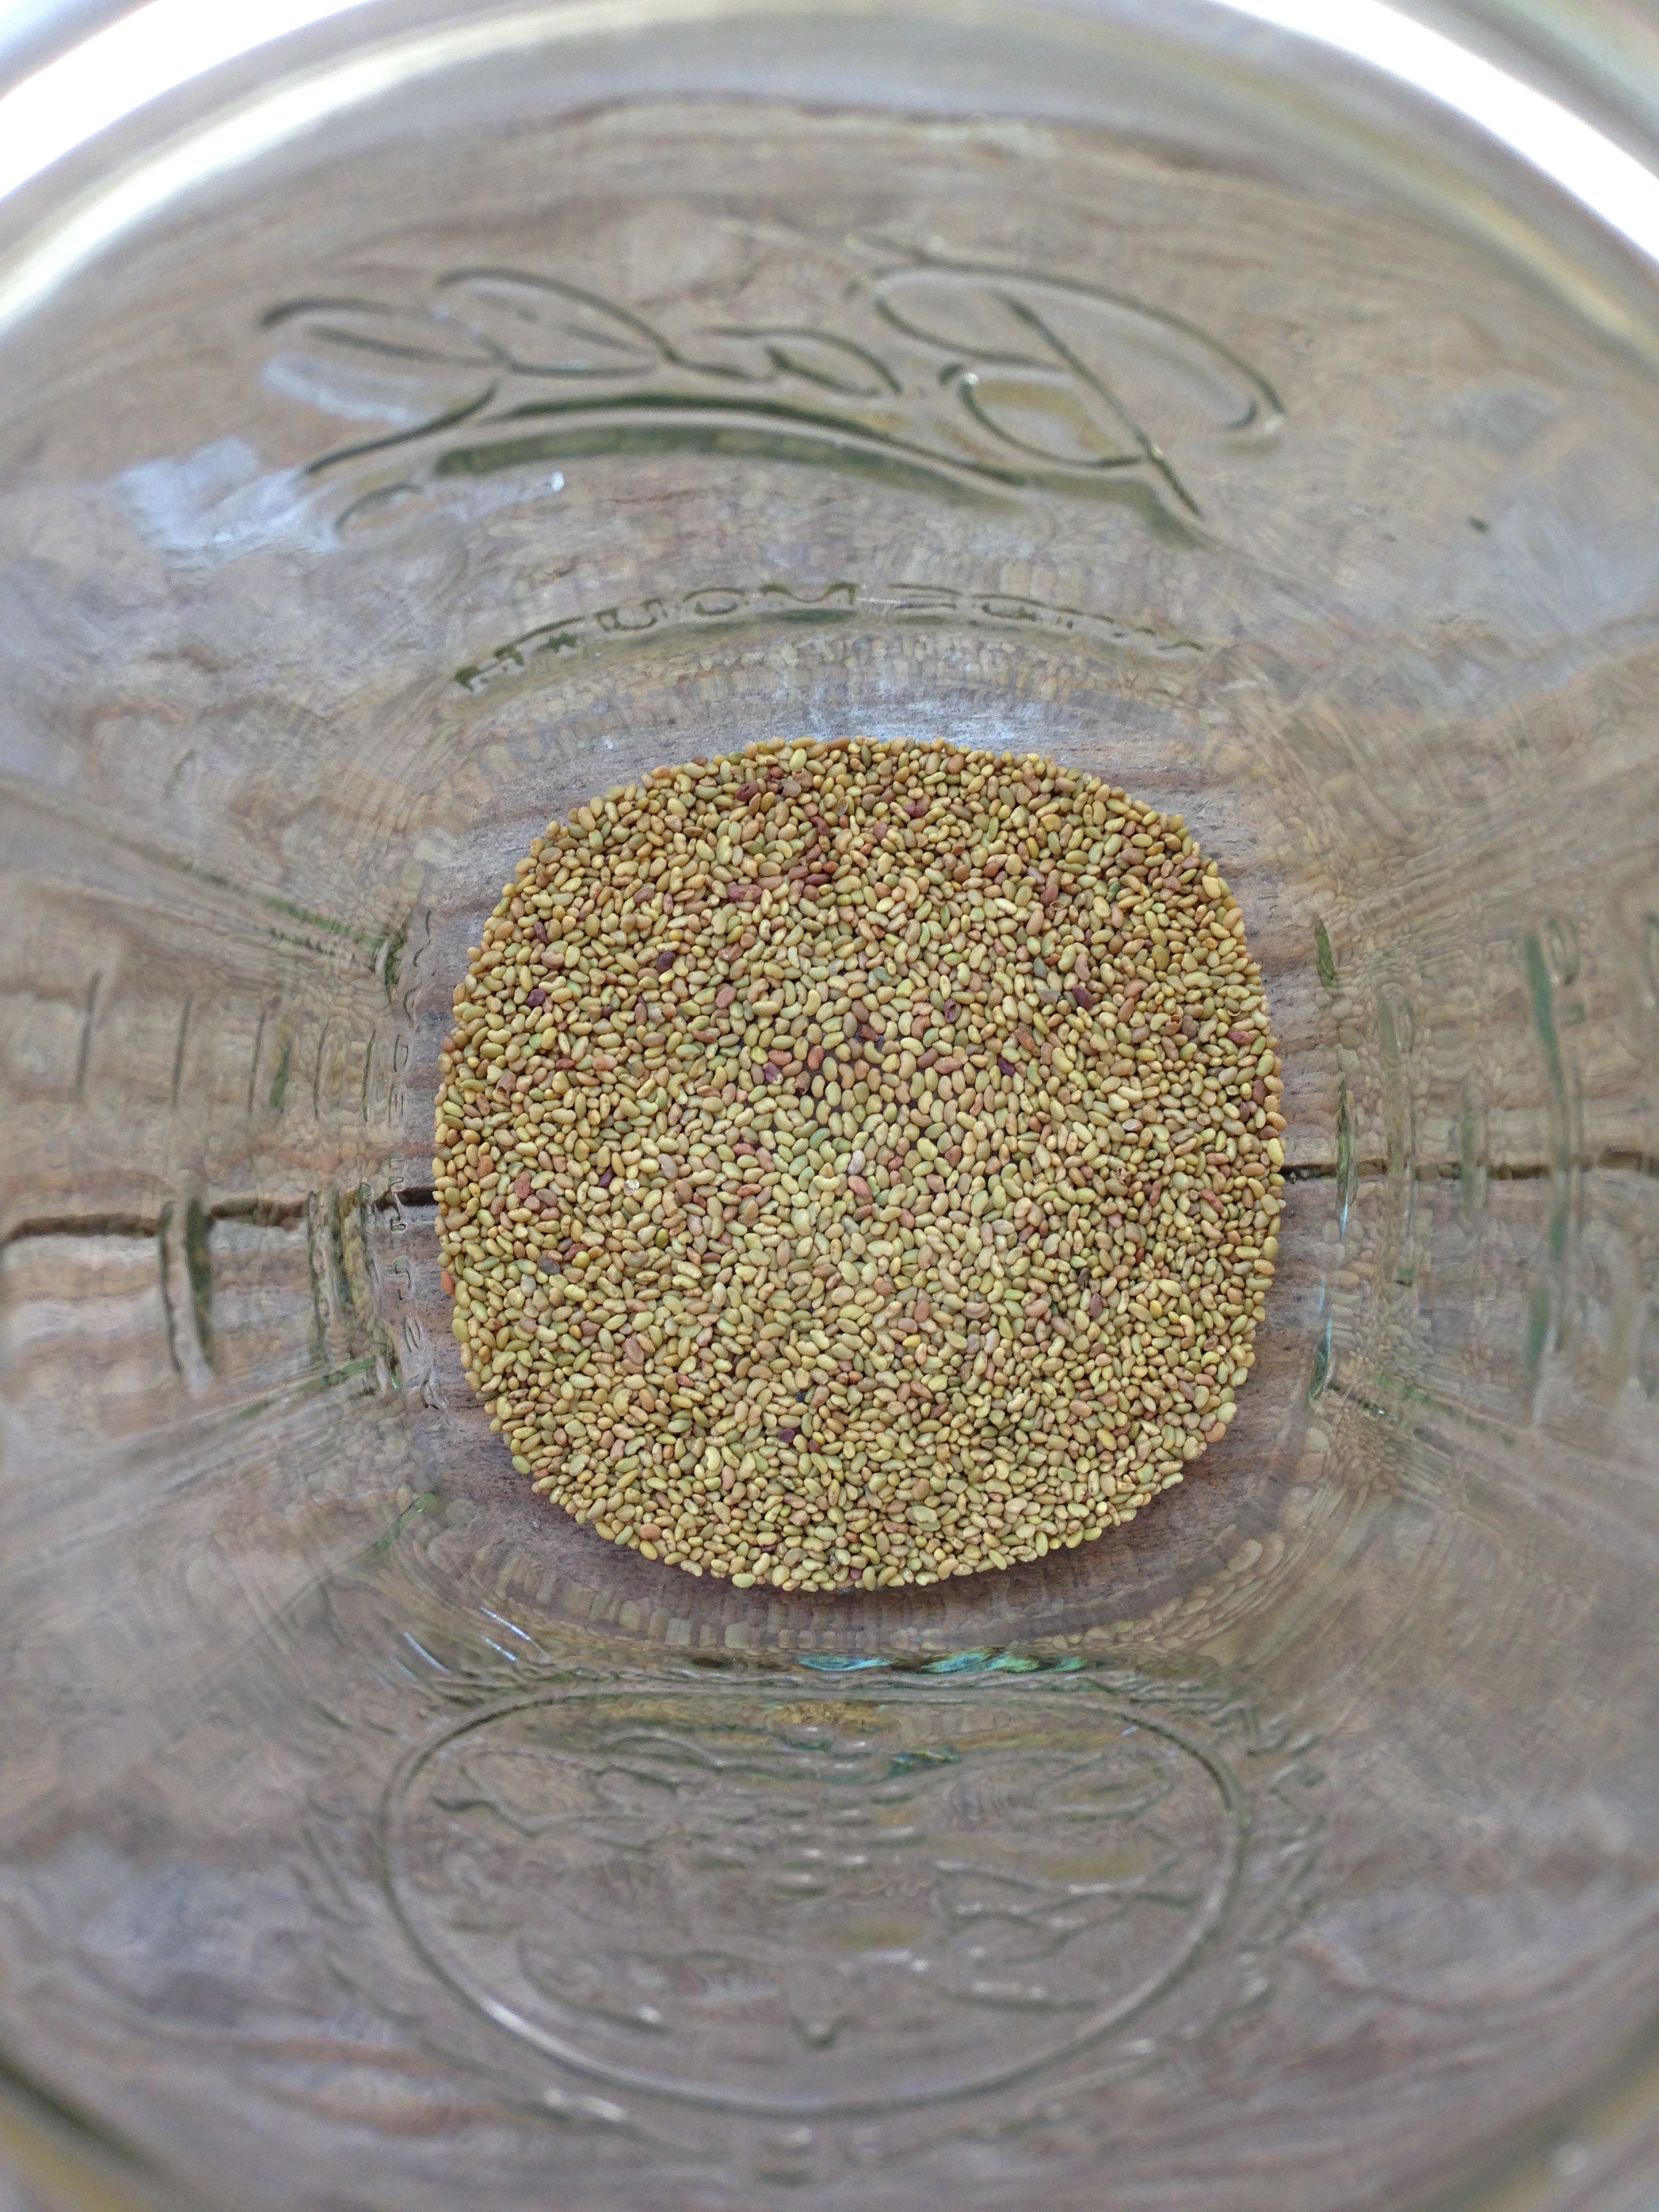
I put in just enough to cover the bottom of the jar.
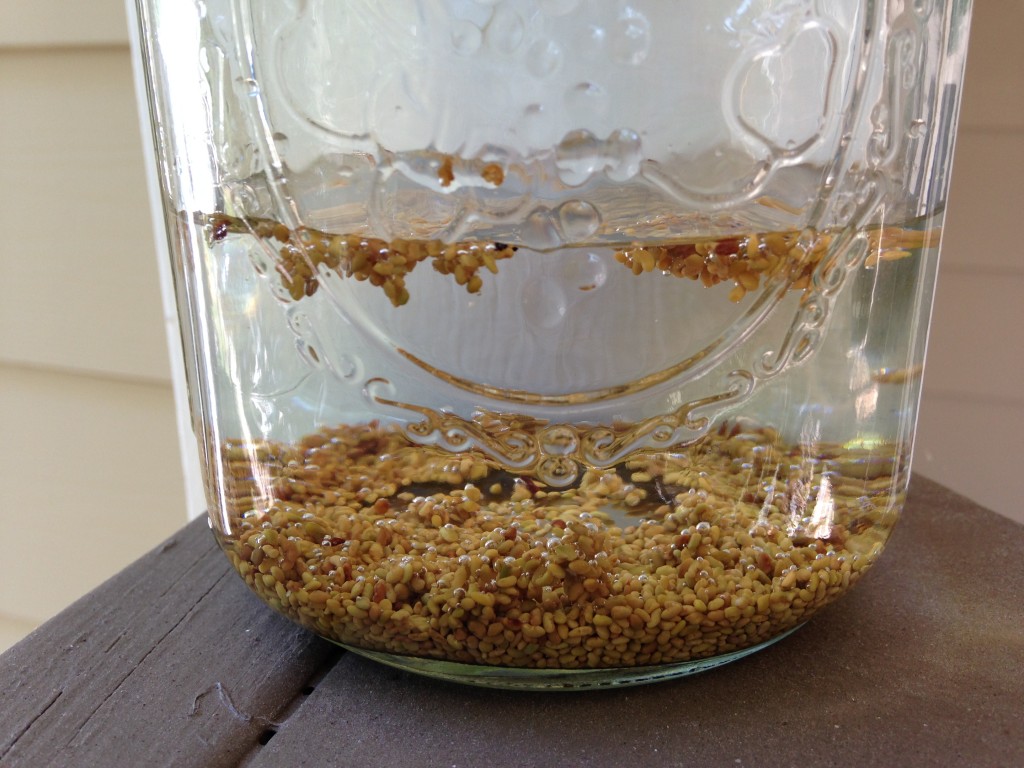
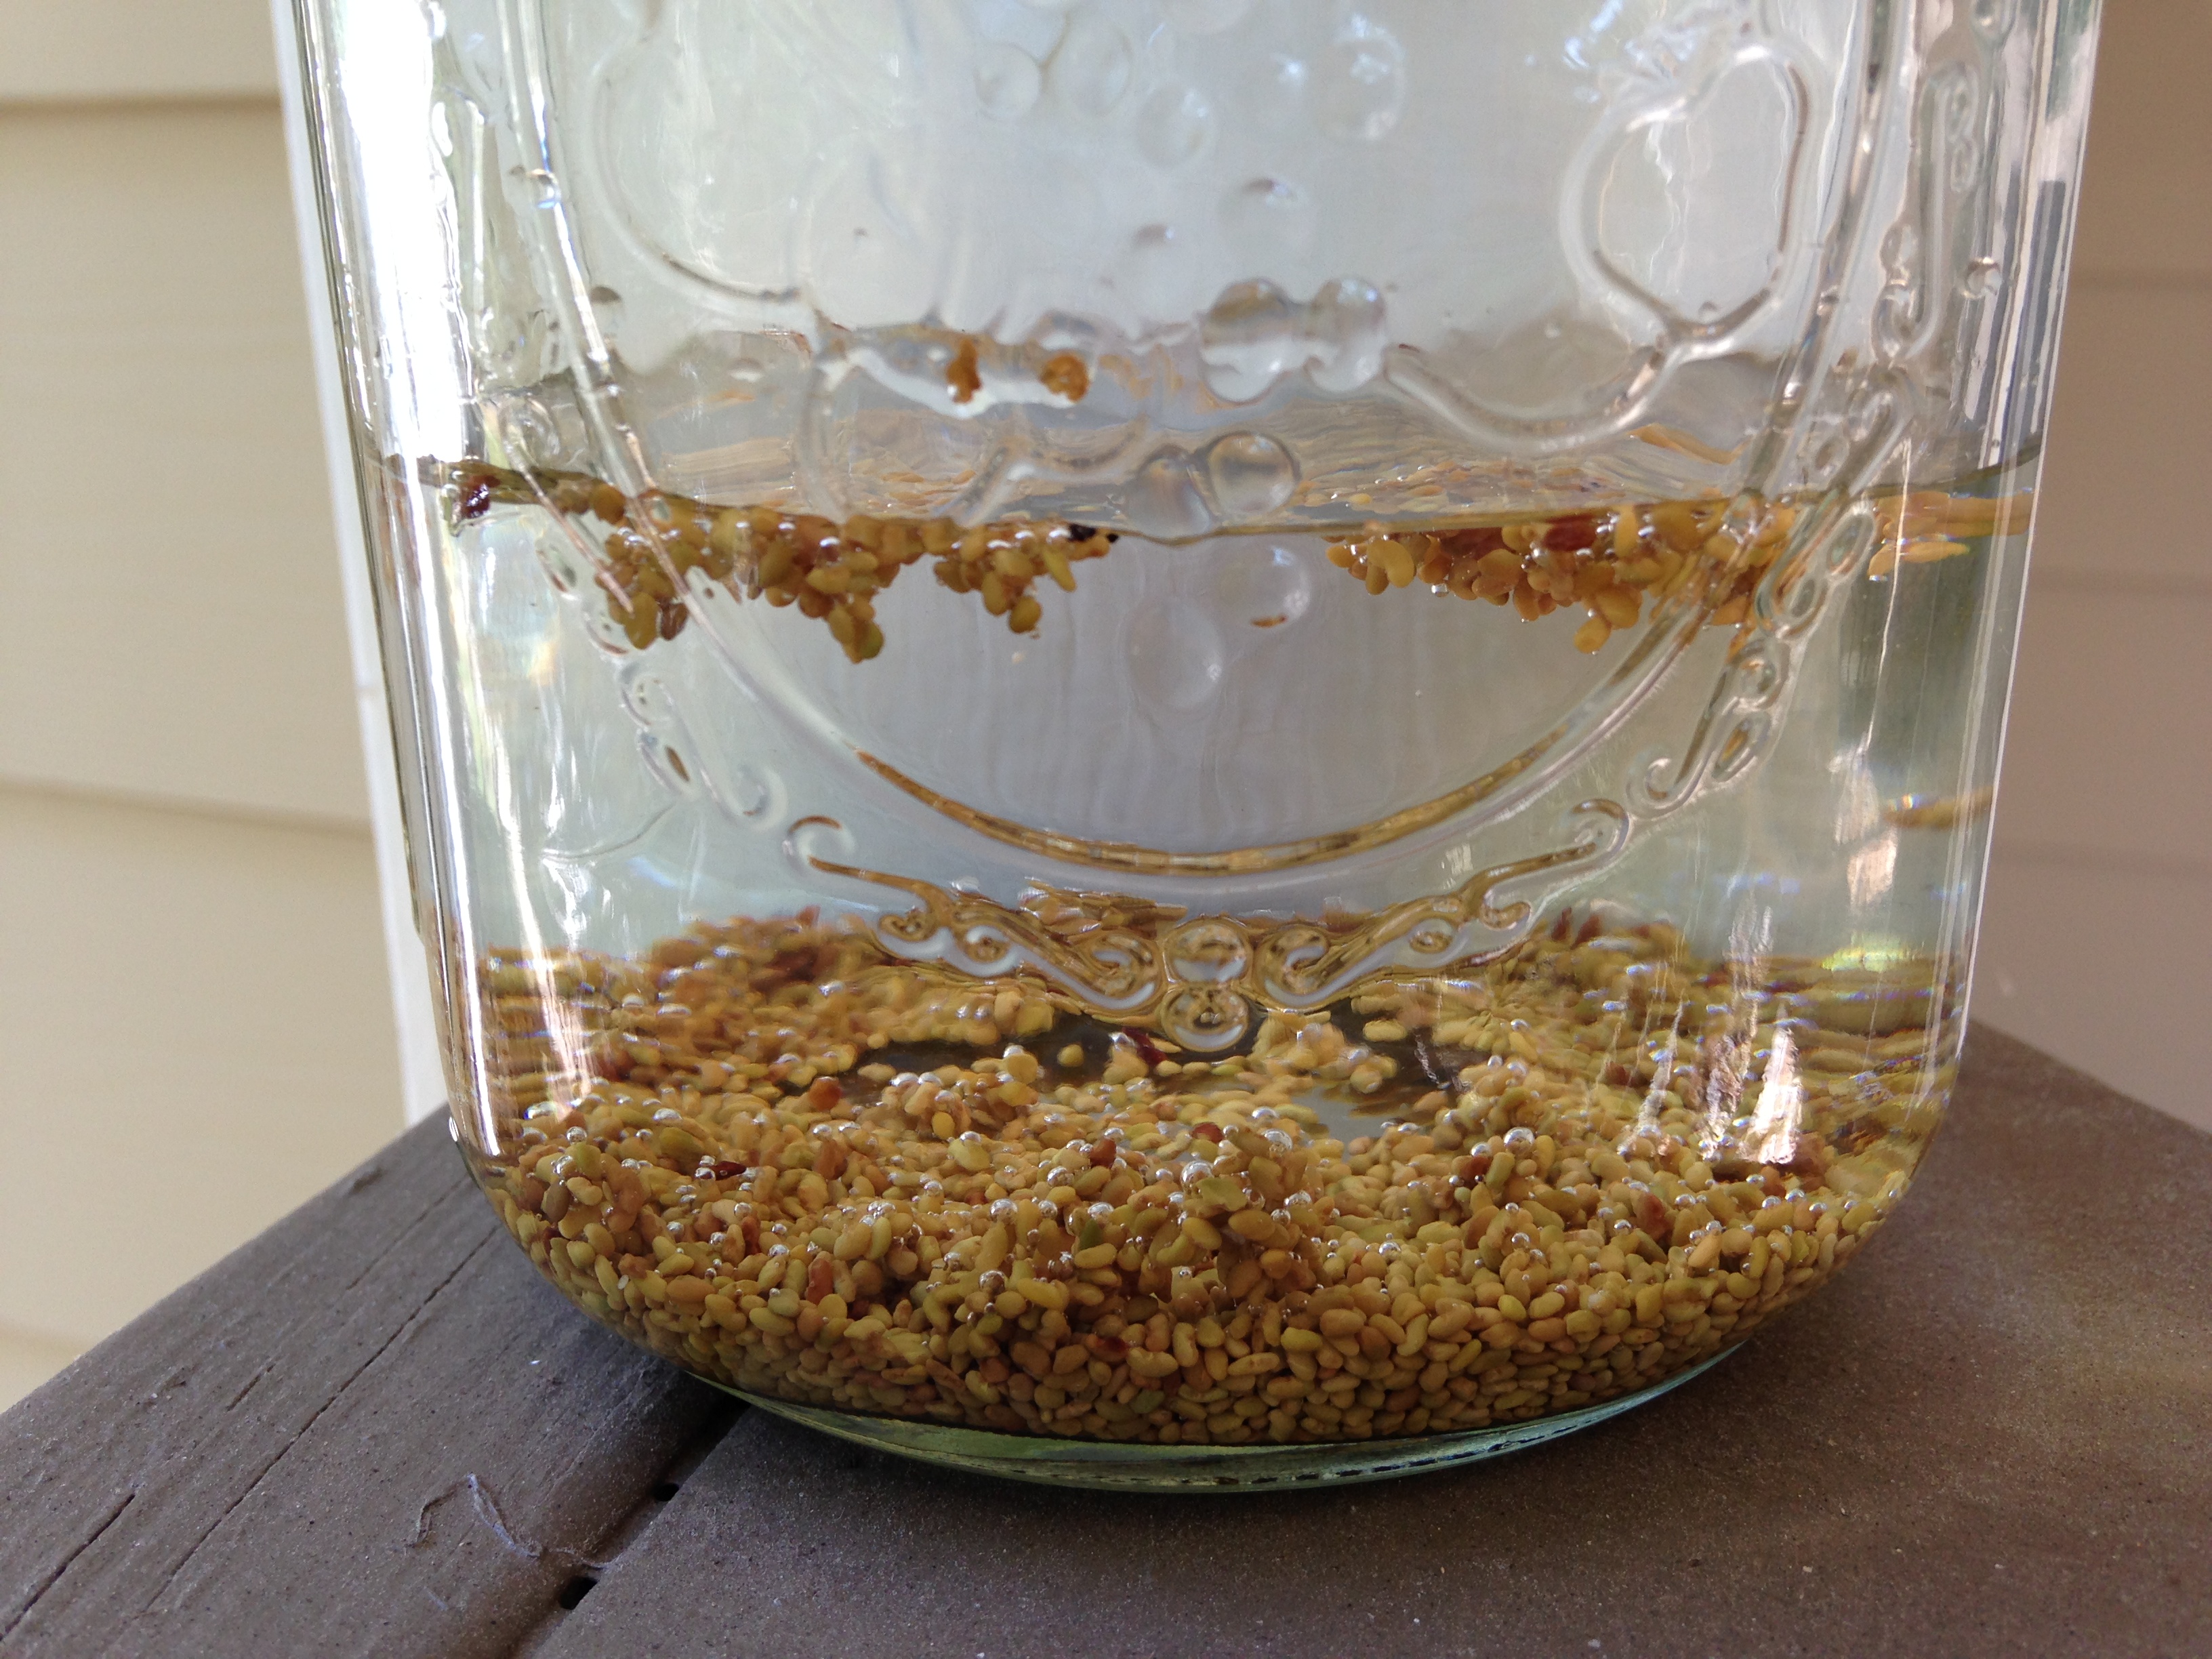
I then filled with plenty of water to submerge them, though I had some floaters.
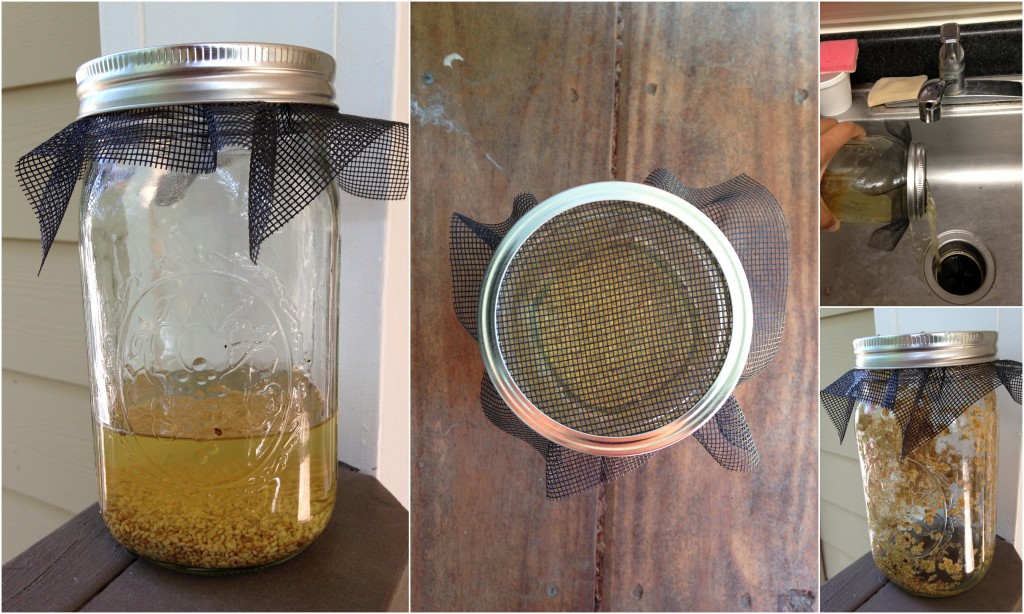
The next day, the water had browned and I poured it out. It was hard to get the screen on underneath the lid! It’s a tight fit. I rolled the jar and shook it so the seeds got spread around.
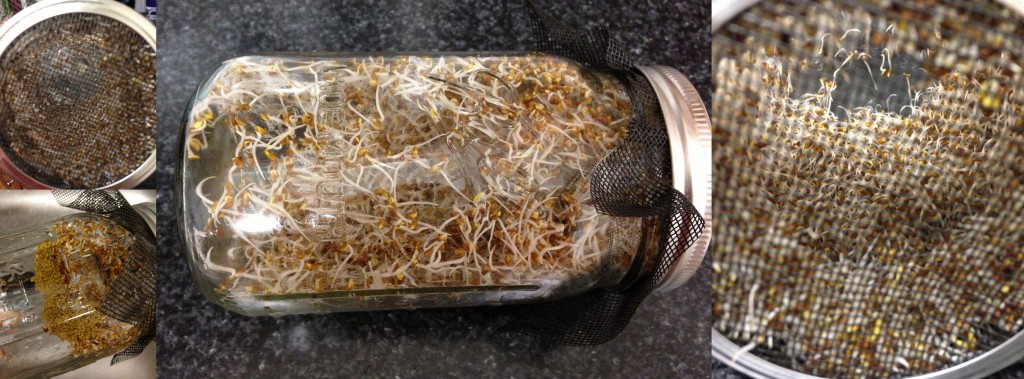
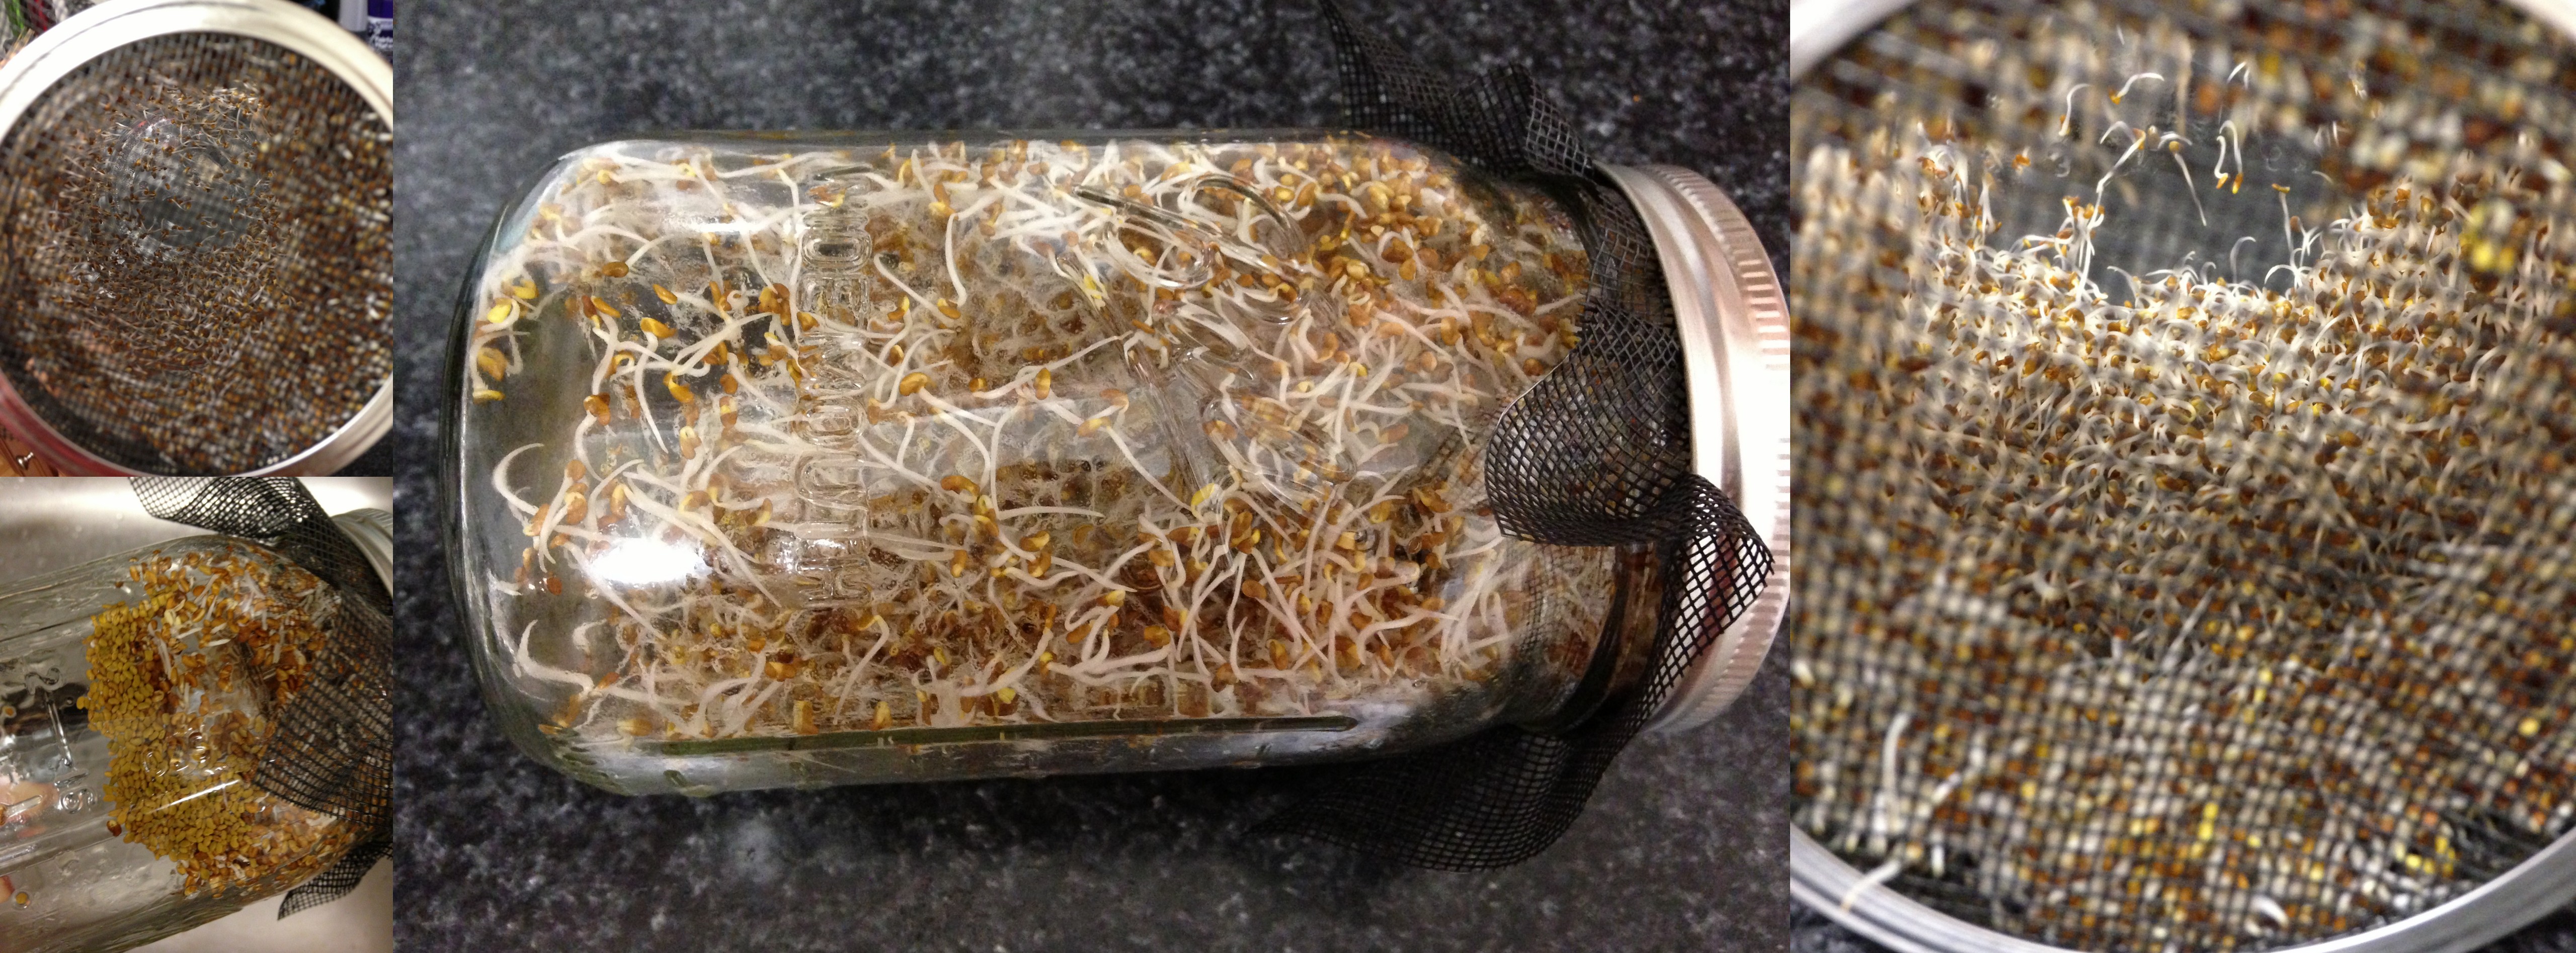
By the third day, they’d sprouted! I was so surprised I actually gasped out loud when I saw it.
On the fourth day they continued to grow and I tried to get the remaining seeds to sprout by giving them more space.
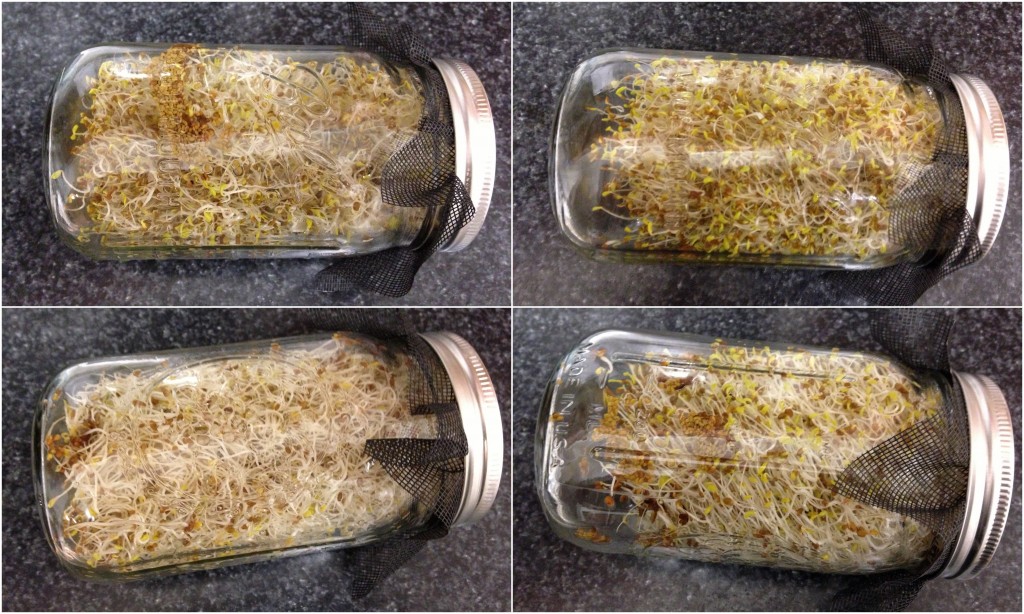
By the fifth day, I noticed that they had orientated themselves upwards even though there was no sun where I kept them. Guess they just knew which way is up!
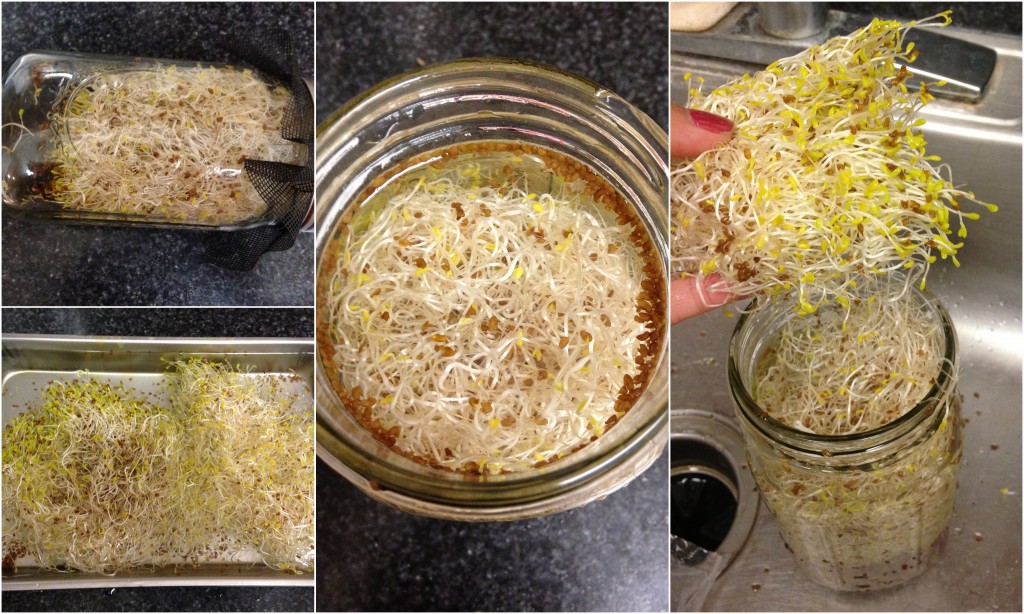
Just six days in and they were definitely full grown and ready to come out. I let the brown seed covers float up and dumped them out.
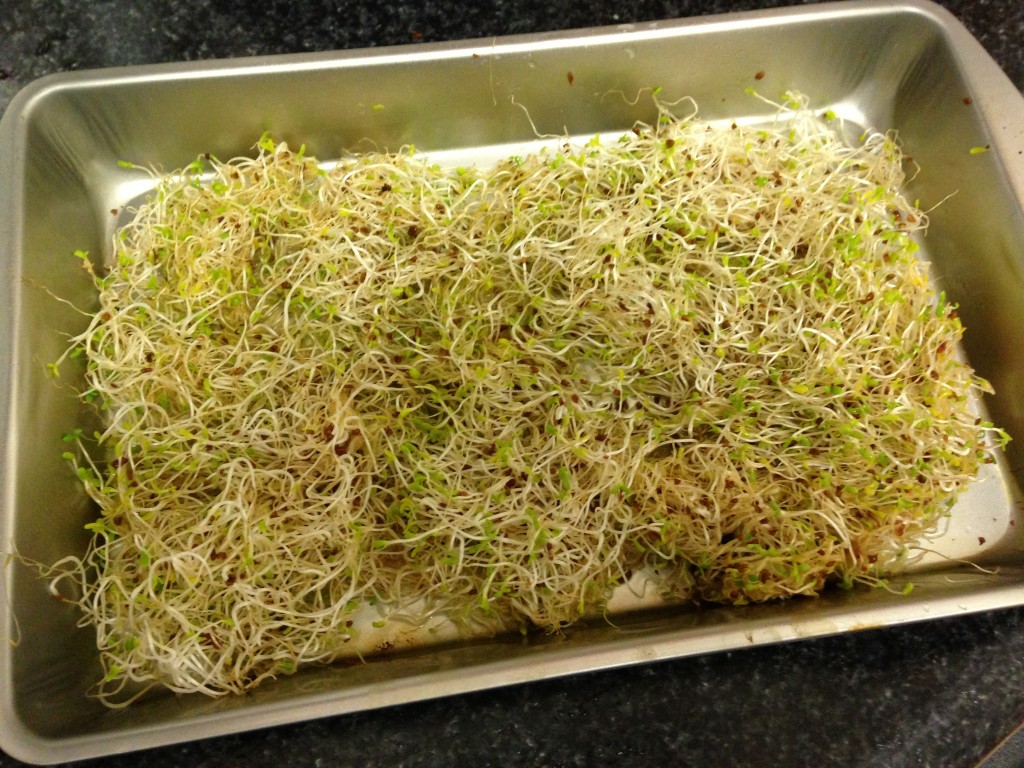
I then let them sit out in the sun and the heads went from yellow to green. Ready to eat! I had some but gosh, this was waaay more than I could handle.
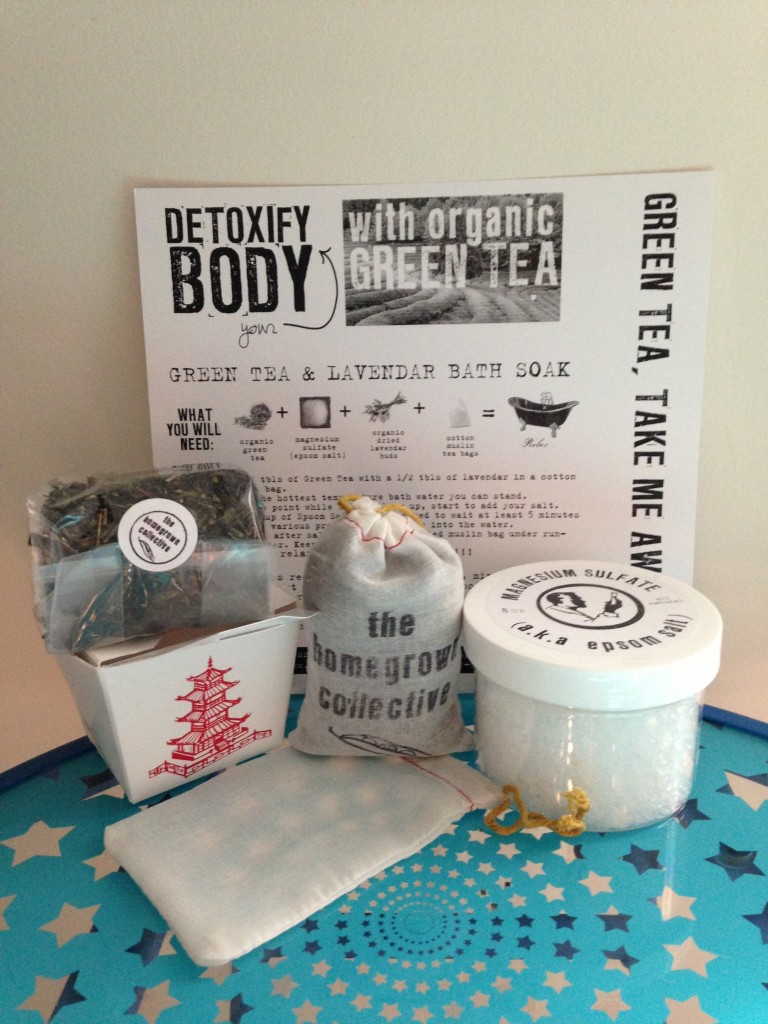
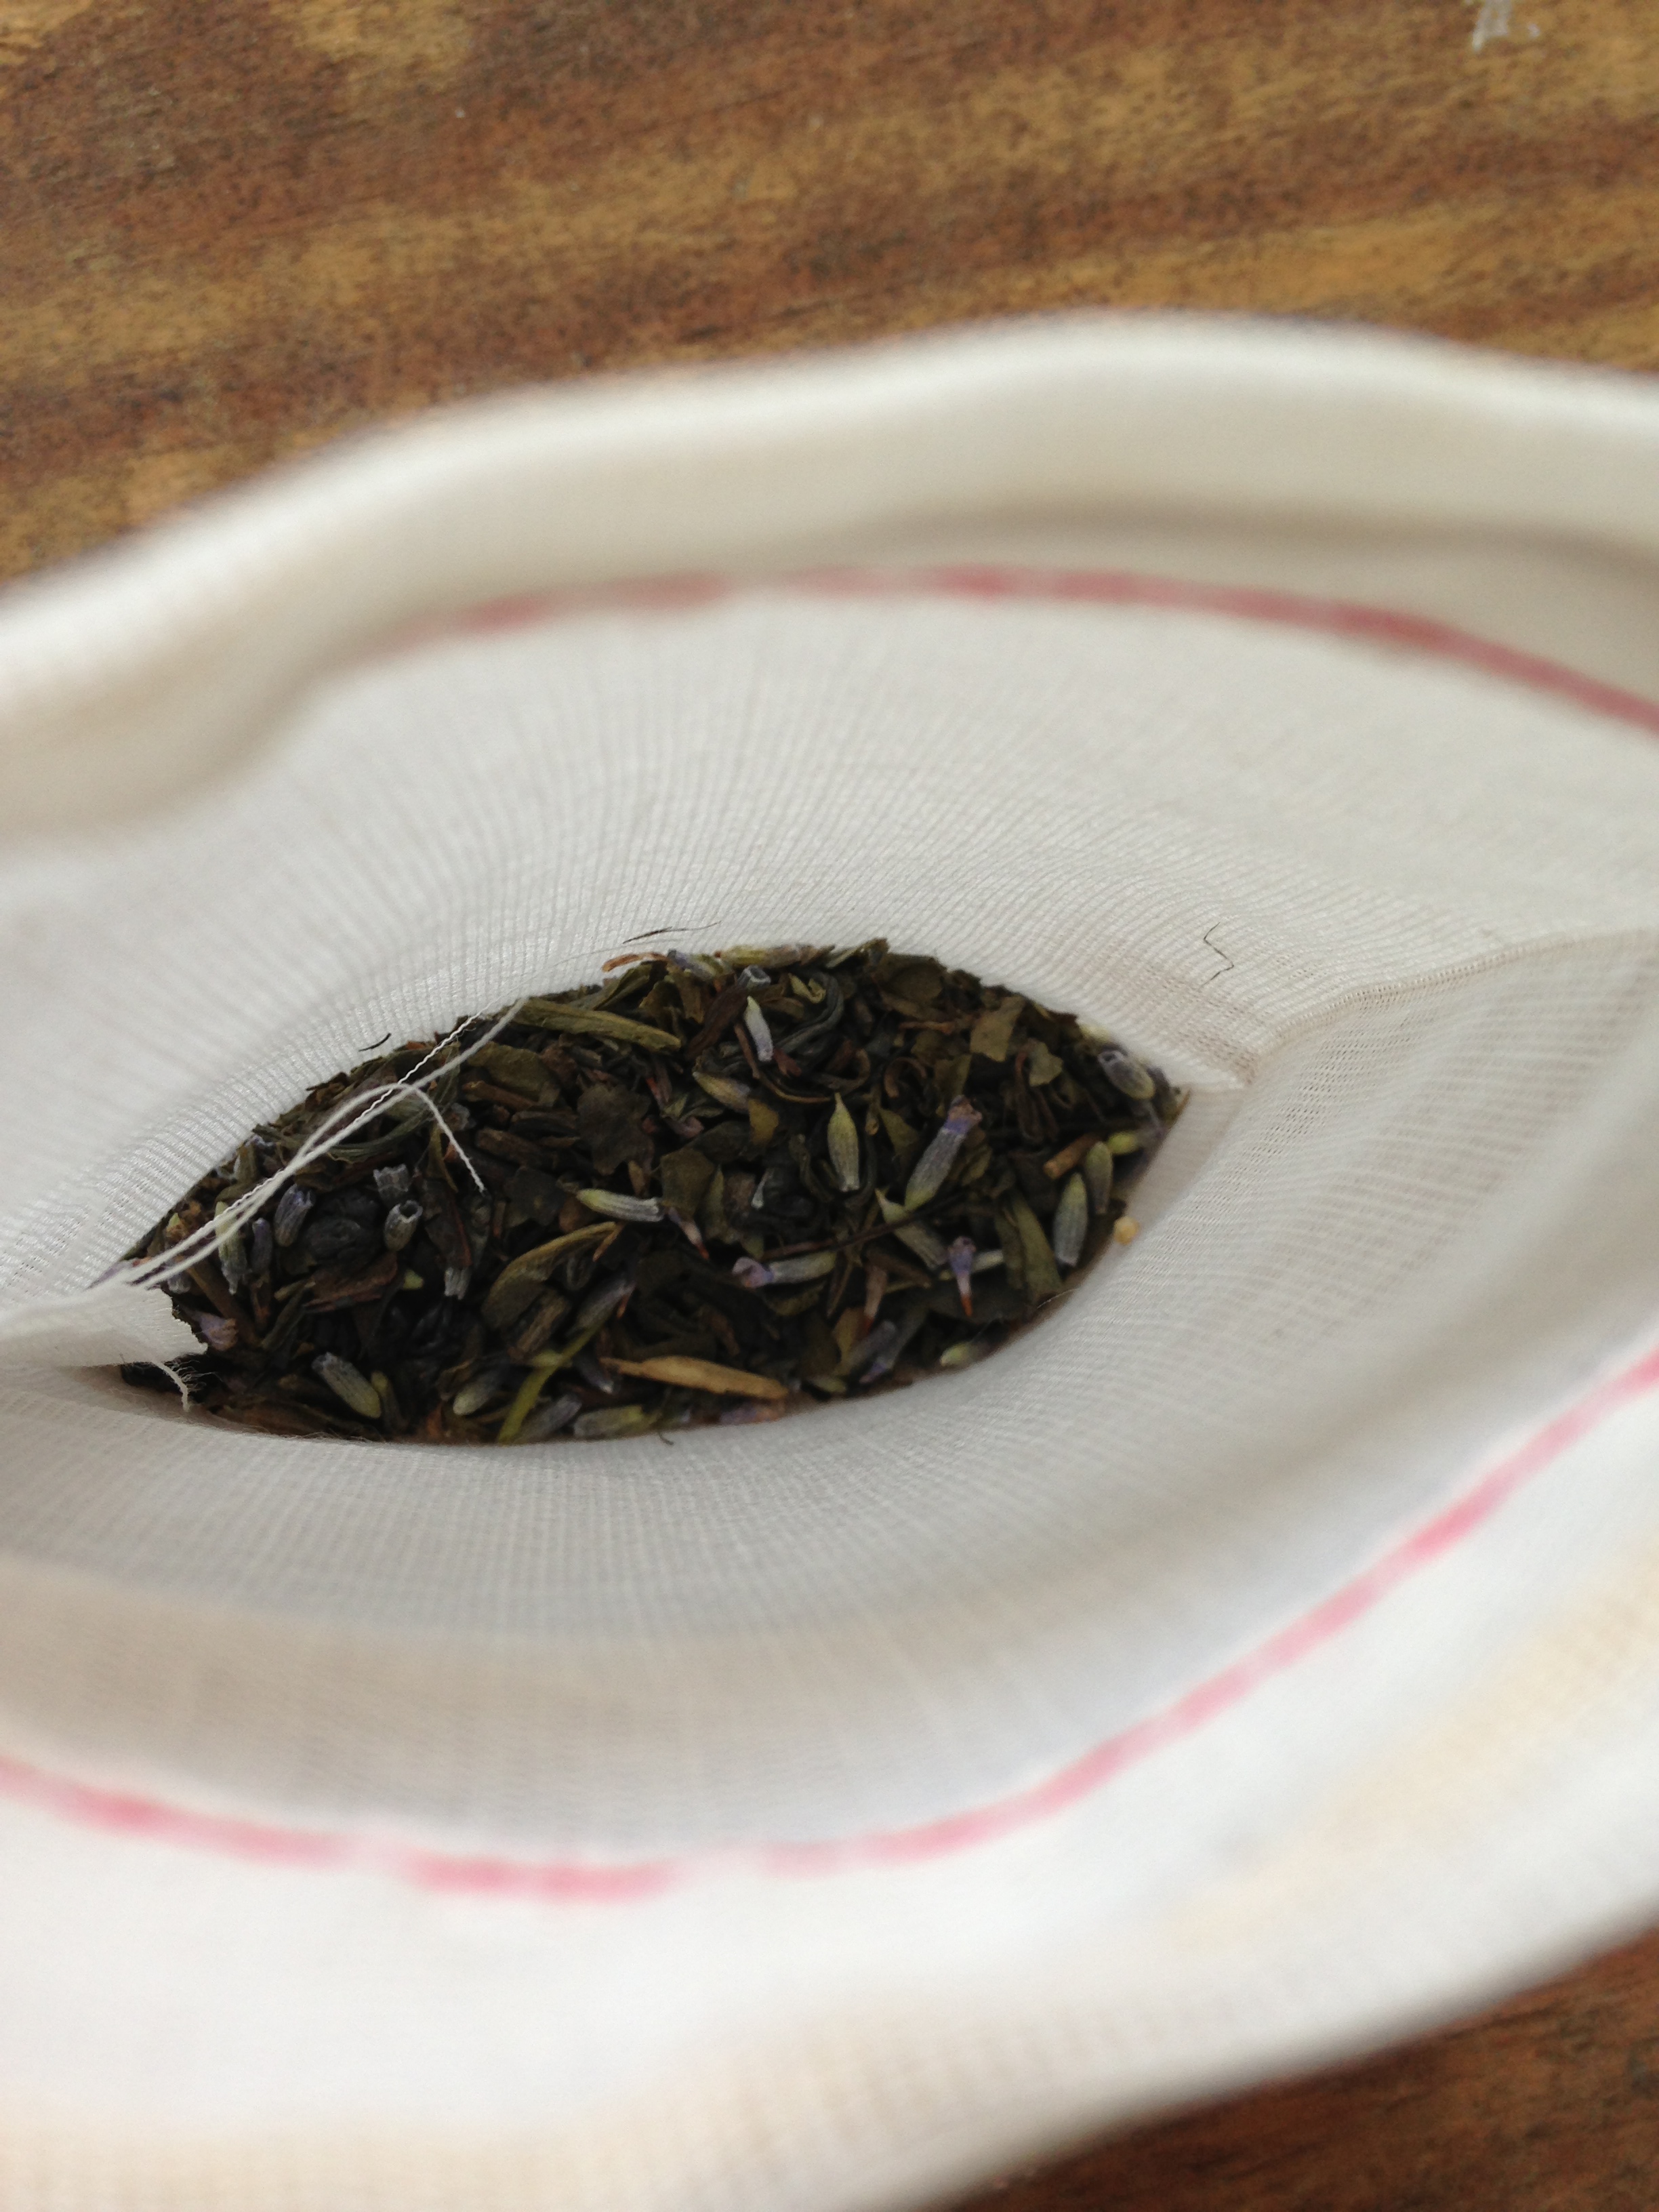
Next up was a lovely bath soak to pamper myself!

I put together a few scoops of green tea and some lavender flowers in the muslin bag and mixed them up.
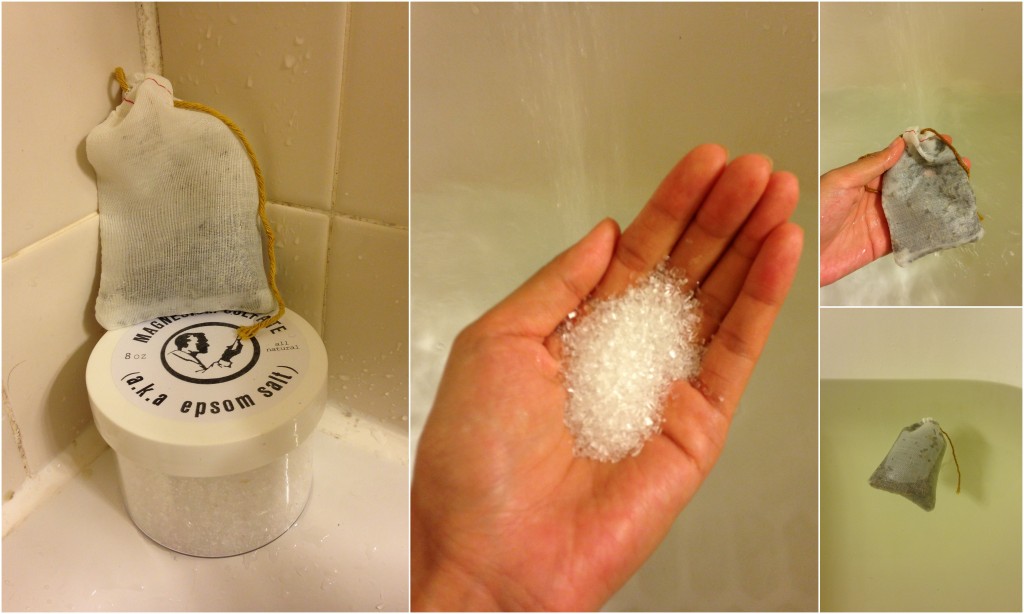
I ran really hot water, put in epsom salts that quickly dissolved, let the tea bag sit in the running water, and then let the bag float around the tub.
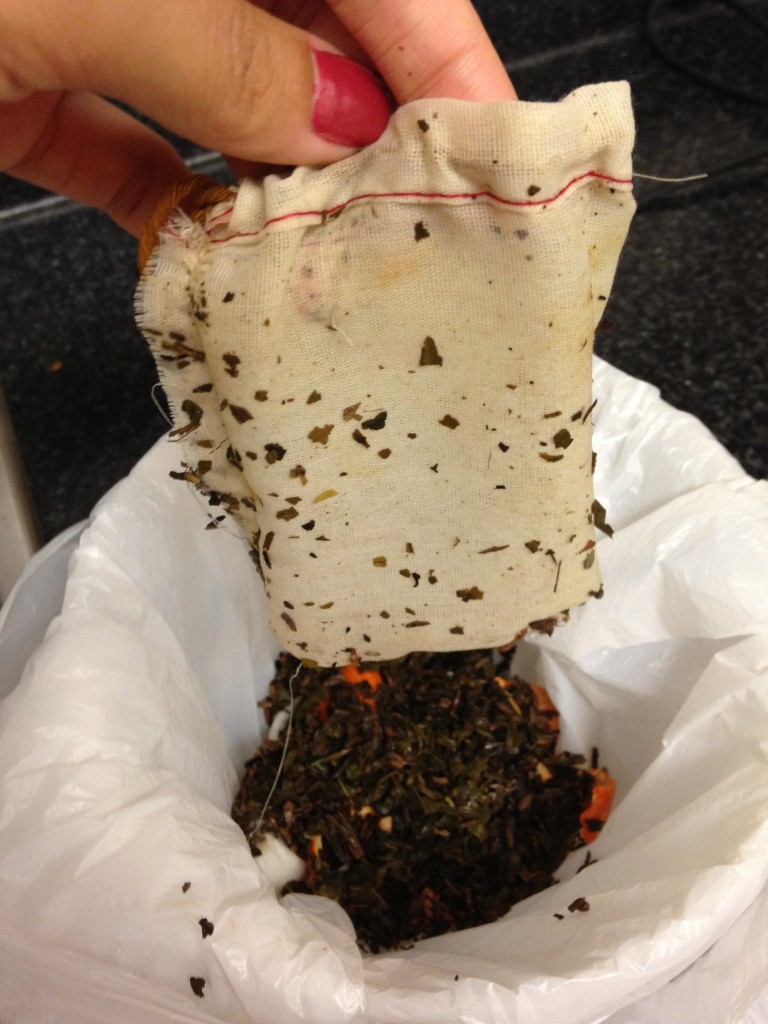
After my relaxing soak, I flipped the bag inside out to get the tea out, rinsed the rest off, and let it dry for next time.
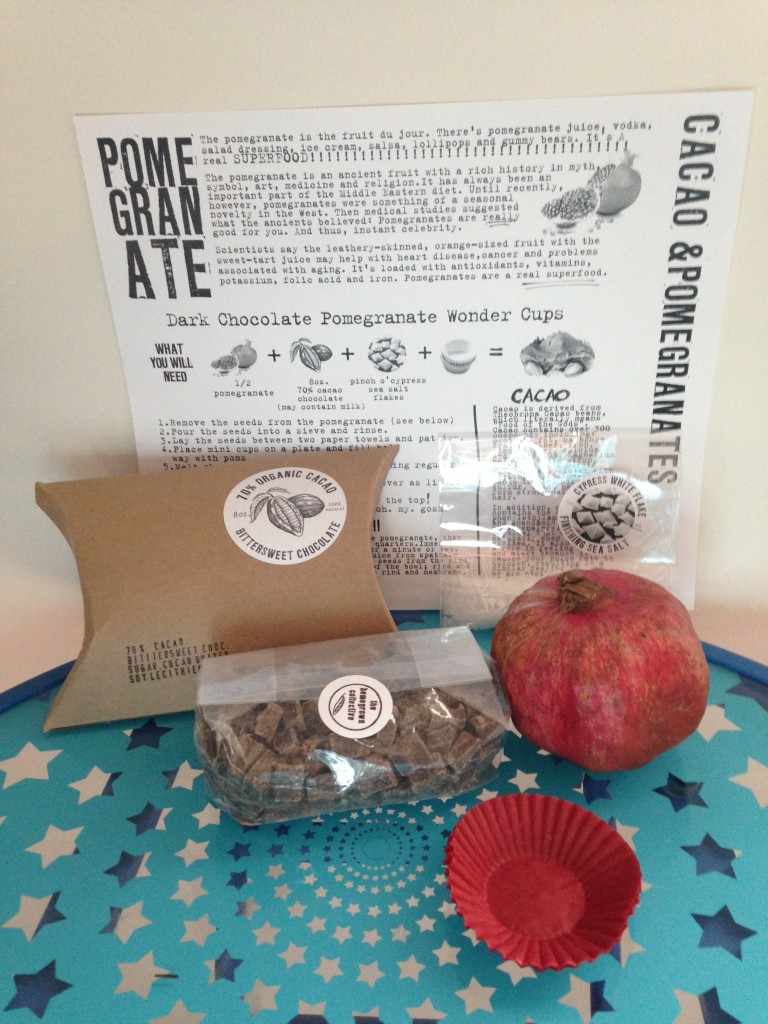
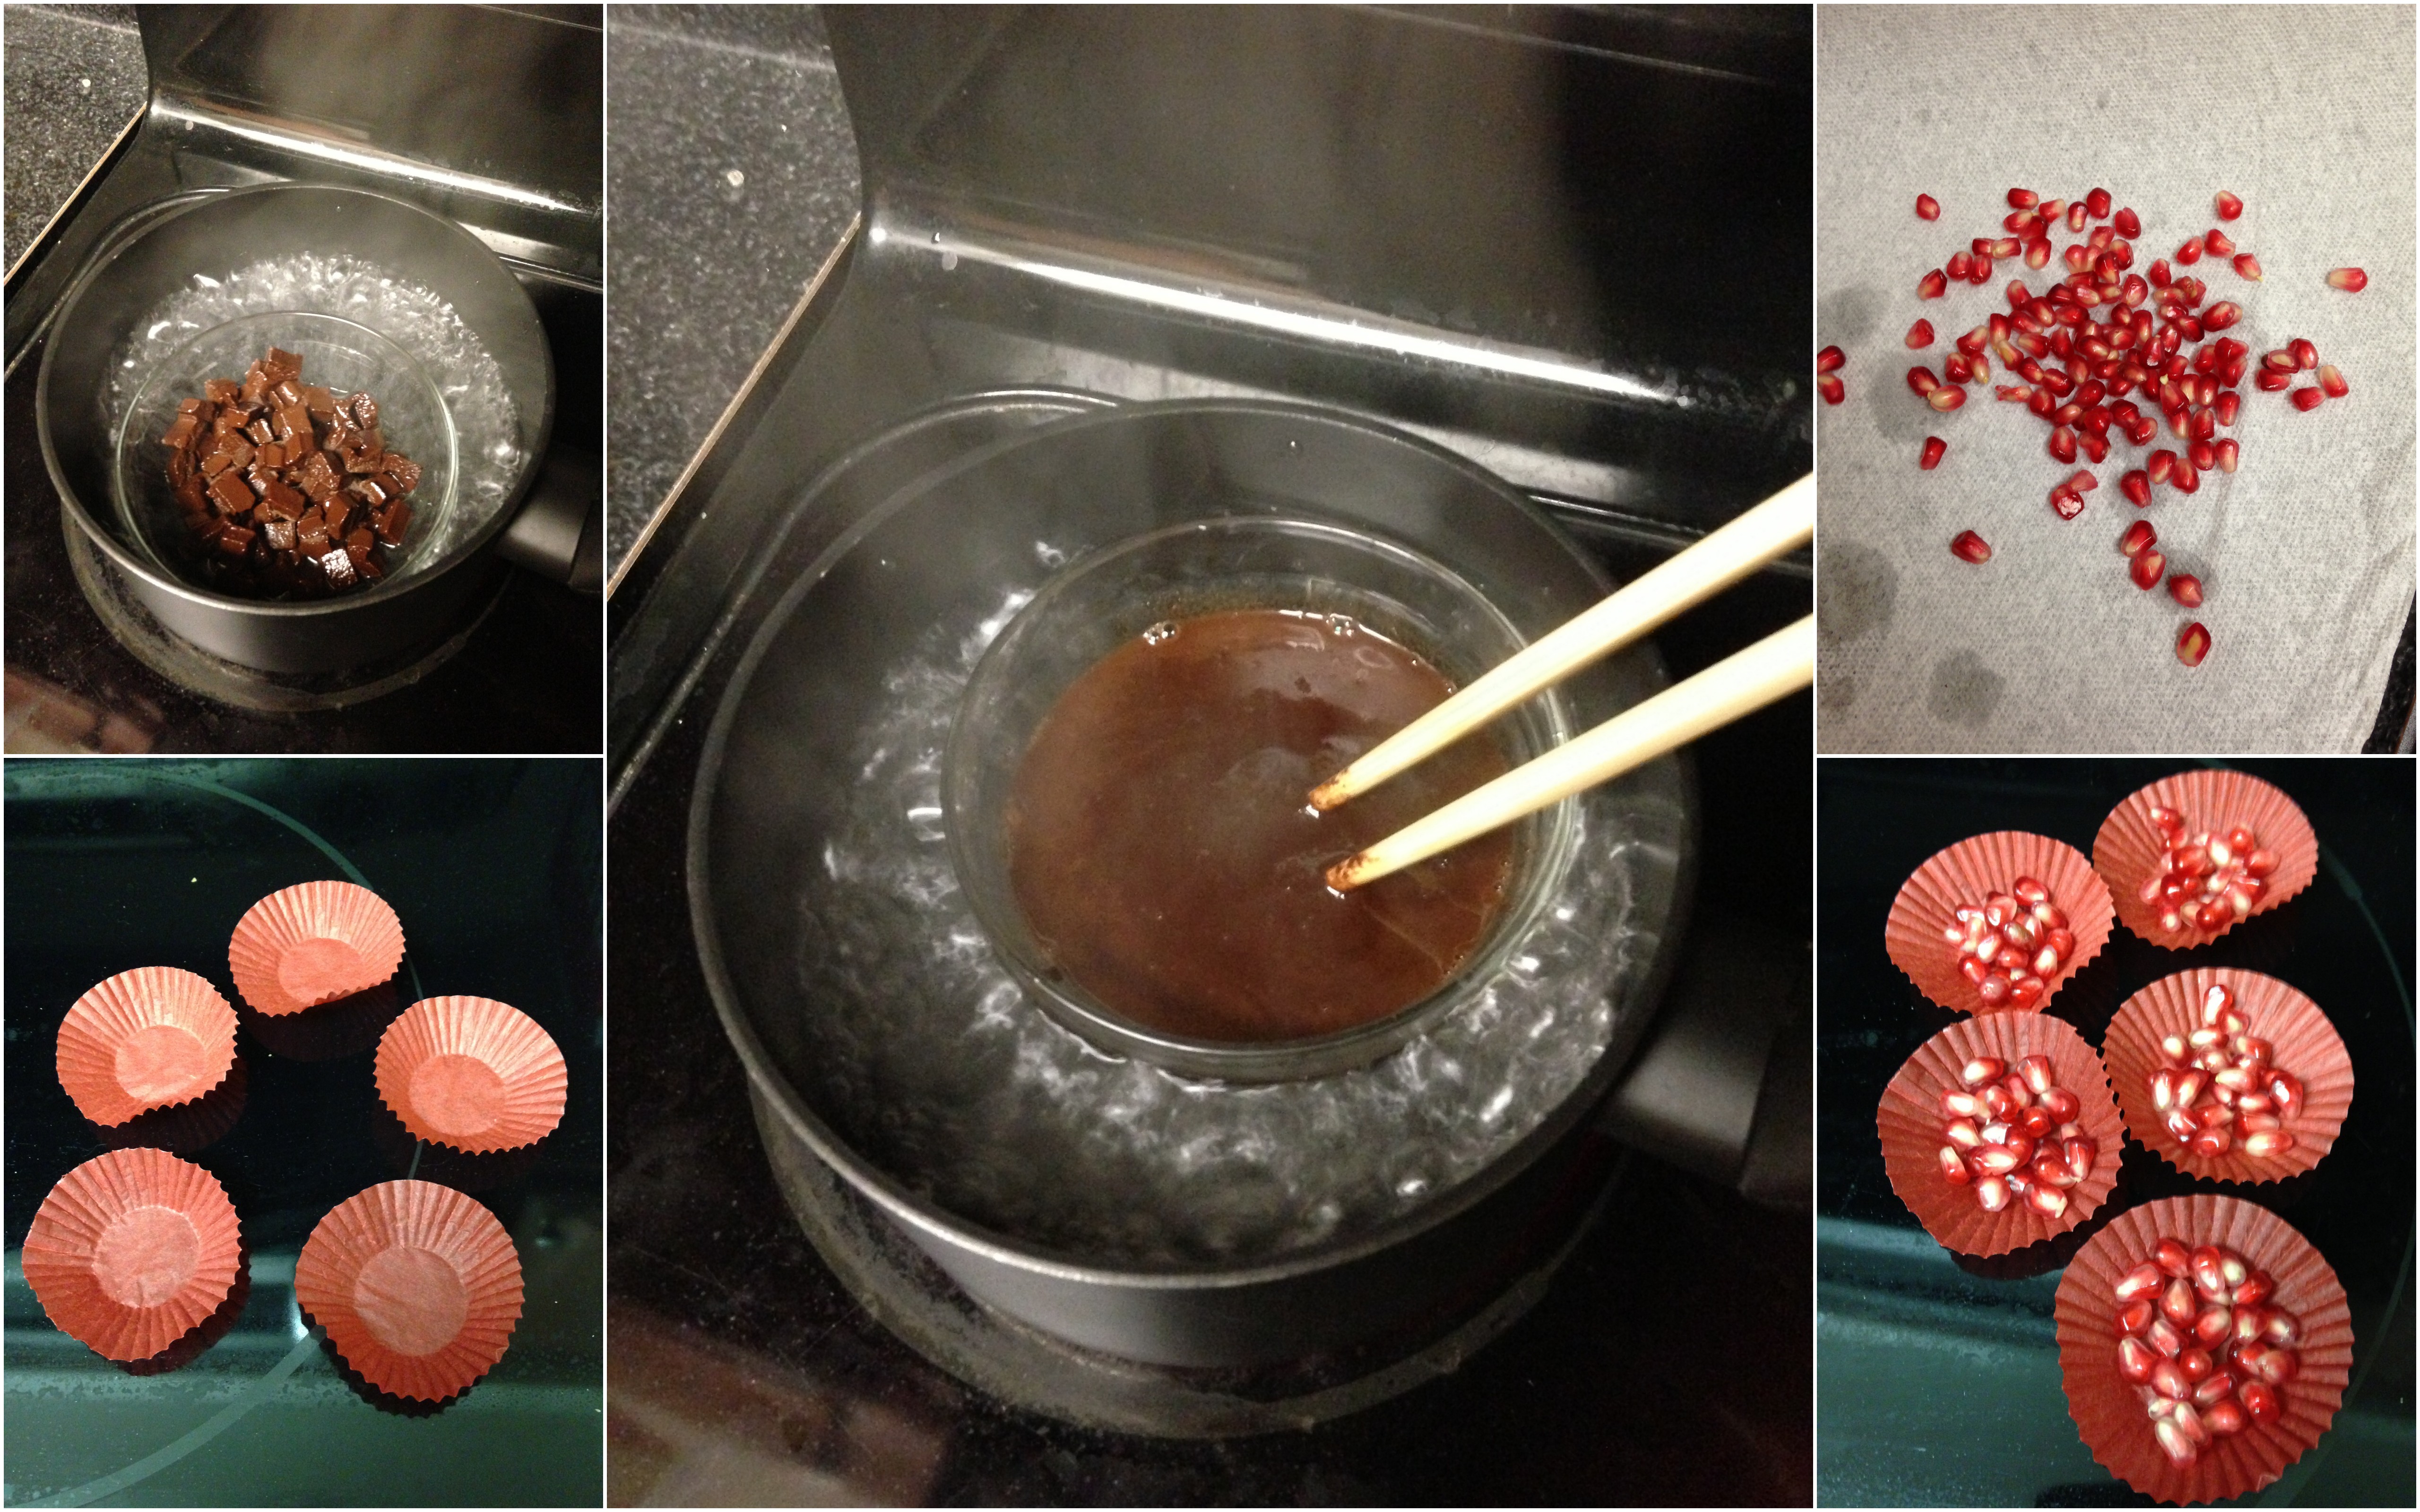
Finally, I got around to trying the pomegranate chocolate cups!
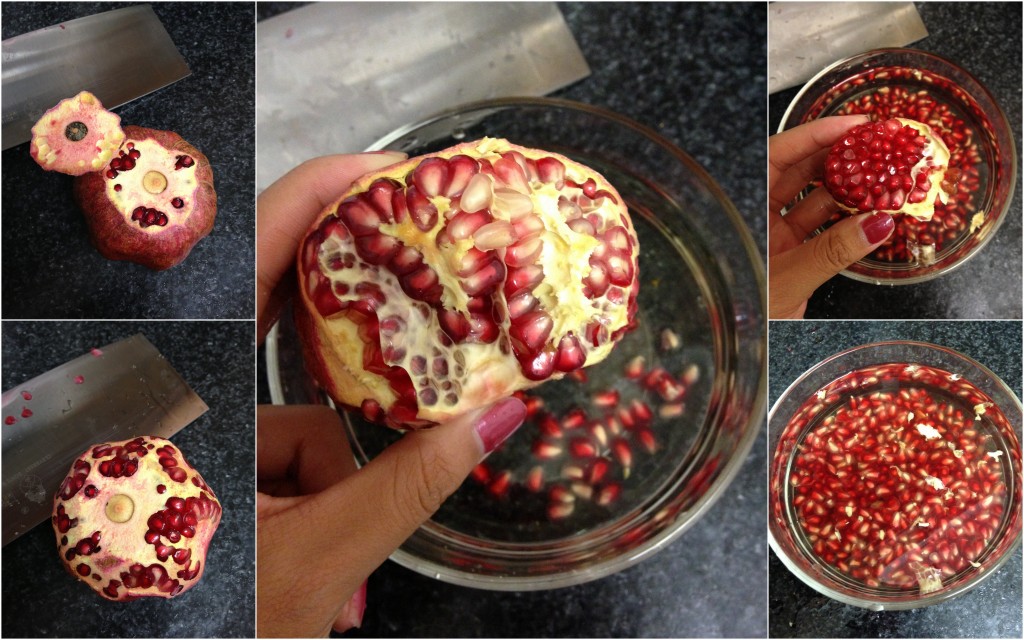
It was a slow process ensuring I got the seeds out as whole as possible, but I was rewarded with a nice pile of them.
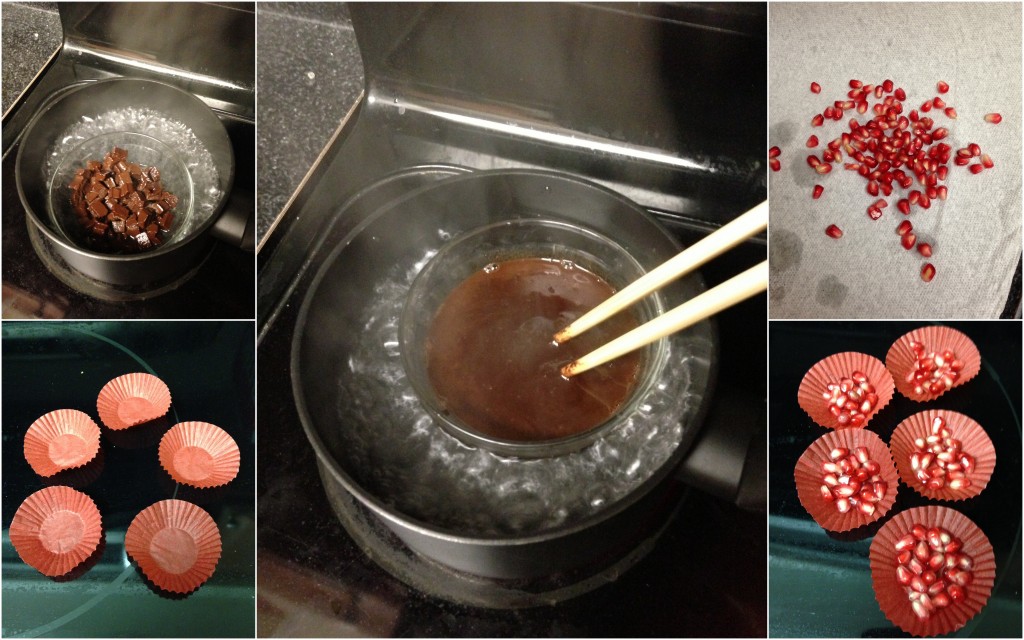
I don’t have a double boiler, so I melted the chocolate with a bowl in the pot. I boiled the water too much and water got in, but it turned out ok. I nearly forgot to pat dry the seeds before putting them in the cups!

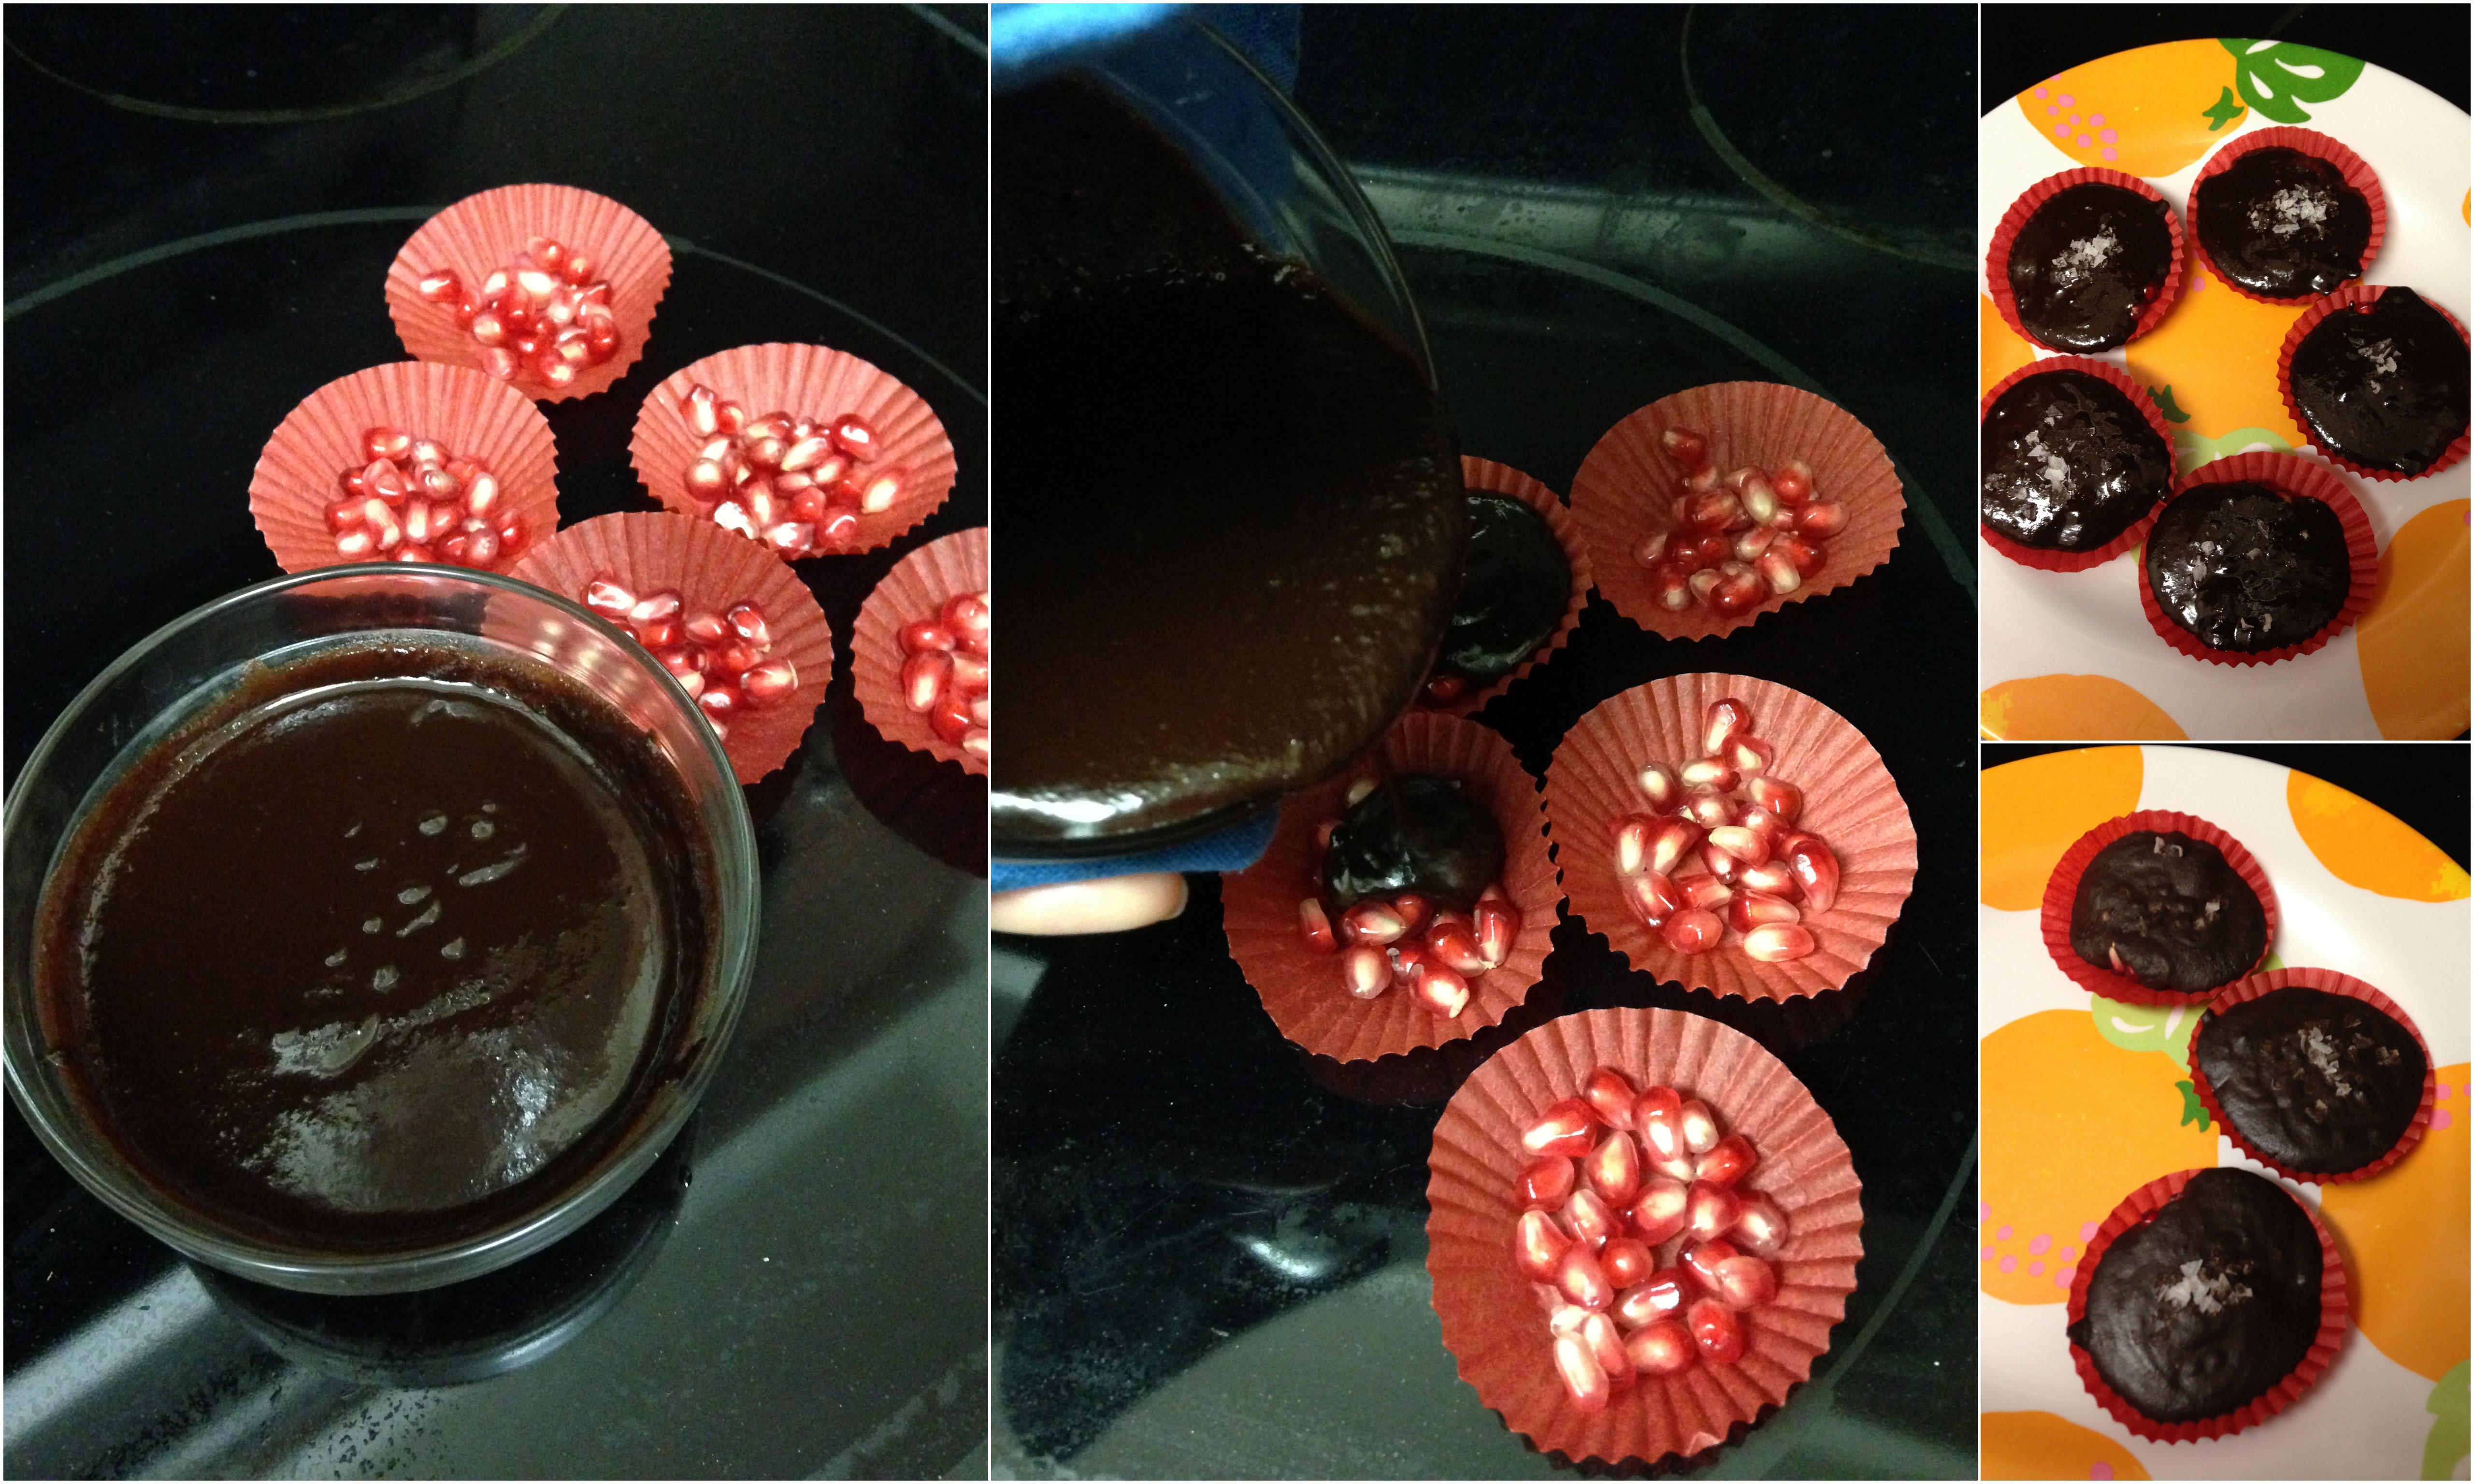
I poured the melted chocolate over the seeds and just about overfilled the cups. I generously sprinkled the salt flakes on top and put it all the in fridge. It came out looking not much different and tasted fantastic, even with my messed up chocolate.
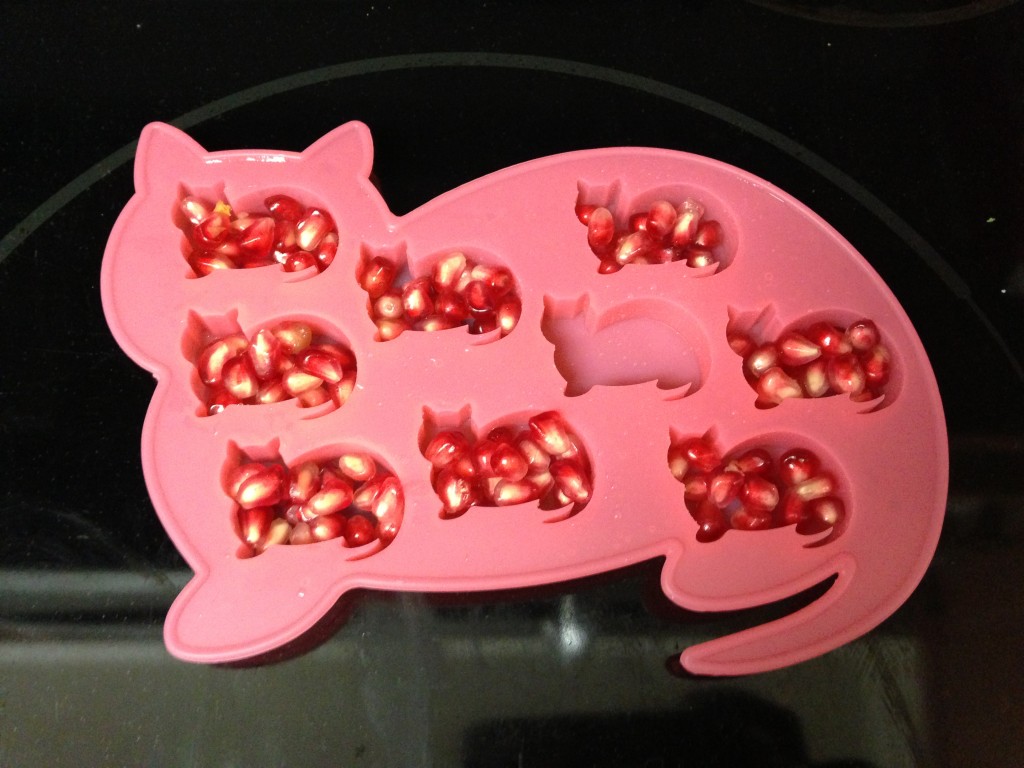
I decided to have some fun with it and make some with my cat-shaped ice cube tray! I accidentally messed up the chocolate again so it didn’t turn out to well, but I’m totally trying again later. Nom!!
So what do you think? Jealous yet? 😉 I loved each of these projects and will definitely be doing them again. I’m also looking forward to the upcoming box!!
If you’re interested in getting it yourself, sign up here!
[This post contains affiliate links. Signing up through them helps support my subscription and I’d be ever so grateful. 🙂 All opinions are my own and I received no compensation for this review. I just purchased this box and wanted to share what I got!]

 Panda and I have been cooking a bit together* and I’ve really enjoyed it. Not only are we spending time together, getting a chance to chat and catch up, we’re producing results that we get to enjoy at the end. There’s something very rewarding about getting a product that is useful after all that effort. Then we get to sit down and eat together and spend even more time together! Oh, and of course cooking is nice because you can make things taste just how you want and you don’t have to leave a tip. 😉 You save time and money (usually) and you are more active too. We really should do it more often, but it’s so easy to slip into laziness and order out or just go out. That’s why I’m exploring options to make it easier for us, like this Hello Fresh meal that was pre-planned for us. I won’t delve into it too much since I’ll feature them another time, but suffice it to say that cooking at home can be a great experience.