How I designed and created my engagement ring
 Now that I am officially engaged, I can finally talk about my ring! You see, I knew about it all along because I was the one who got to help create it. Panda and I had discussed getting engaged sometime after he completed grad school – little did I know it would be the very day of his commencement! At the end of 2012, I had started to get interested in rings and decided to start looking to see what I might like. When I found certain things that appealed to me, I’d share them with Panda and he sort of got into it too, also sharing what he found. While he was on the east coast and I was on the west coast, we found ourselves browsing jewelry stores separately and sending each other photos or links.
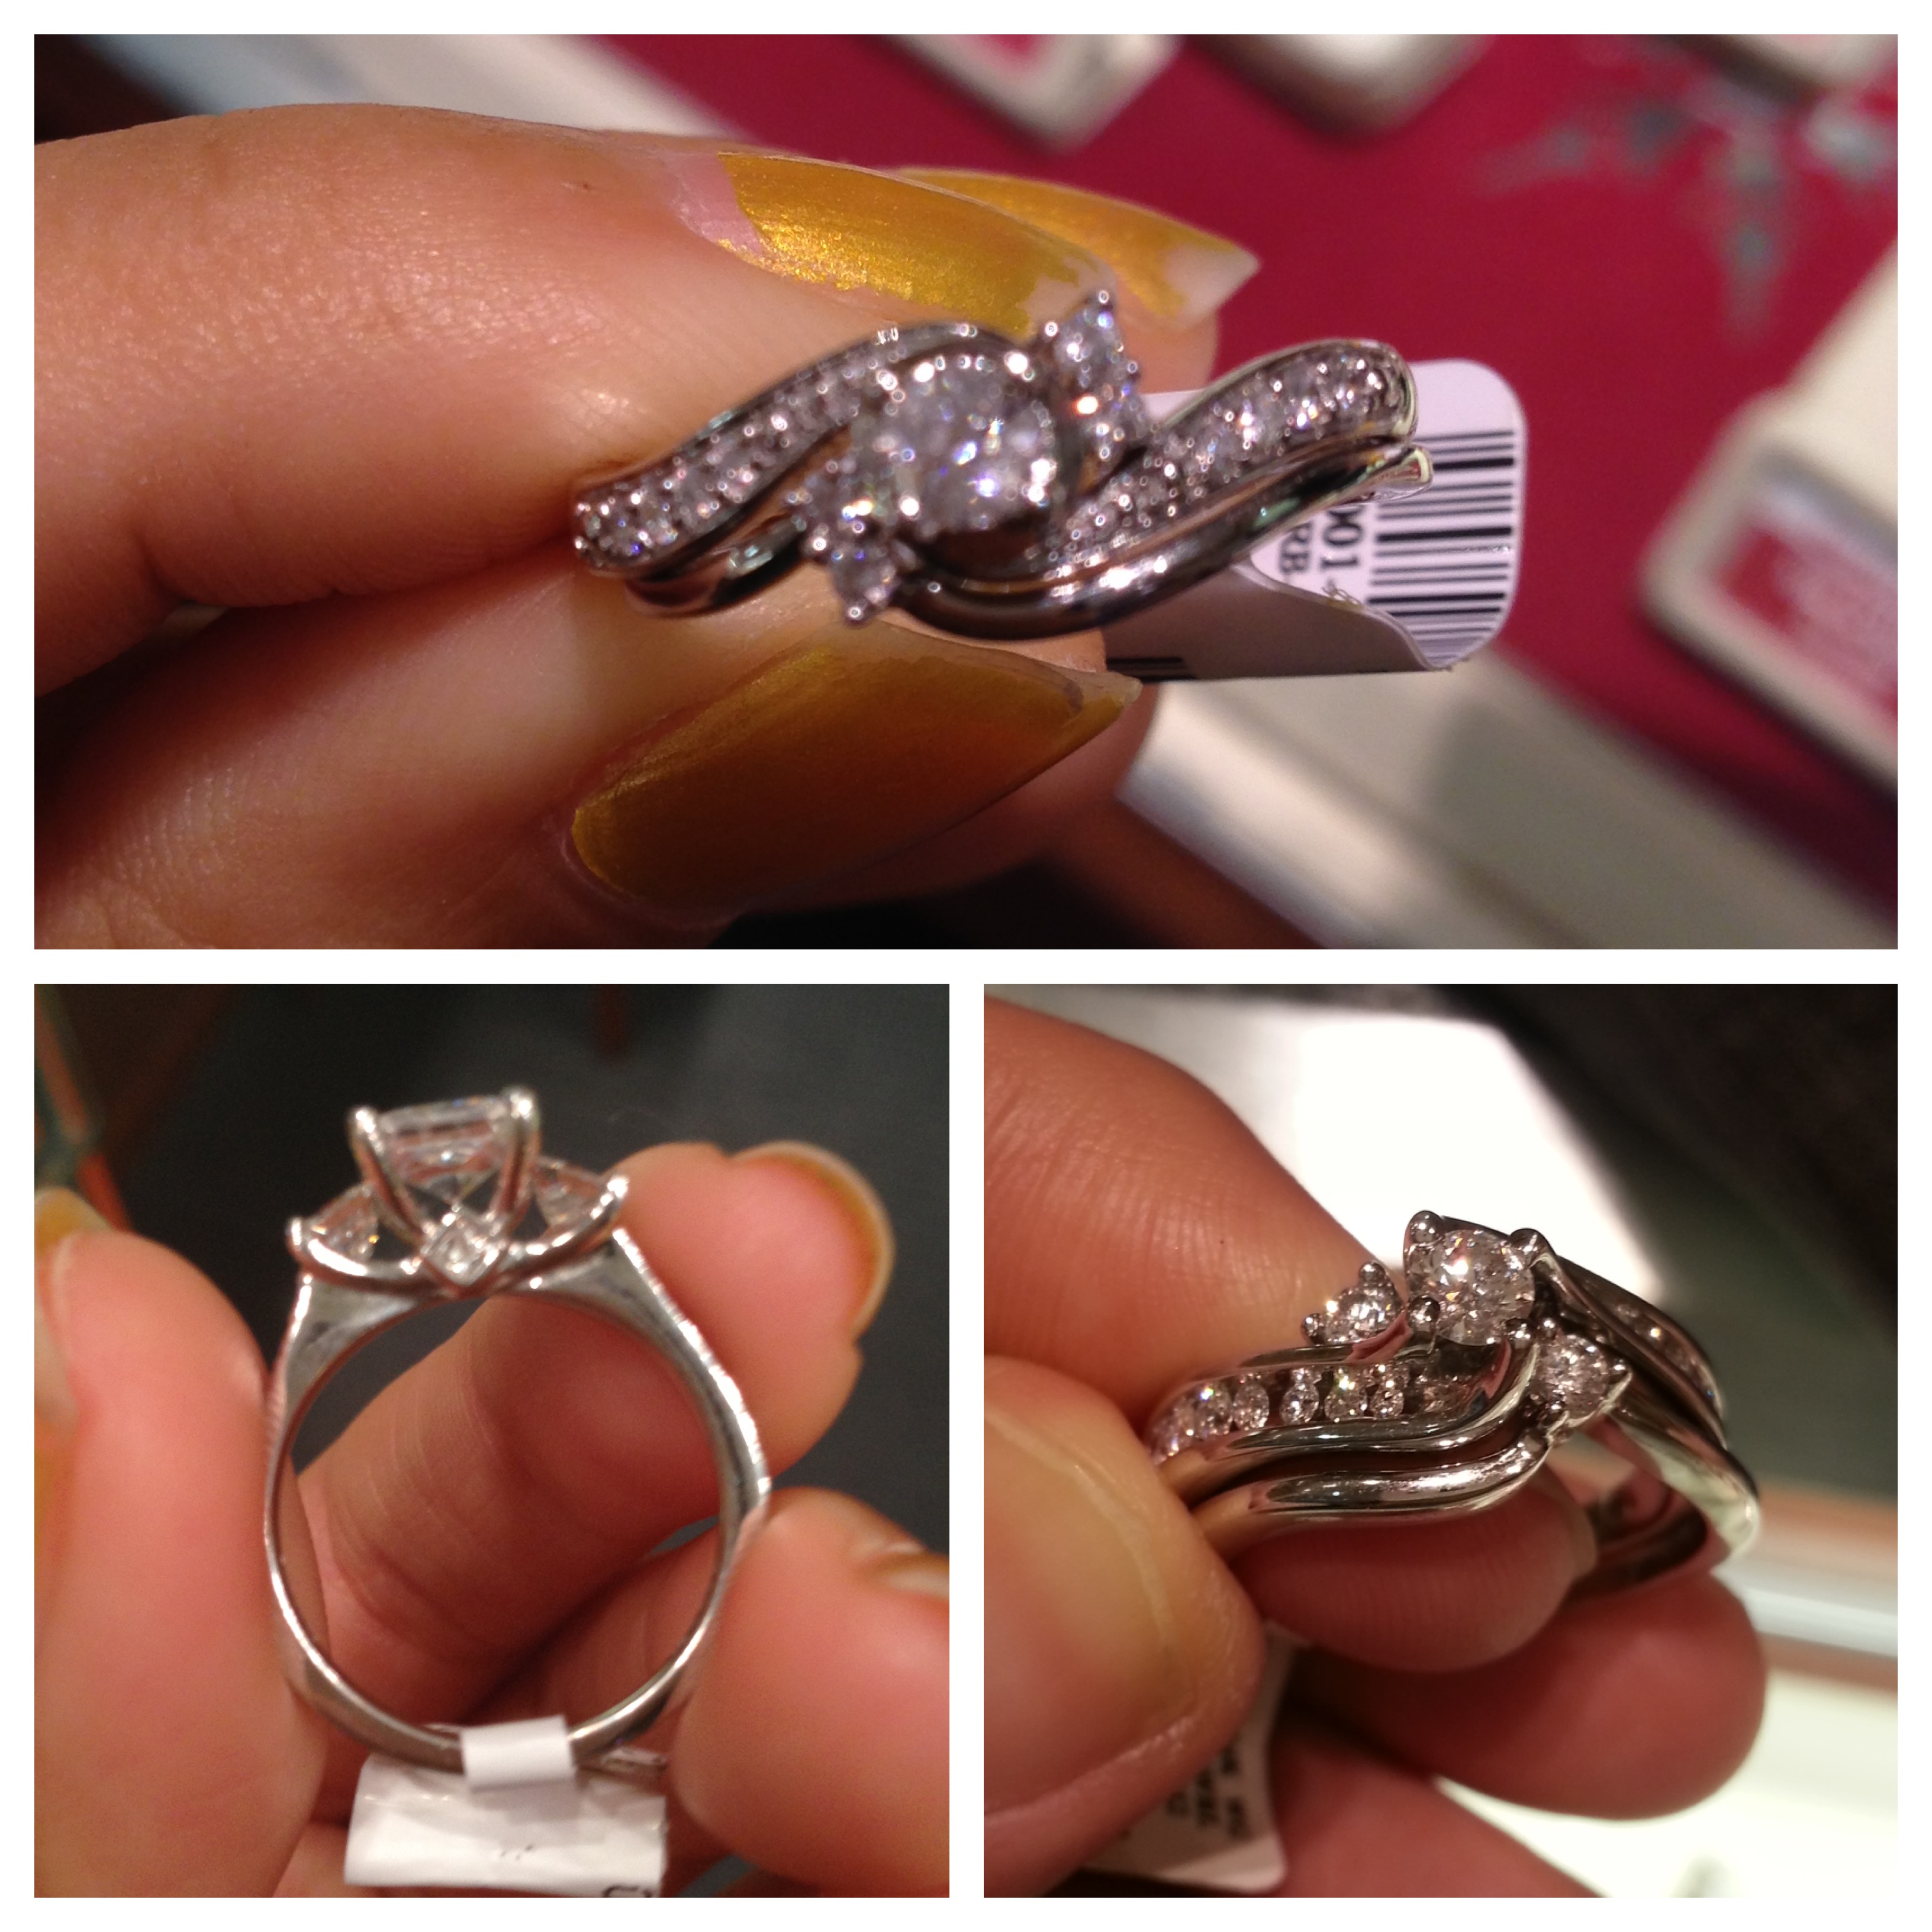 When he was able to visit for the holidays, we went into a local jeweler’s (Manya Jewelers) together and before I knew it, we were agreeing to design a ring with her. I had not expected to get started so soon, but hey, I pretty much knew what elements I wanted, so why not? We pointed out some designs I liked and what I wanted to be incorporated: a purple center stone, a curved band, a small diamond on the bottom of the ring, a cool side profile (inspired by Vera Wang designs like this side profile), and a marquise shape if possible. We showed Manya a few of the rings that had those traits so she could visualize what I wanted and she got to work!
Selecting the center stone
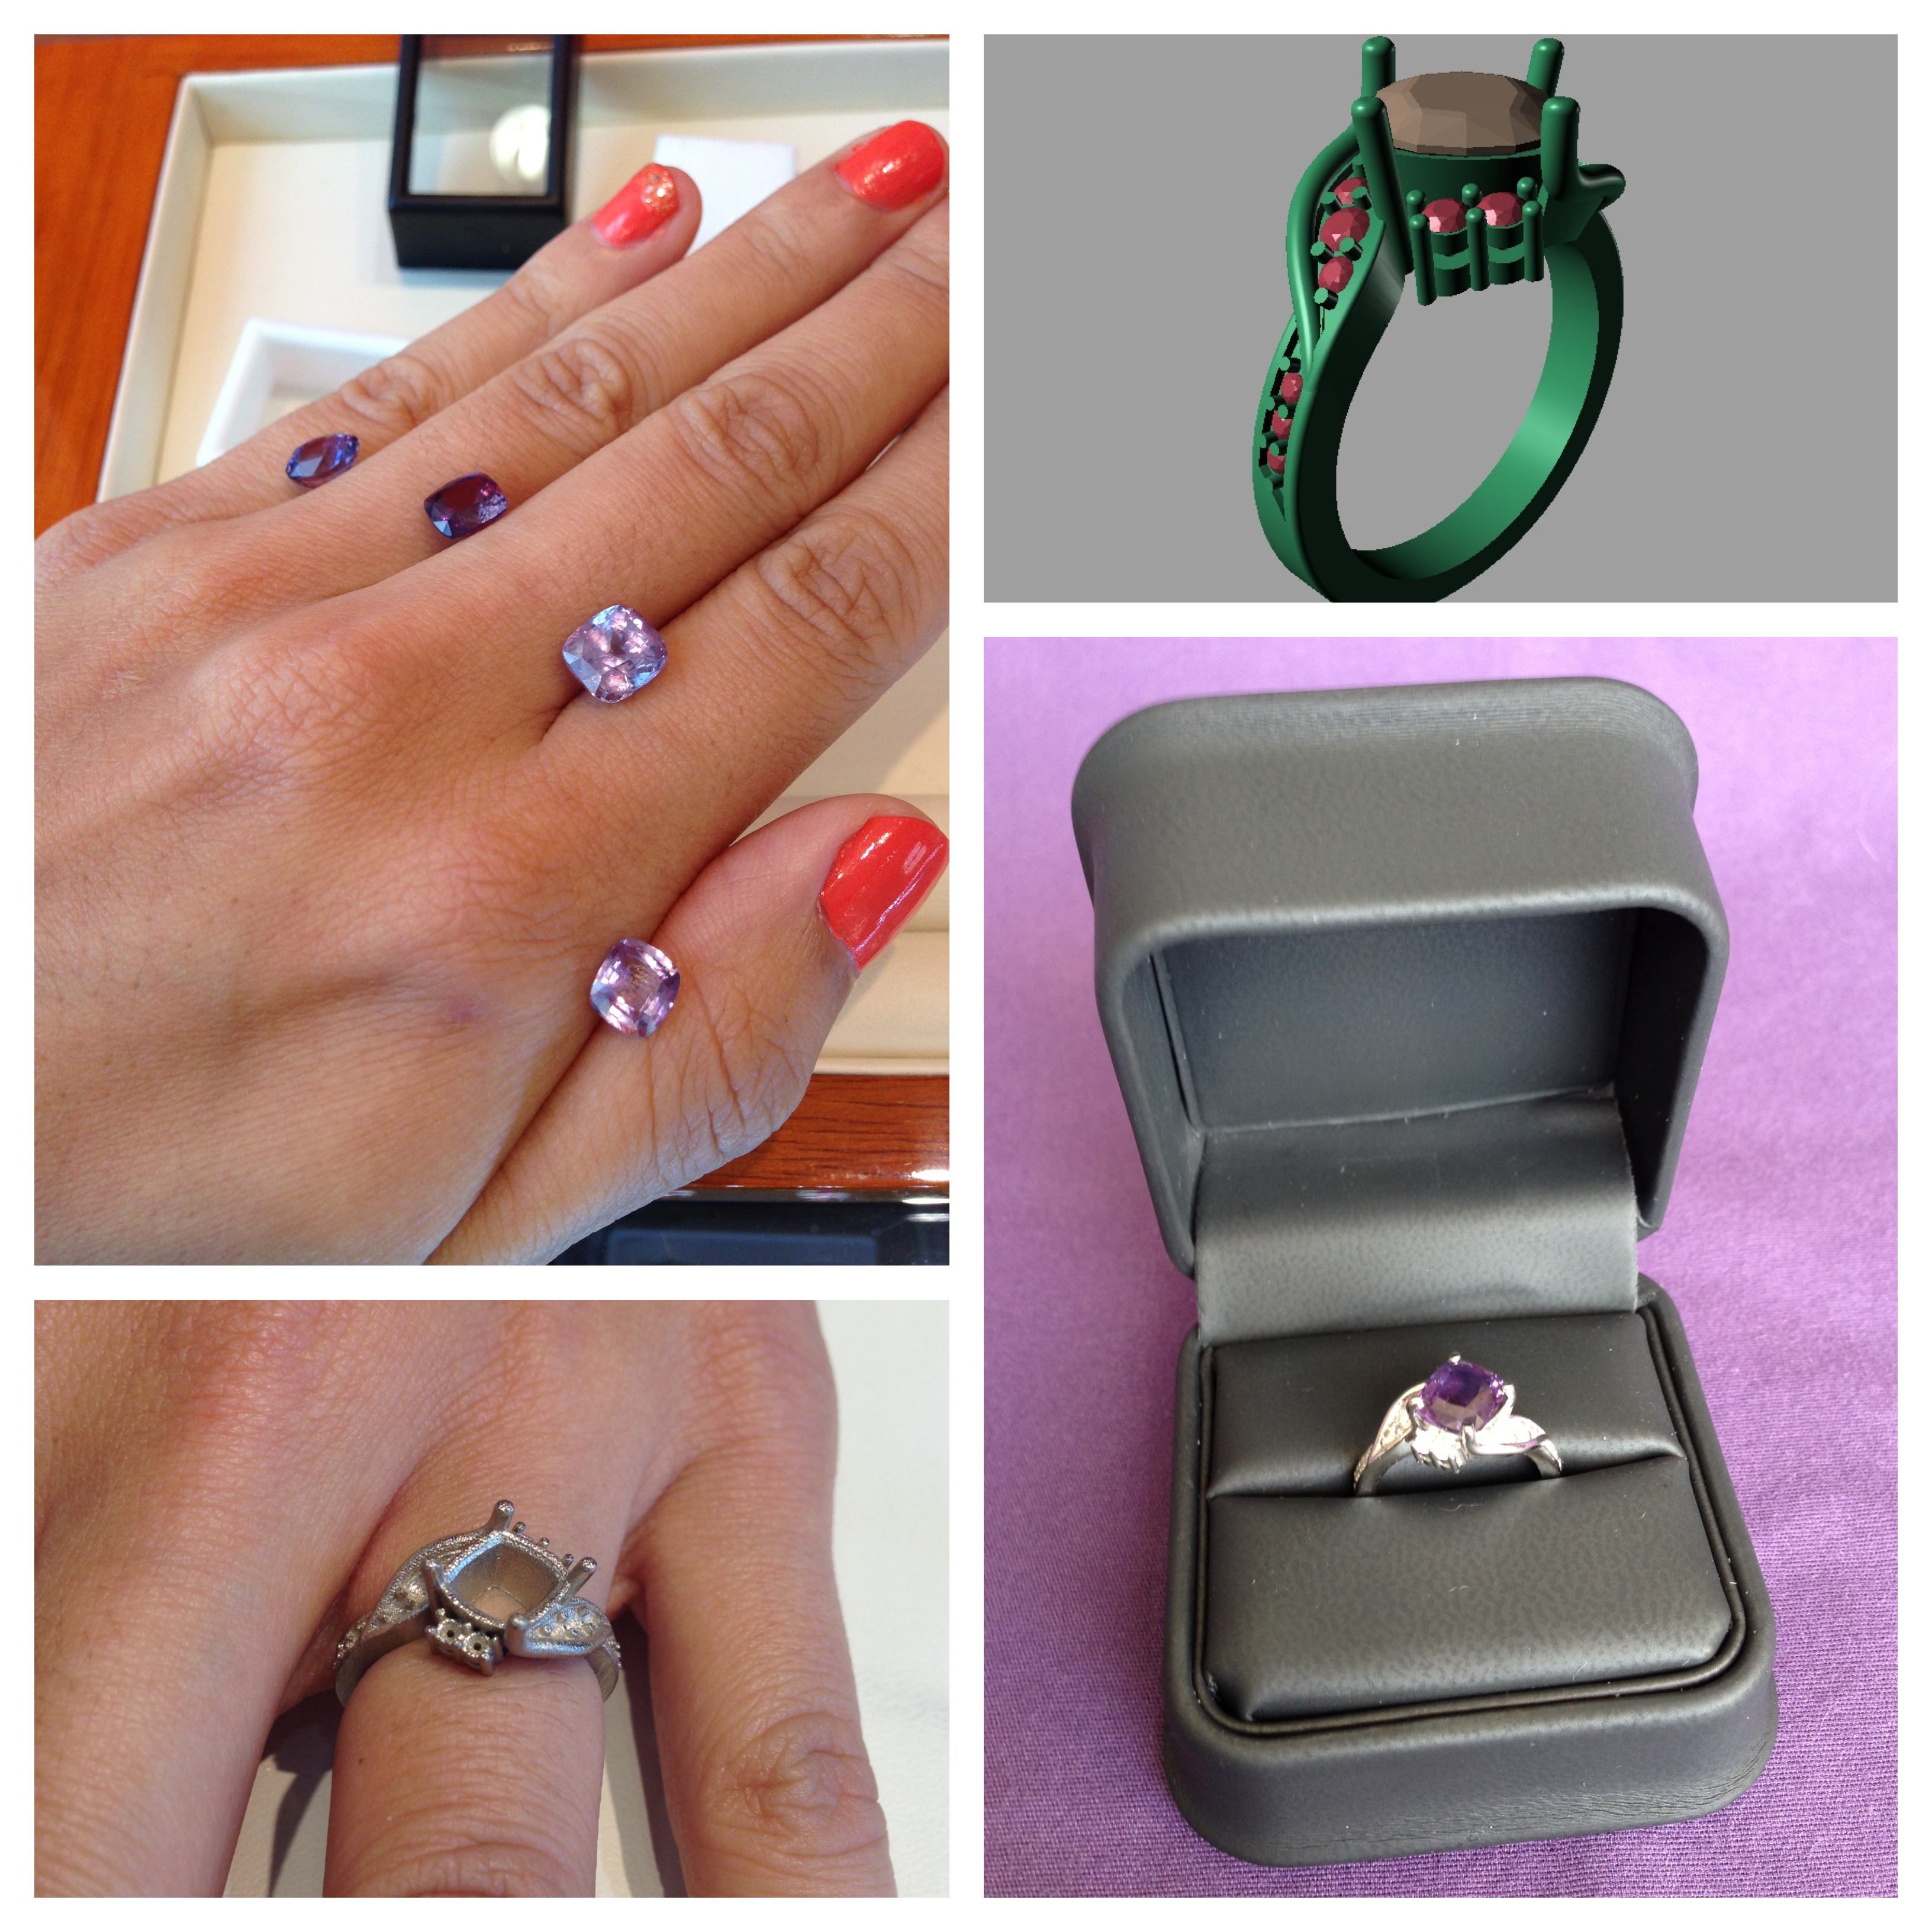
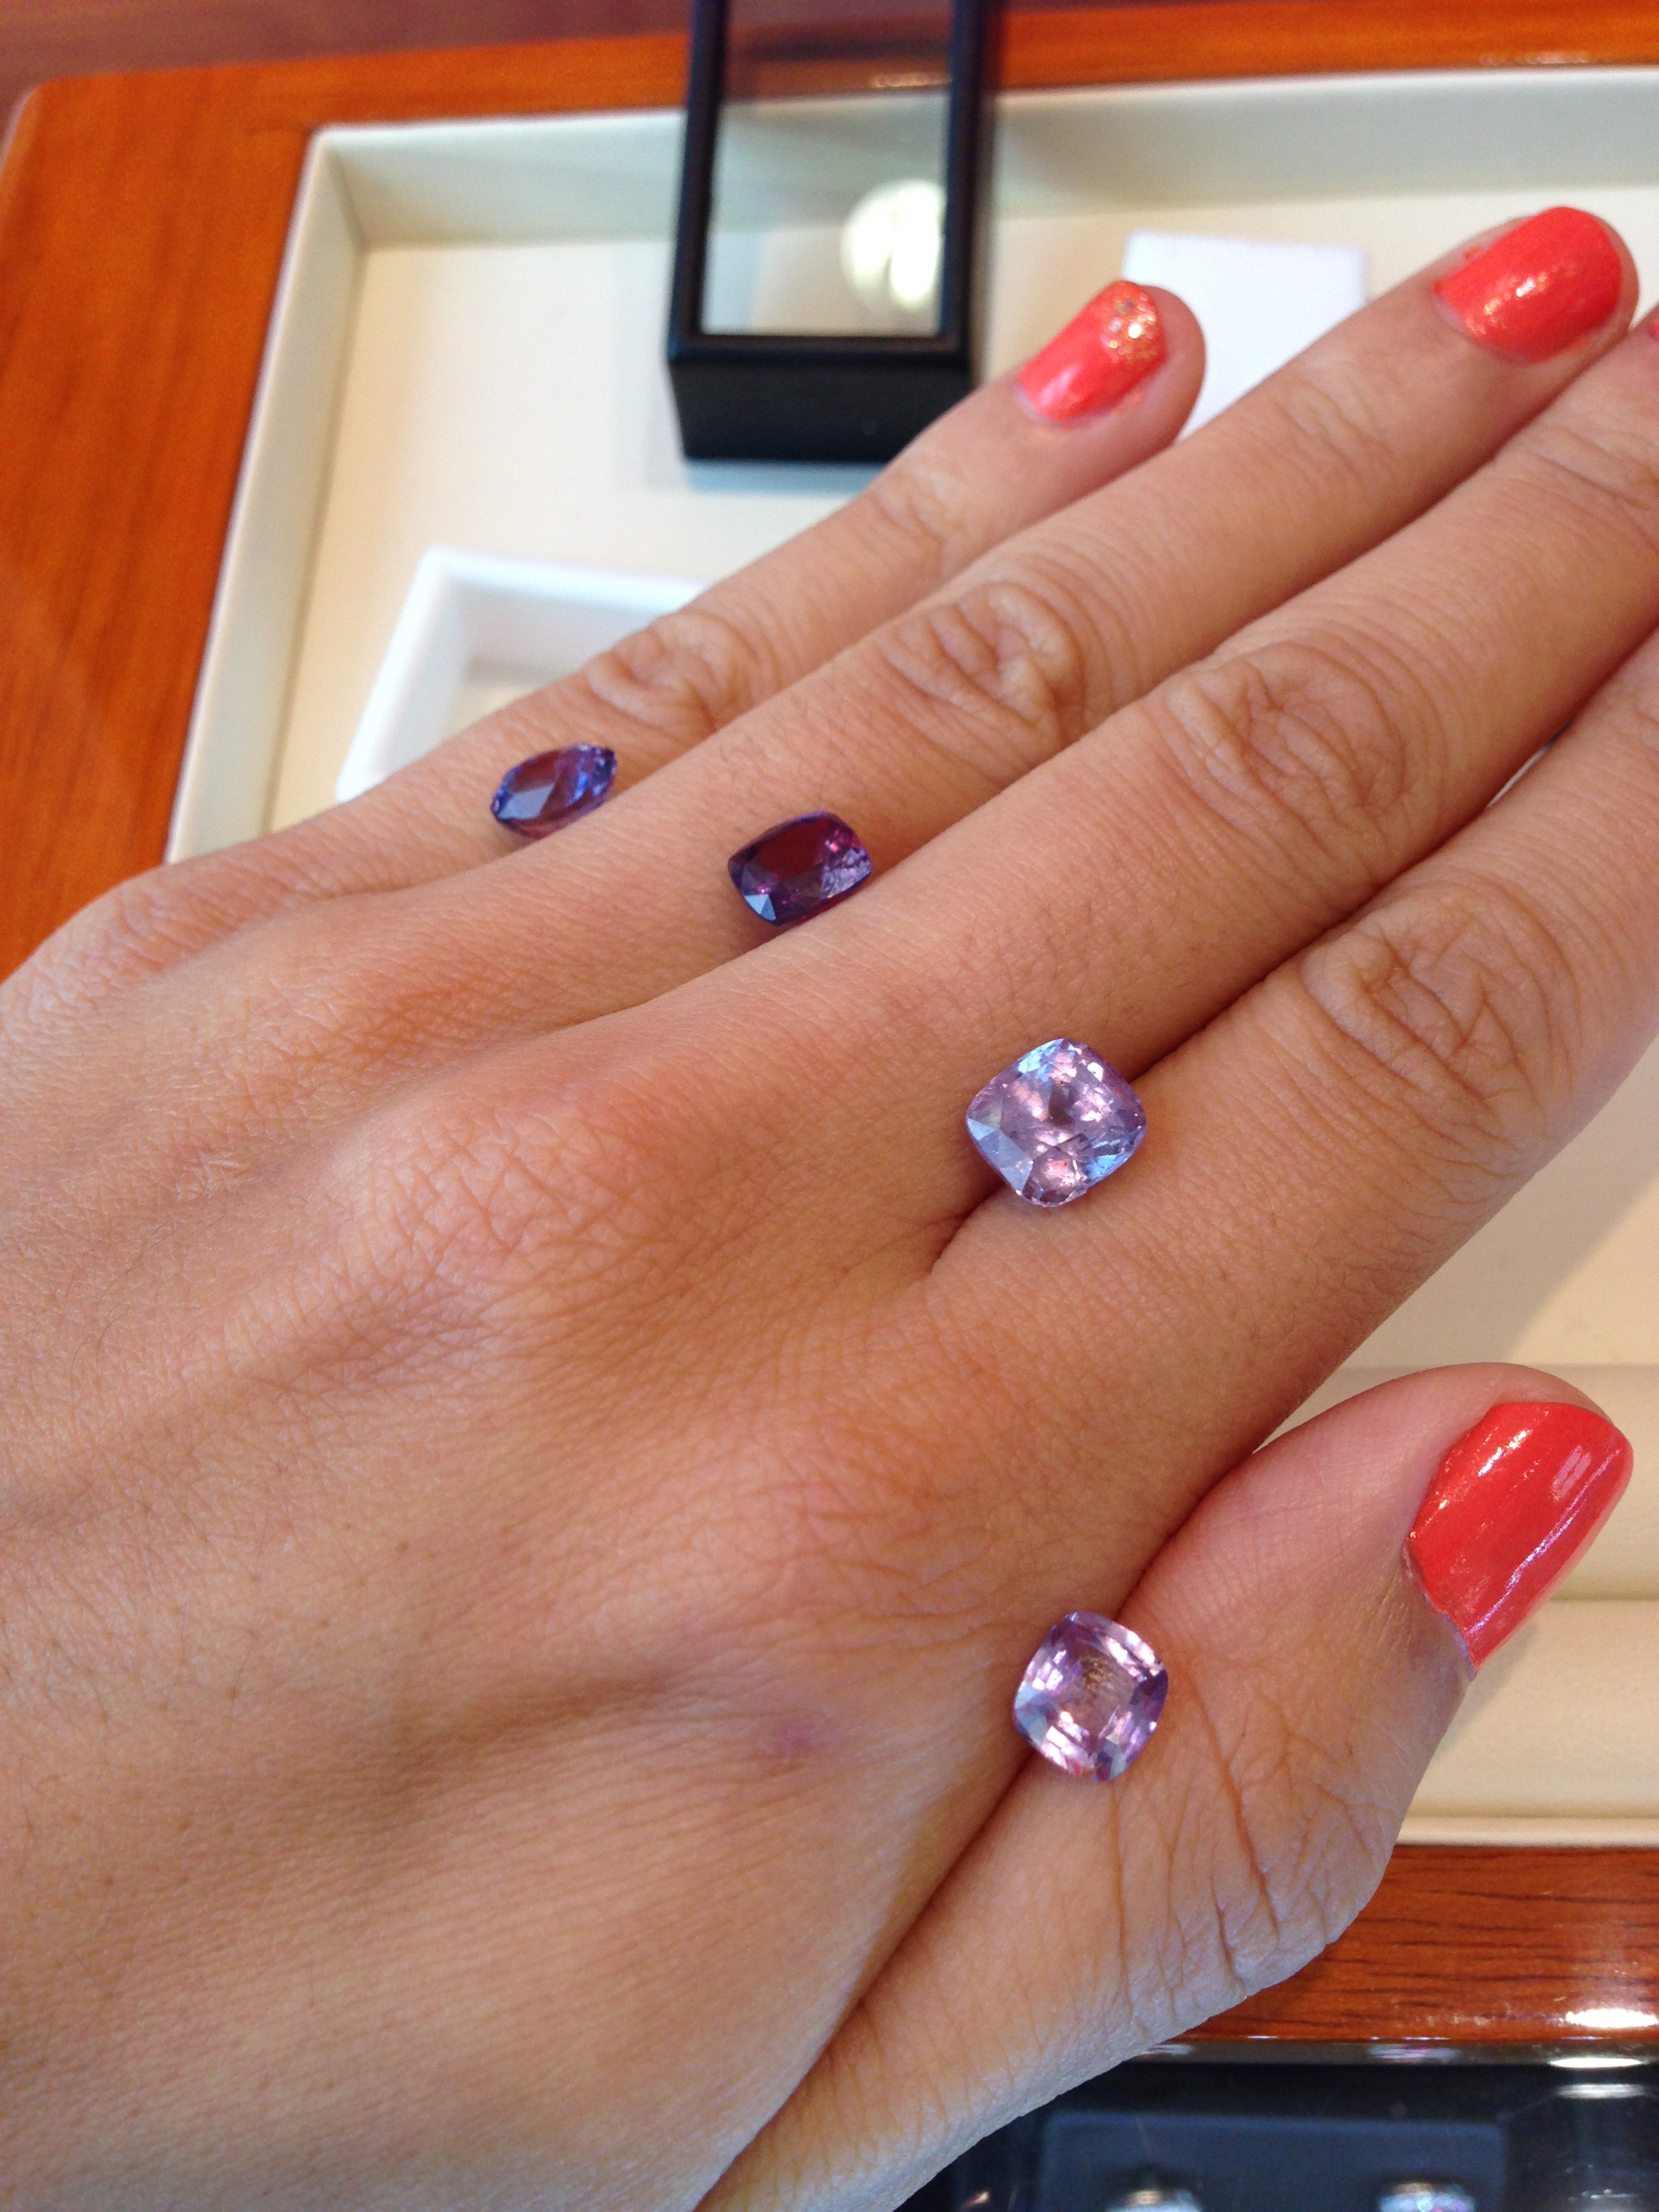 The first order of business was choosing the center stone, which would determine a lot of other details for the ring. I had assumed the only purple gemstone is amethyst, so that’s what I figured we’d get, but then I discovered purple sapphires. I’ve always liked sapphires, but blue is so popular and overdone, plus purple is my favorite color; this combination of the two was just perfect for me. Purple sapphires actually come in a huge range of shades, so Manya got four for me to choose from. She had me put them in between my fingers as shown so I could get a feel for how they’d look against my skin tone. They also came in slightly different cuts, but all square to roundish. Can you guess which one I chose?
Drawing up a CAD model
Once my center stone was chosen, Manya knew the dimensions she could use to build the ring around it. This was all done in CAD with precision. She had measured my ring finger size on a previous visit, so she had all the sizing numbers she needed. I got that fun, funky digital model soon after to show me what it would look like. I could ask for any revisions based on that, but I didn’t need any. The posts in the design are high and extend beyond the actual height of the gems because they are later filed down (see top right of the first image for the CAD drawing). Manya warned me of this ahead of time so I wouldn’t get confused when I saw the drawing!
Making a 3D wax model
I don’t have a picture of this phase, but a wax model of the ring was made to ensure it was the appropriate size and to give us a feel for how the ring would look in real life. It looked like a plastic model, but apparently the wax is pretty delicate so you can’t really handle it. It’s meant to help you visualize the actual ring before they melded it so you can request any extra changes before they get too far into the process.
Molding the ring
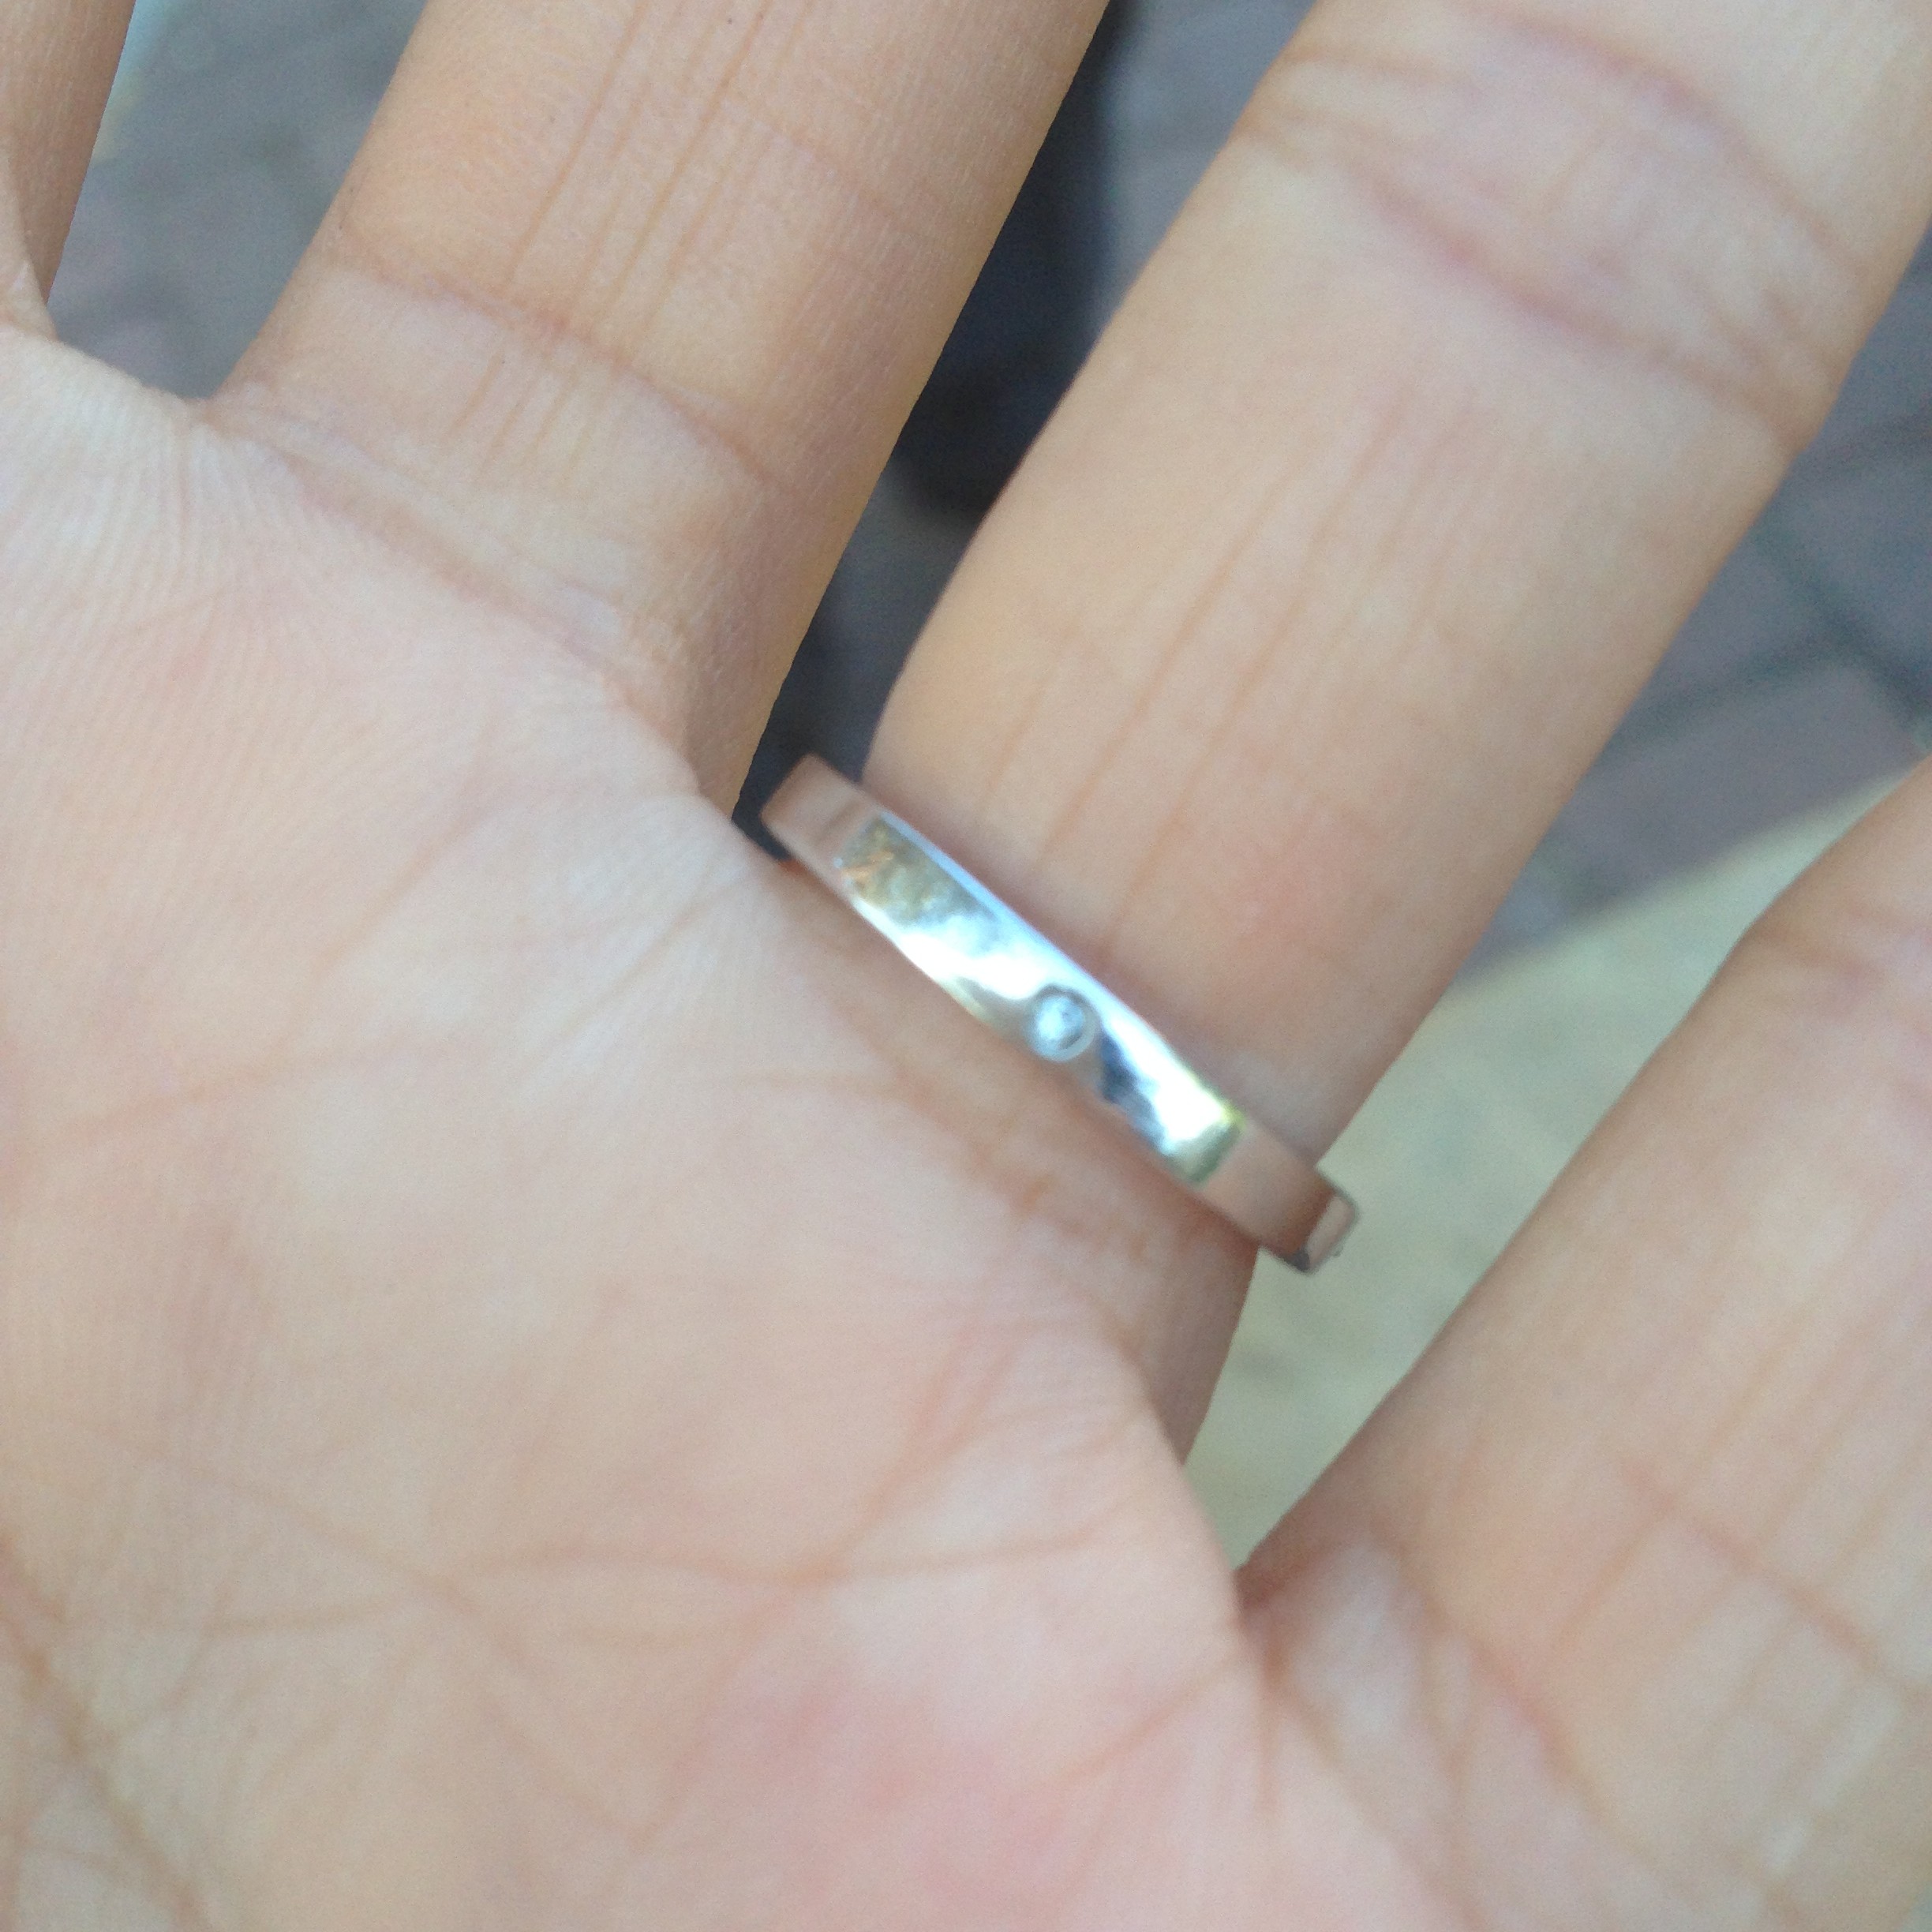
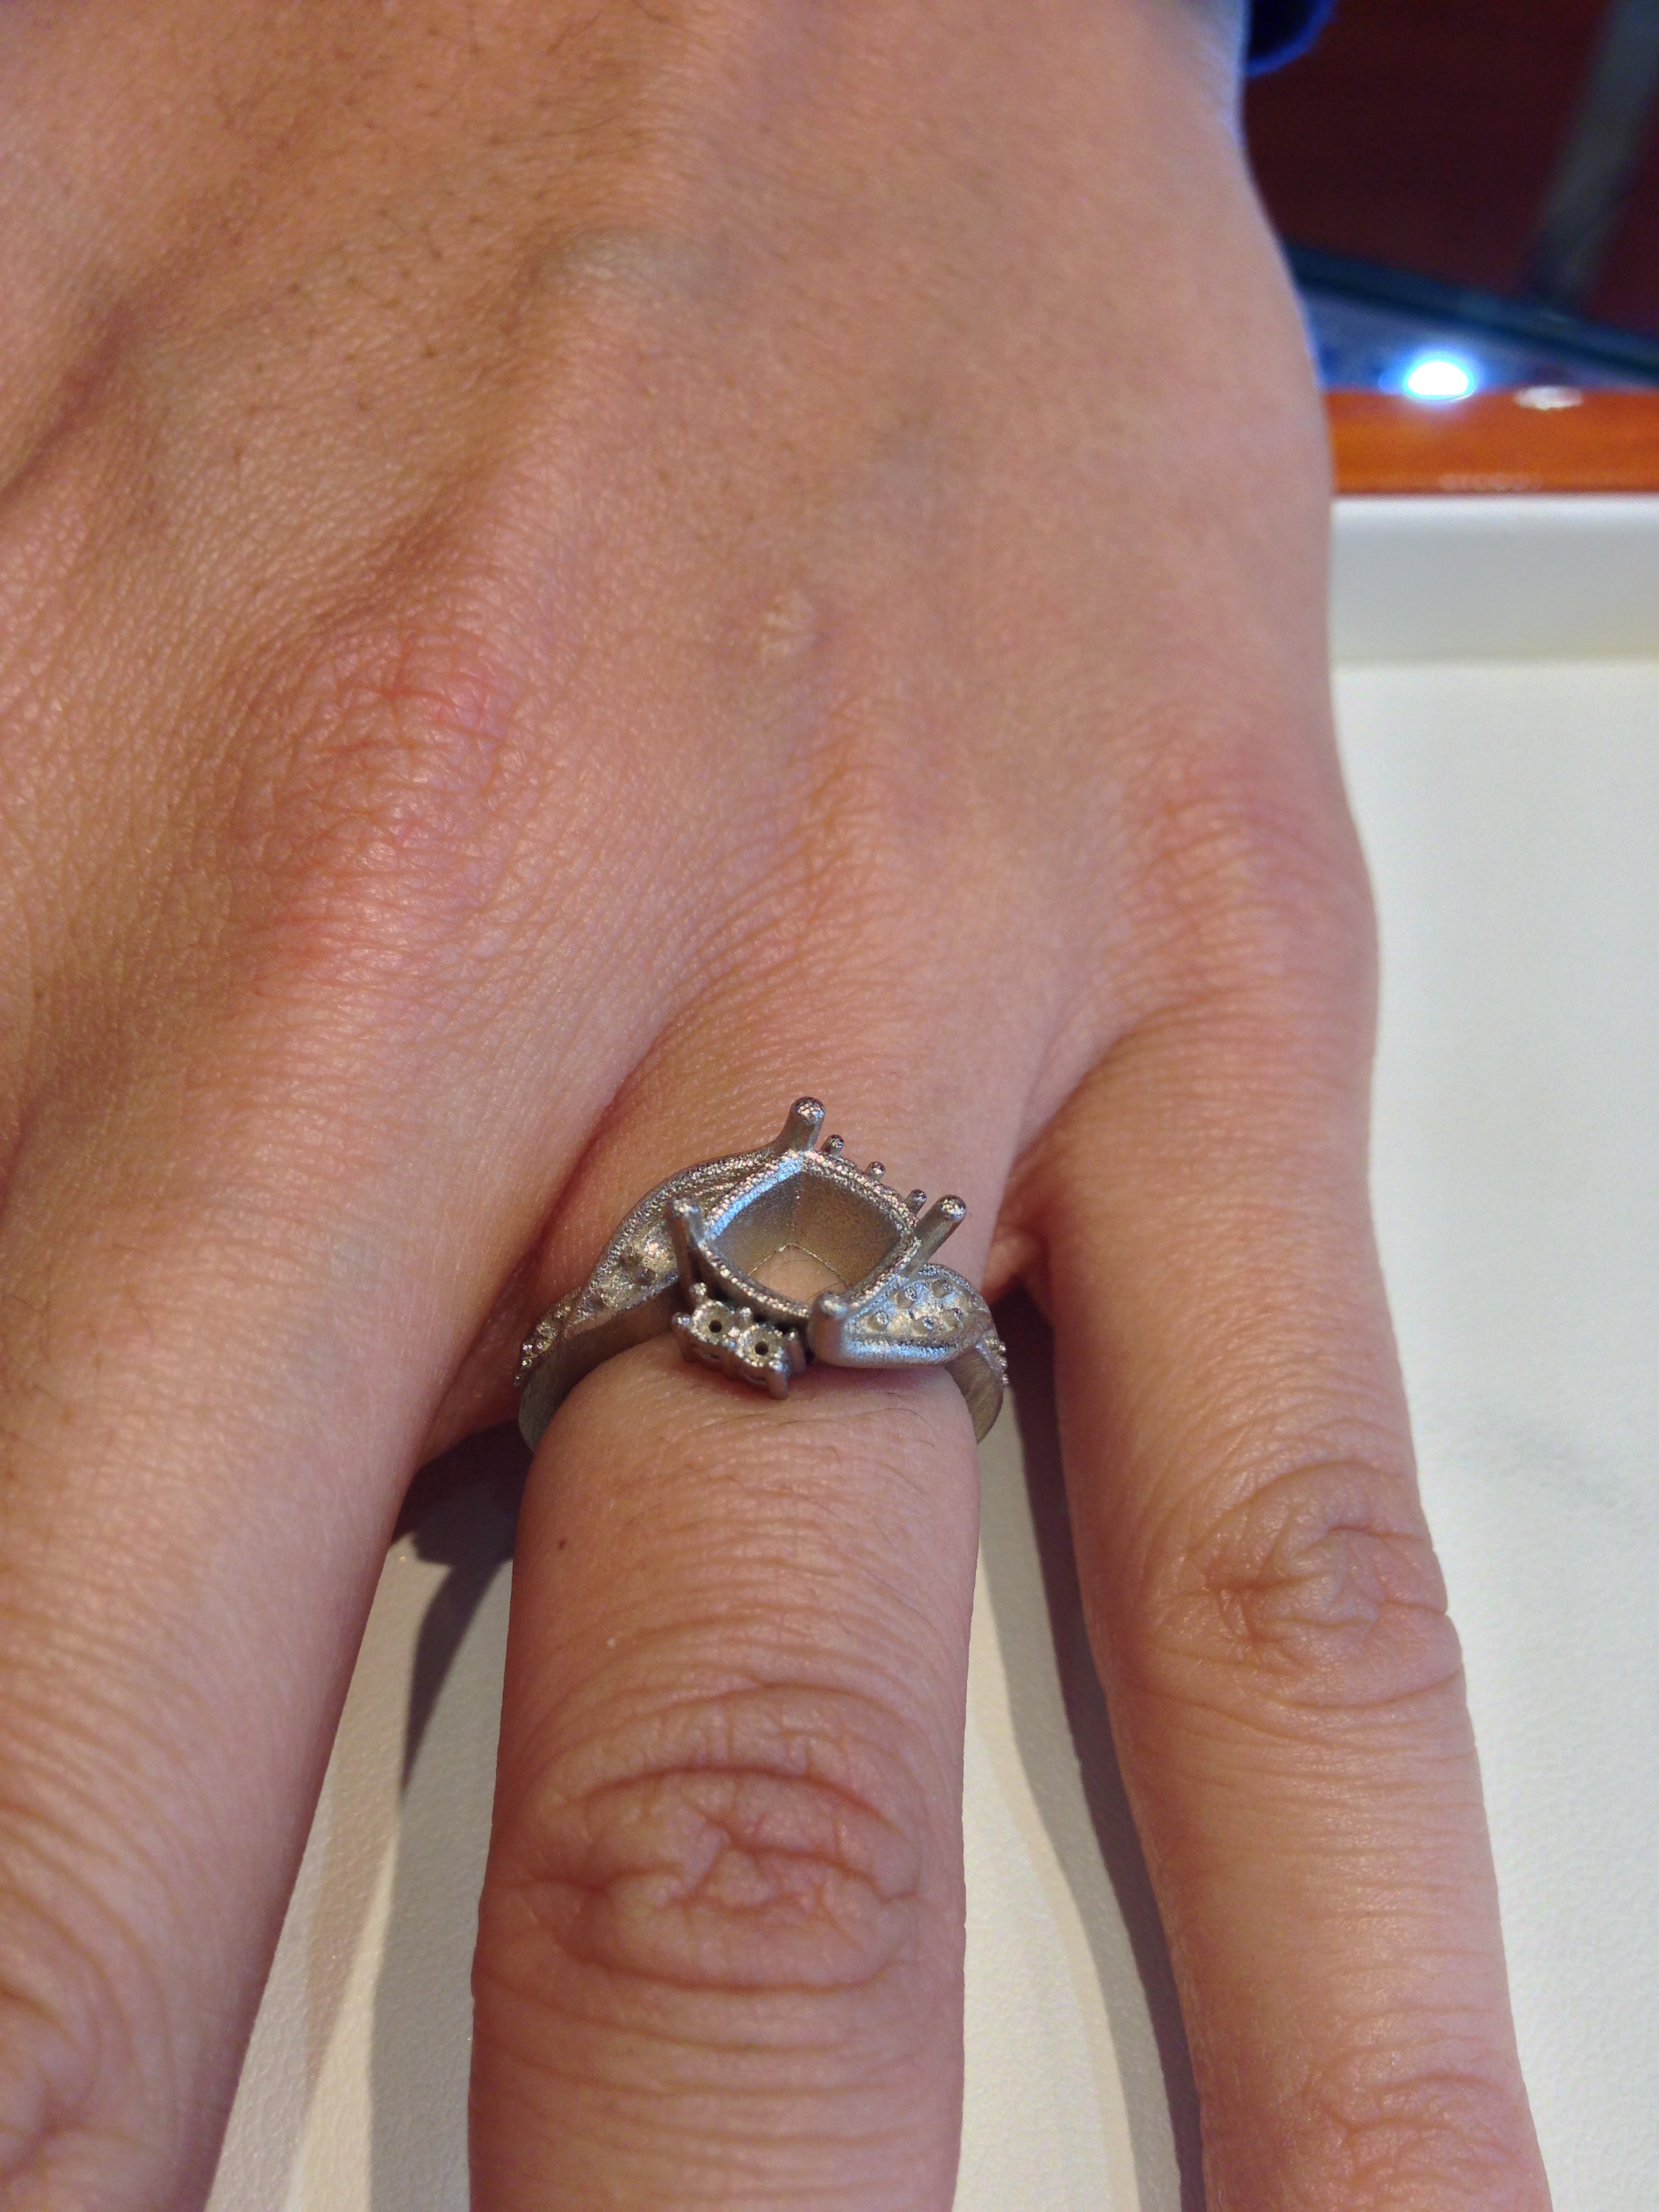 Once the design was approved, the ring band/setting was made. It came very bare and simple as pictured. This was then tried on to ensure it would fit well and that the sizing against my finger looked good. Since it needed to be polished and filed down slightly, it was actually a bit tight and I wasn’t sure I could get it on or off! Luckily, Manya’s a pro with this kind of stuff and had a bottle of Windex ready. She sprayed my finger to make it more slippery and we were able to carefully get the ring on and off without trouble. It was fascinating to see the ring before it was all polished and the stones were set. I kind of liked the raw look of it.
Setting the stones and polishing the ring: final product
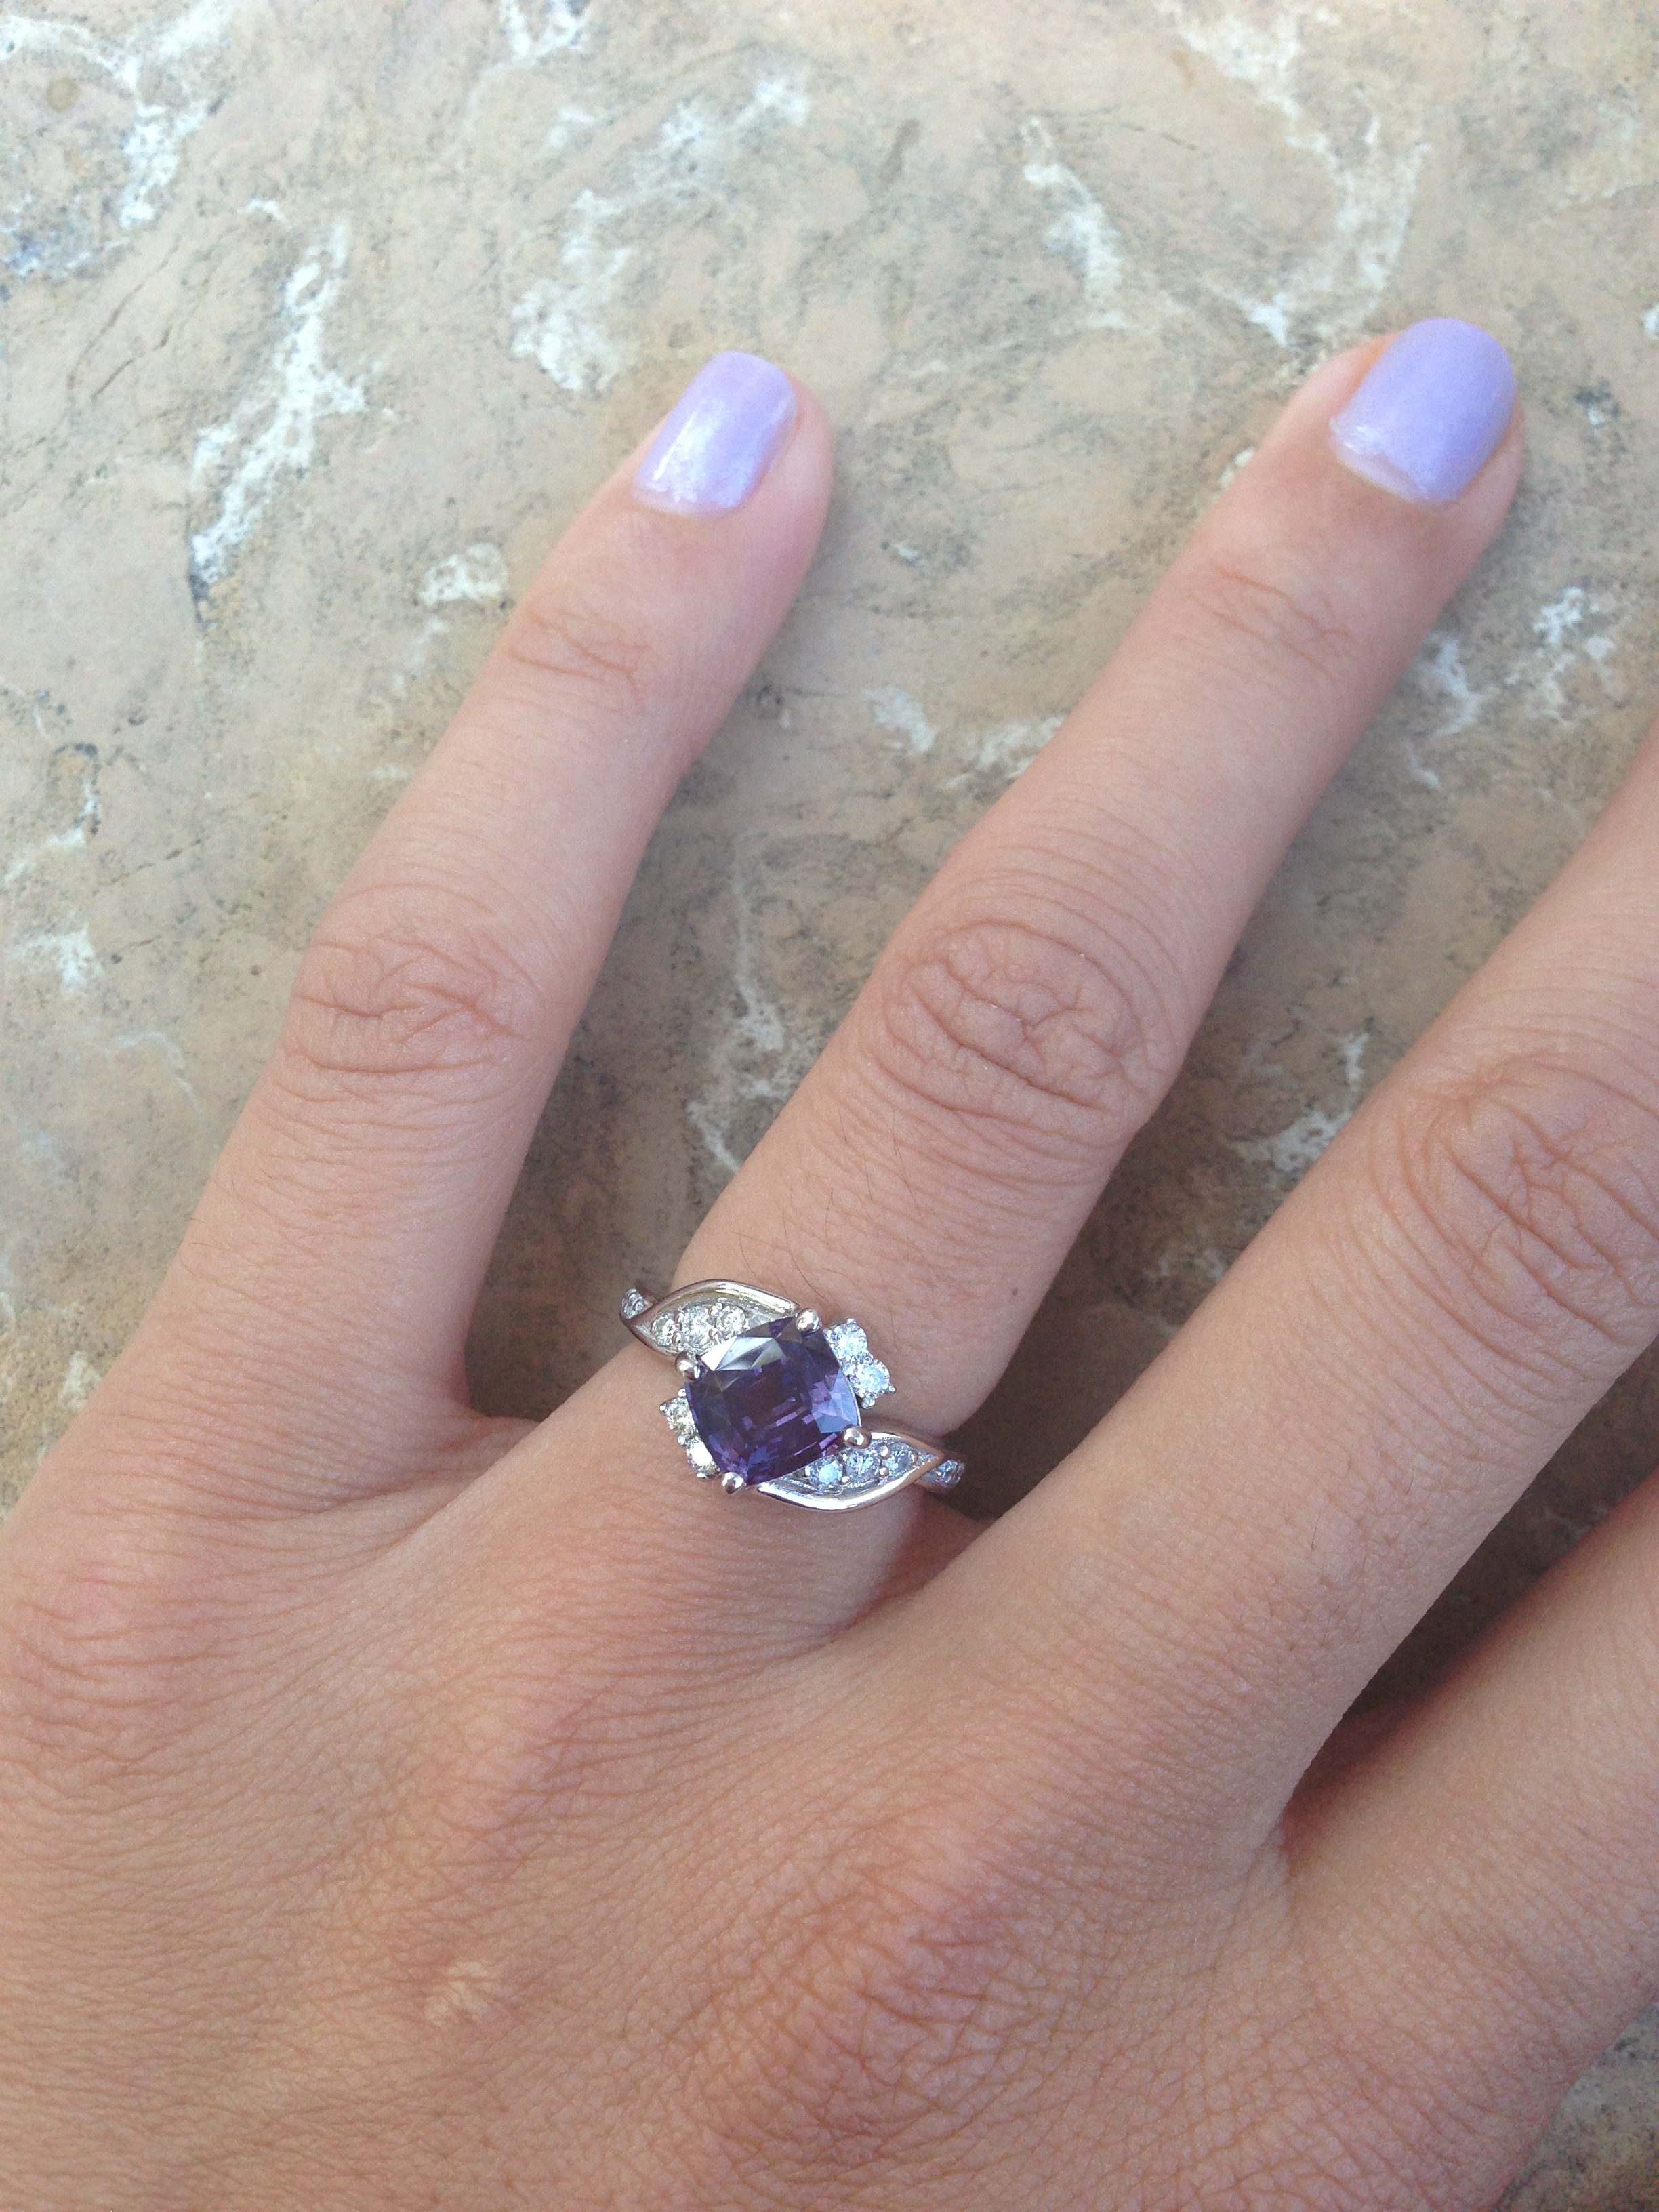
My wonderful engagement ring, complete with purple sapphire center stone, curved band, marquise shape, and…
Every step of the way, things were confirmed, so all that was left after this was to set the gems and polish up the ring! Within a month, we were able to go through the entire process and have the final product in our hands. That’s pretty awesome! It came in an elegant black box, all shiny and wonderful. When I went to pick it up, we did the final step of adding a small diamond to the bottom of the band, as I requested. Of the 5 design elements I wanted, there was only one that we didn’t get around to. I’m pretty happy with that! I love how creative Manya was in making the curve of my band look somewhat like a marquise cut since we couldn’t actually incorporate that shape gem into the ring. All in all, I’m very satisfied and I’ll make sure to get a cool side profile the next time I design a ring. 😉 I love how different it is from every other ring I’ve seen. It’s still obviously an engagement ring, but there are details that are unique to me and my ring.
…small diamond on bottom of ring. 😀


